Espar Airtronic D2 Diesel Heater
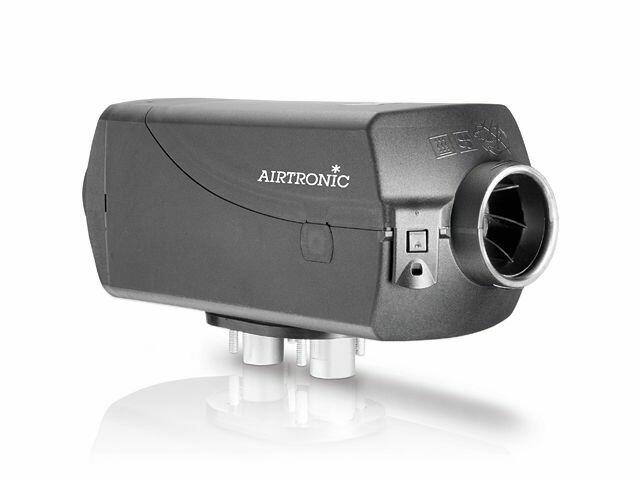
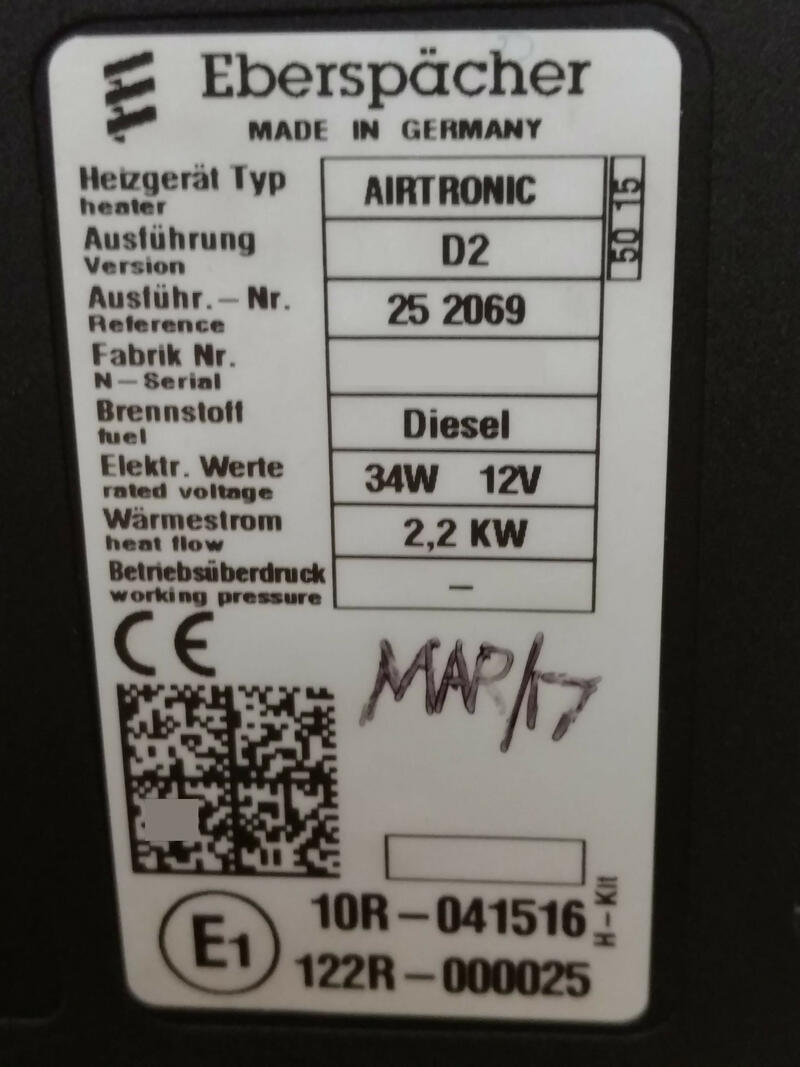
The Eberspacher Espar Airtronic D2 is a safe and economical heater that utilizes diesel from the main Sprinter tank. This unit has unsurpassed safety standards, so there is no concern about carbon-monoxide poisoning, fumes or fuel vapors inside the living area in the van.
Important Tip
Important tip - make sure your battery is either new or in top condition when using the heater. The heater will draw a high amperage when the glow plug heats up igniting the fuel. If the voltage is low, there will be more carbon build up since the glow plug cannot achieve optimal temperature. You will notice if it is very cold outside, your Espar will smoke at startup if connected to the starter battery like we have done and the engine is off. Over time, the carbon build up will cause the atomizer screen to clog up with carbon, causing difficult starts and more white smoke. When this happens, the burner chamber also starts to get clogged up with carbon. Try to charge your battery on a daily basis, and you’ll have a lot less maintenance issues, especially when using non-lithium batteries like AGM. Update January 2022: Before we turn on the heater, we switch on the engine of our Sprinter van, and we’ve been doing this every time since the last heater service. We’ve gone well over a thousand hours since the last service, and not even a puff of smoke comes out of the heater. We also run the heater on high for 20 minutes just before we intend to turn it off. This burns off any residual carbon inside the chamber.
Disclosure: As an Amazon Associate I earn from qualifying purchases. This post contains affiliate links from Amazon.com / Amazon.ca / Amazon.de / Amazon.es / Amazon.fr / Amazon.it / Amazon.co.uk and eBay which means that if you click a product link and buy anything from the merchant, we will receive a commission fee. The price you pay remains the same, affiliate link or not. Amazon and the Amazon logo are trademarks of Amazon.com, Inc. or its affiliates.
(Any purchase you make on Amazon, we get a small commission - links work for Amazon Canada, USA, UK, France, Germany, Europe)
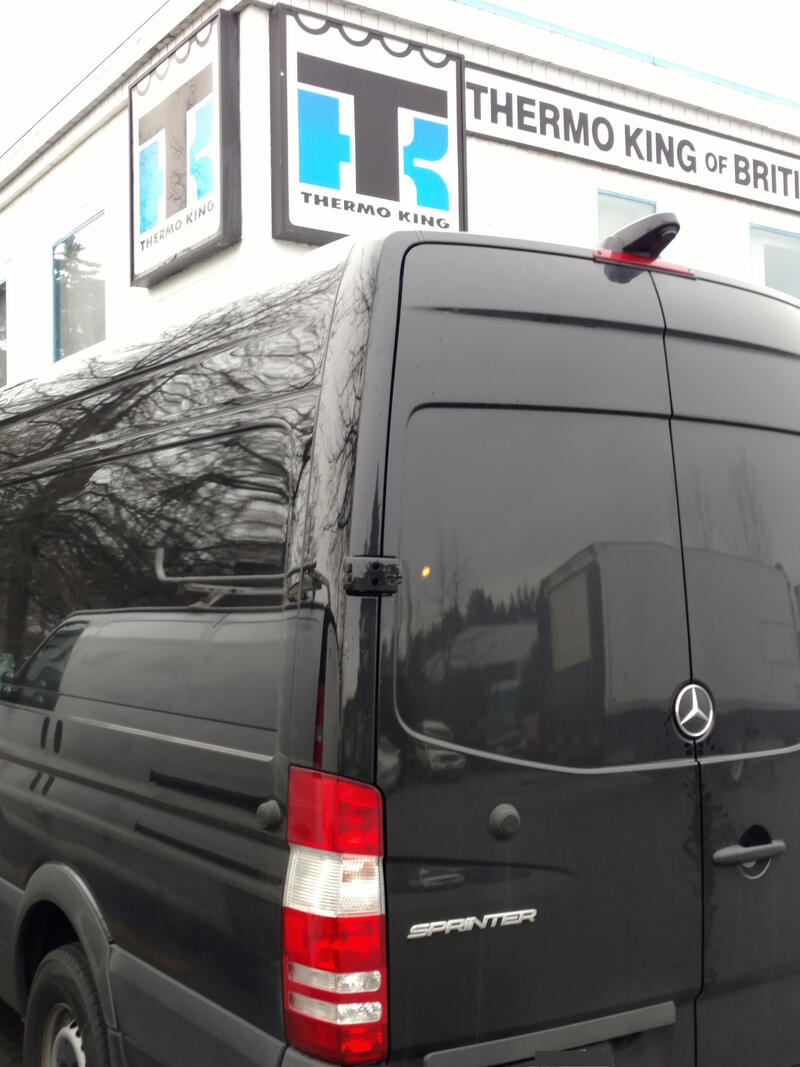
The Eberspacher Espar Airtronic D2 is a safe and economical heater that utilizes diesel from the main Sprinter tank. This unit has unsurpassed safety standards, so there is no concern about carbon-monoxide poisoning, fumes or fuel vapors inside the living area in the van. The unit was professionally installed by Thermo King of British Columbia. It is appropriately sized for this model of Mercedes-Benz Sprinter, which is the high-roof long wheelbase version.
The latest version (as of January 2022) is Eberspacher Espar Airtronic S2 D2 L 12V Diesel Air Heater (View on Amazon)
Without any insulation in the van, the heater on high speed struggles to keep the temperature warm inside when the outside temperature is below zero. On the first camping adventure deep in the Mountain Loop highway in April 2017, the temperature outside was -10C and inside the van the maximum temperature was only +5C.
Good Sprinter insulation is important.
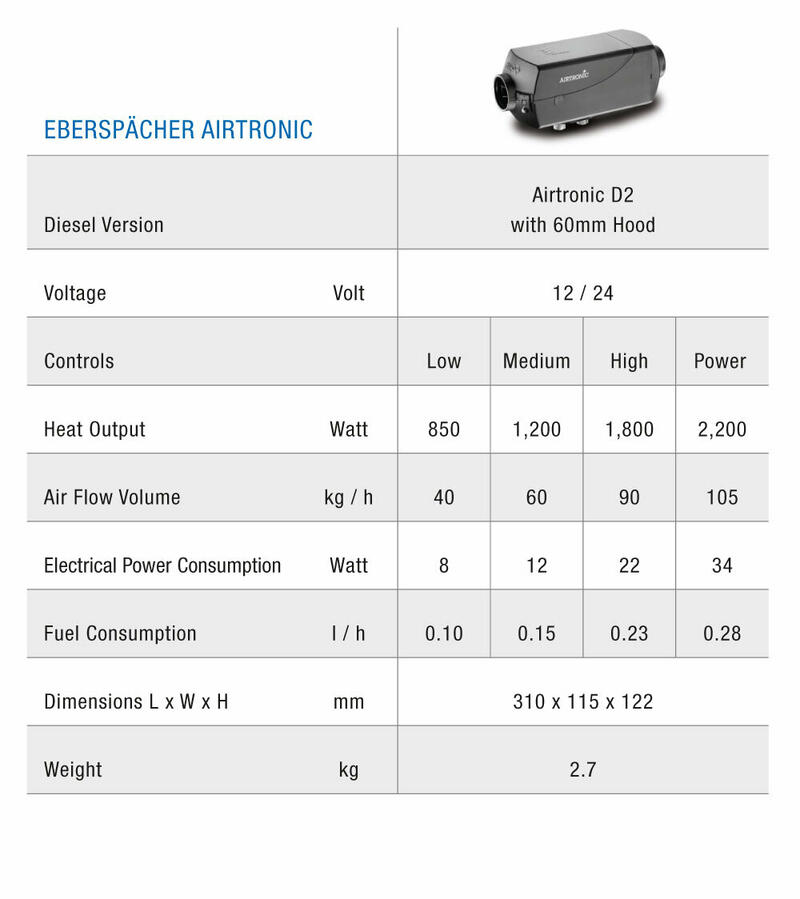
Espar D2 Technical Specifications
The Espar D2 technical specifications are found in the table below. The unit is powered by the on-board 12v battery found in the driver side floor of the Sprinter van. On low power, the number of litres consumed in an hour is 0.1 litres, or just 2.4 litres in a 24 hour period. In that same timeframe of 24 hours, it only uses 8 watts per hour or 192 watts or just 16 amps (192 watts / 12 volts). The 12v Sprinter battery has a capacity of 82 amps, more than enough for the Espar D2 to operate on low temperature for 24 hours straight without depleting the battery.
To allow for longer runtimes without powering on the engine, we will use a battery charger directly connected to the battery, which in turn keeps the battery topped-up and allows the heater run much longer. We do this when parked on the driveway at home, or when parked someplace else and the charger is connected to our Goal Zero Yeti battery pack via the 120V AC plug.
Thermo King - Espar installation (Lifetime: 0 hours)
Thermo King is a global company offering a wide variety of services, including installation of diesel heaters into pretty much any vehicle including Mercedes-Benz Sprinters. If you’re looking for somebody to install a heater, try your local Thermo King.
Actual installation photos by Thermo King of BC located in Coquitlam BC, taken Friday March 17, 2017.
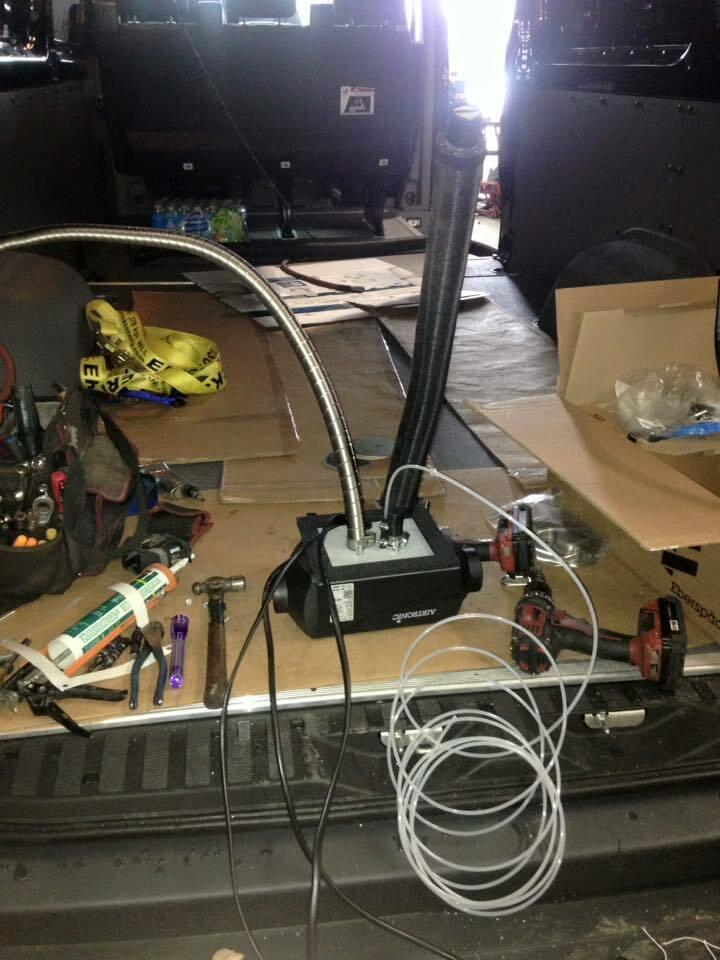
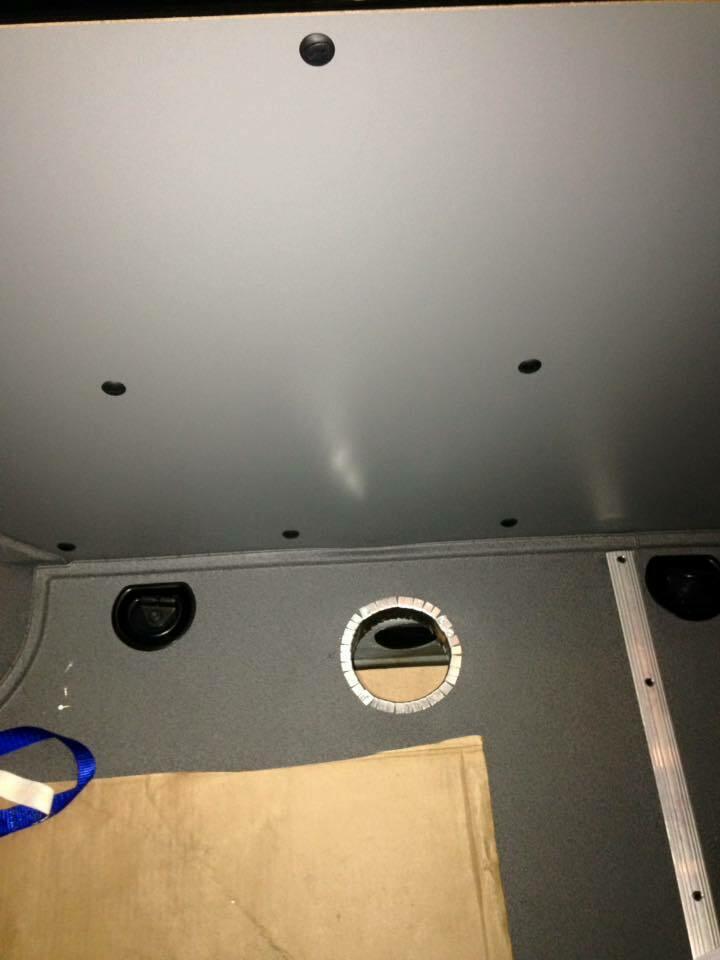
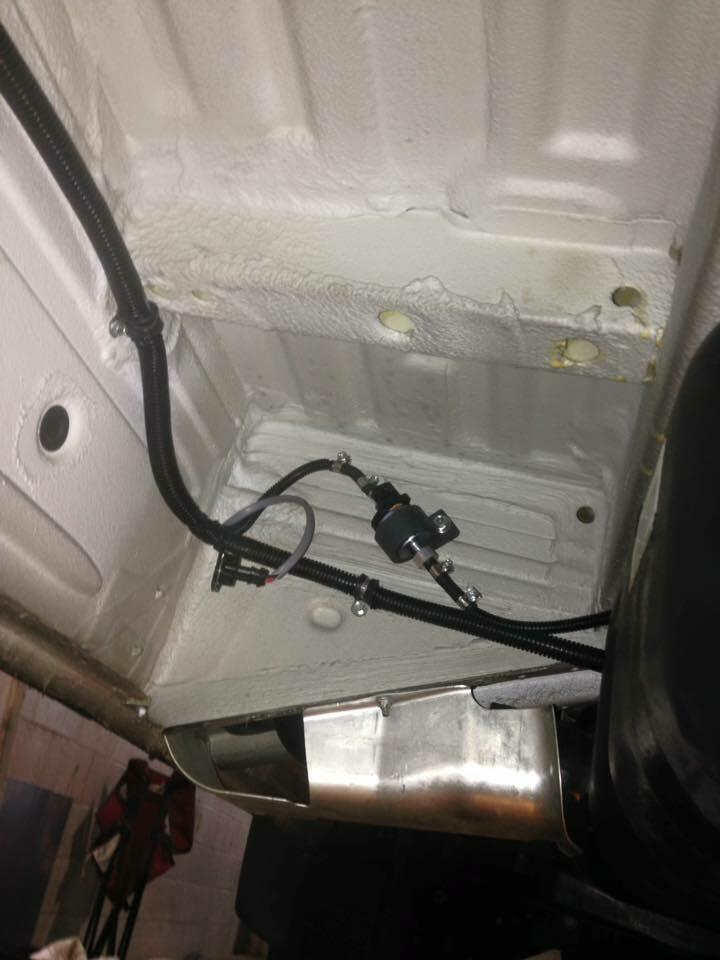
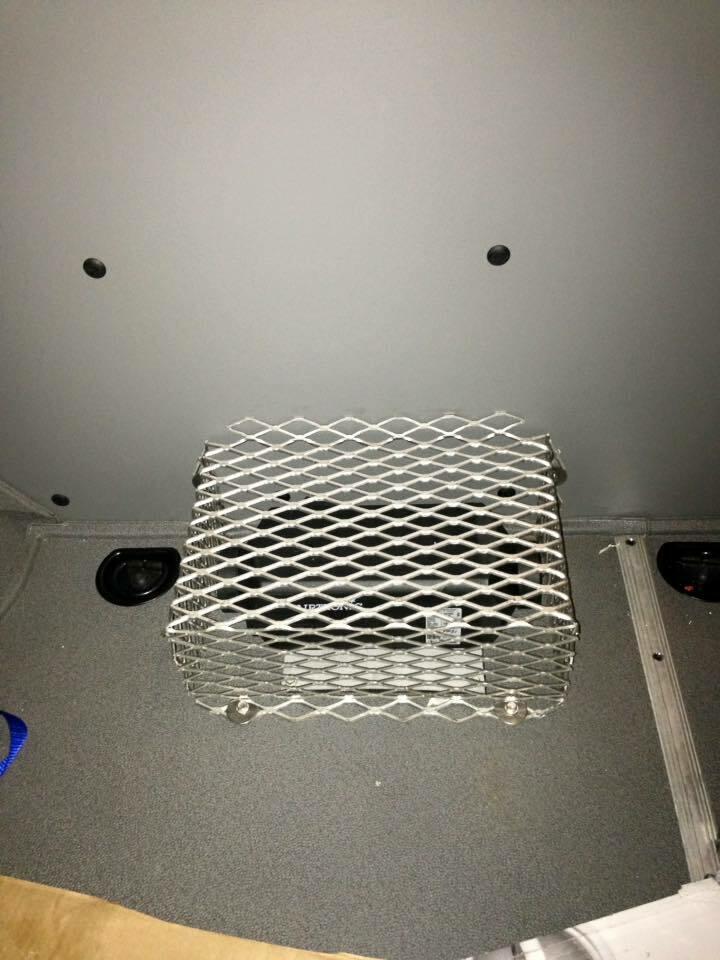
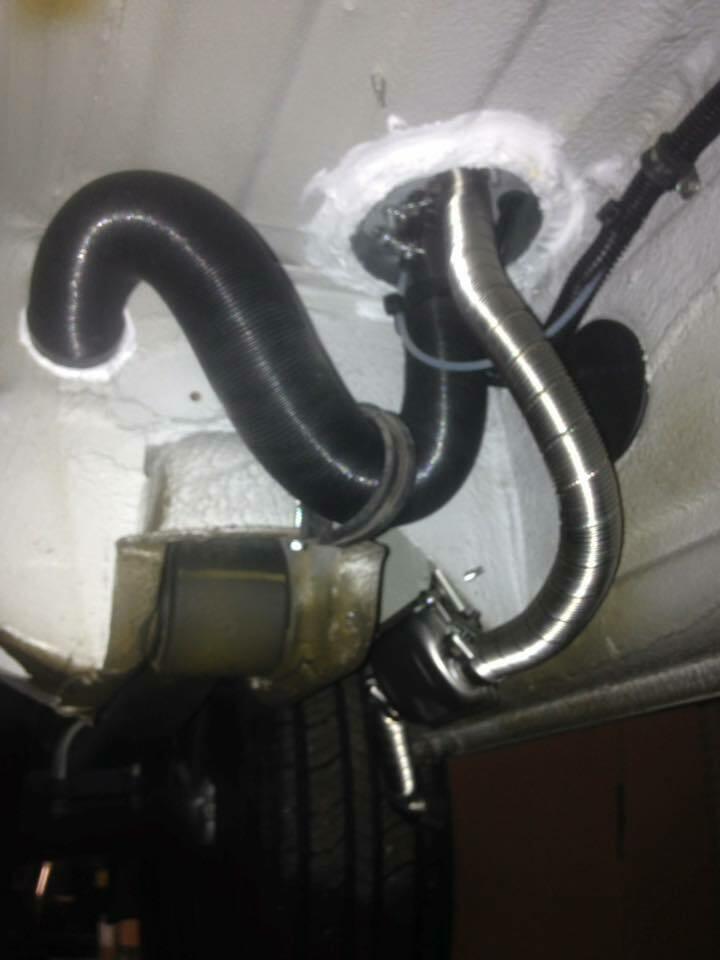
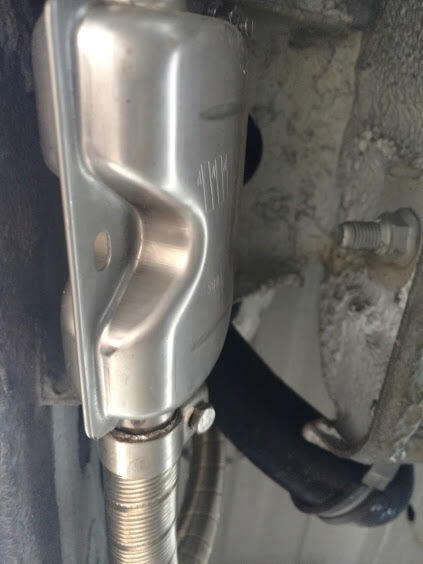
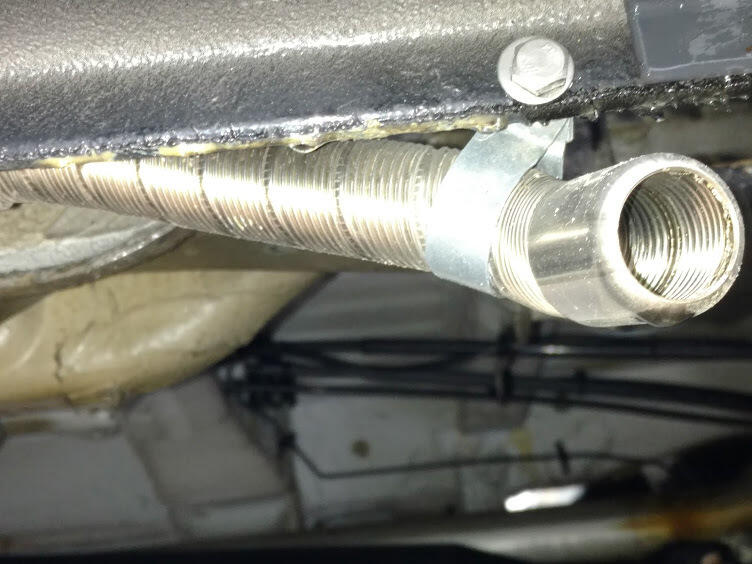
Troubleshooting and Maintenance (Lifetime: 850 hours)
Notes and photos taken the week of January 1, 2018.
Clouds of White Smoke when starting the Espar D2
After about 850 hours of usage, the Espar D2 showed signs of thick white smoke coming out the exhaust pipe upon startup. Once the fuel ignited, and the heater began to work, the white smoke would disappear. Several hours more of usage, even thicker white smoke came out very slowly, and the heater would retry by itself twice before starting again.
Connecting a Kerosene bottle to the fuel pump
Kerosene burns much hotter than diesel, and will normally clear out carbon from the Espar D2.
The fuel pump is at a 15-30 degree angle, and the lower portion of the pump has the input fuel line leading to the diesel tank. There are two circular hose clamps on a thicker piece of rubber tubing. The circular hose clamp closest to the fuel filter can be loosened, and then pulled away from the fuel pump by twisting the rubber tubing back and forth while at the same time pulling away from the fuel filter.
Another piece of rubber tubing goes over a short piece of the clear tubing, place two circular hose clamps over the tubing, then slide the combination over the metal fuel pump inlet. Tighten the hose clamps. Secure the other end of the clear tubing into a bottle of kerosene using duct tape or similar product. You can use a small 1 quart or 1 gallon container.
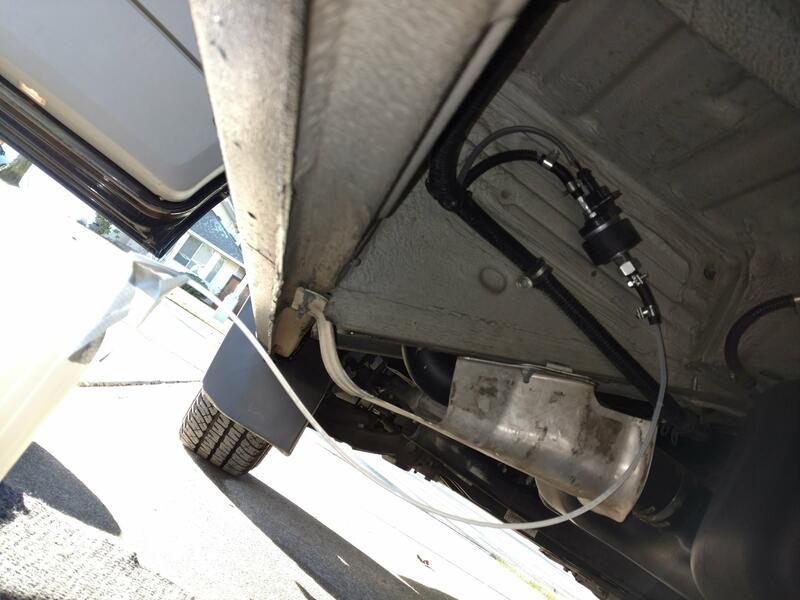
Ensure that the clear hose is as short as possible, so that the pump doesn’t have to prime the heater as much. Run the heater for about an hour. Then disconnect the temporary hose, and re-connect the main fuel tank hose that you removed earlier.
If thick white smoke still appears upon startup in cold or very cold weather, see the next section.
Thick clouds of white smoke still appear - partially plugged fuel filter
If thick white clouds of smoke appear on startup, don’t despair.
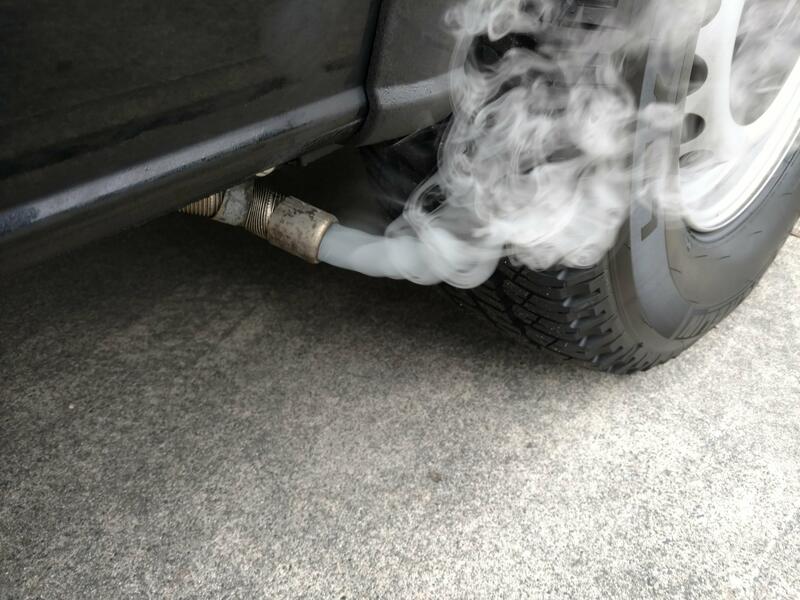
There is a very informative video on an Espar D2 furnace repair guide on YouTube:
At the 2 minute mark in the video, he explains that if the fuel filter is partially plugged, it will give you temperature dependent no-starts (like in sub-zero weather) the colder it is the less it runs, and will make the heater bellow with white smoke.
You can purchase a Genuine Espar Fuel Filter (View on Amazon)
Remove the tiny fuel filter, and replace with a new one. Or, if a replacement is not available at the time or repair, remove the filter and clean out very carefully, then reinstall after ensuring the screen and plastic housing are not damaged.
To remove the tiny filter, two different sized wrenches are required, a 12mm and a 17mm. First you need to remove the circle clamp on the black rubber hose that is closest to the pump. Then twist back and forth and pull away the black hose from the pump inlet with one hand, while the other hand holds onto the pump.
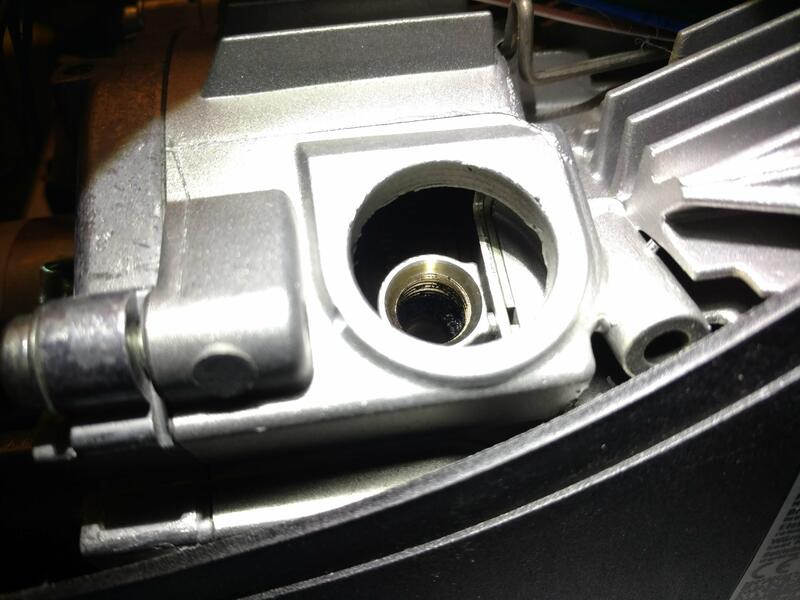
One the hose is removed, you will see a shiny metal tube with a 17mm nut, and a 12mm nut to the left.
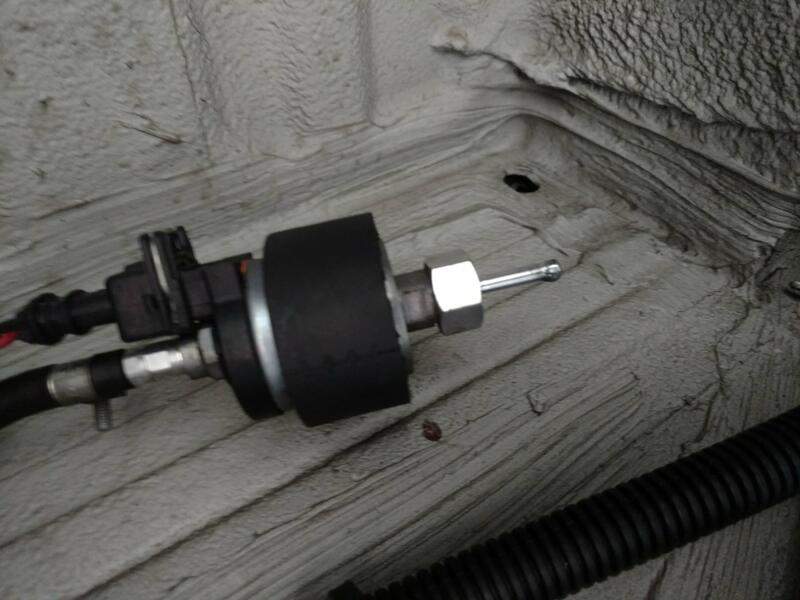
Use the 12mm wrench on the smaller nut, while turning the 17mm to the left slightly until loose. Remove both wrenches and unscrew by hand. Inside there is the fuel filter.
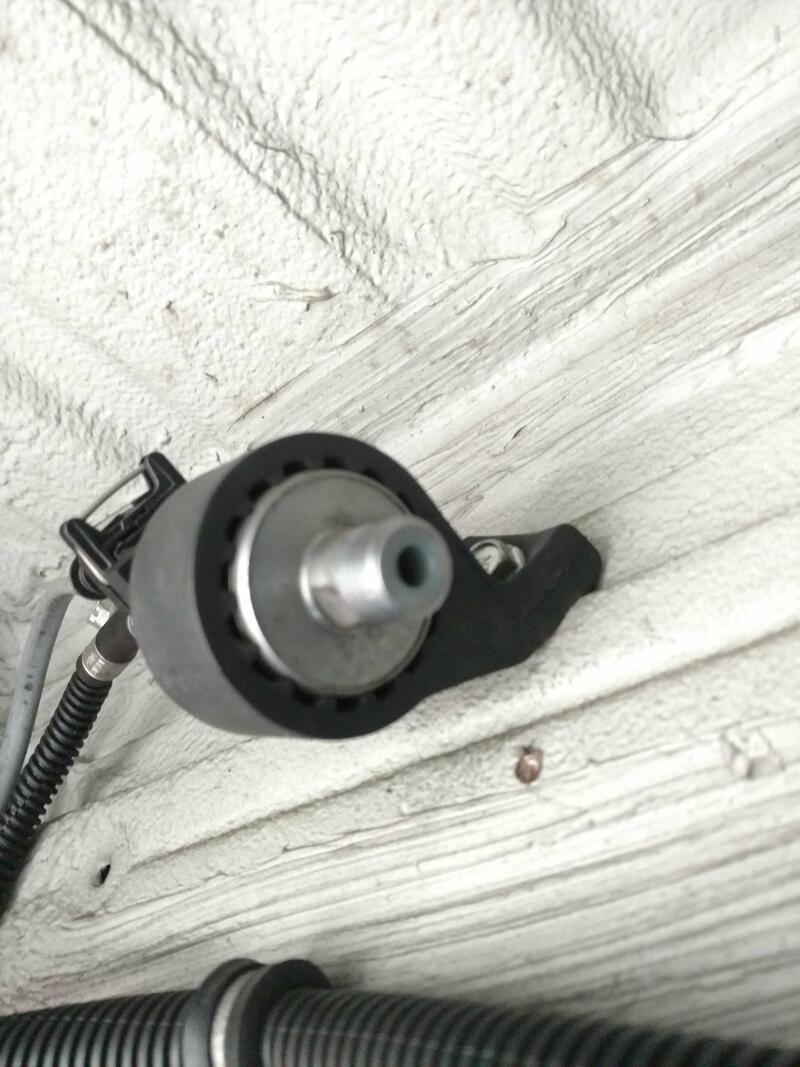
You can use a pick or any right-angled piece of metal like a right-angled 2mm allen key to dislodge the fuel filter from the pump. Be gentle as to not damage the screen or the plastic housing.
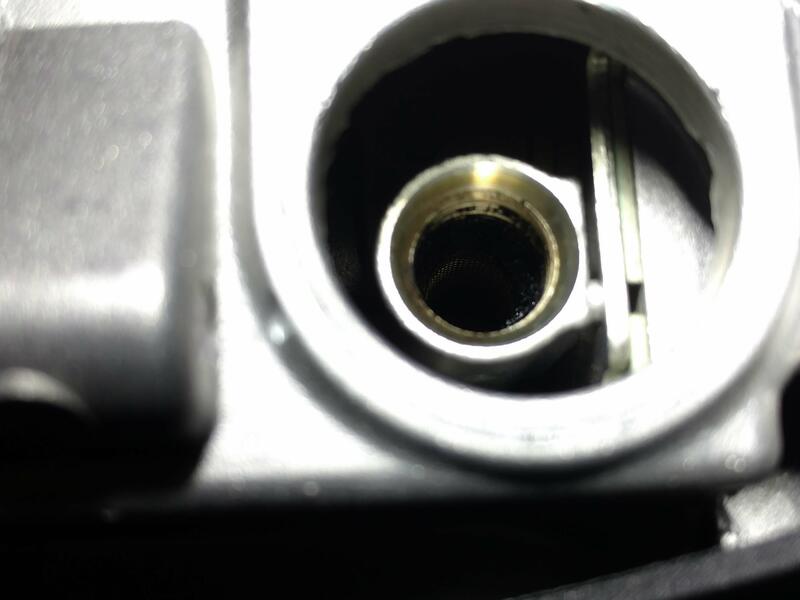
If the filter is still in good condition but clogged partially clogged with diesel varnish or other contaminants, run it carefully over hot water with soap, take some paper towel and gently scrub the outer and inner portions of the metal screen and white plastic. Rinse again with plain hot water to remove all soap and other guck. The clean filter is shown in the next image.
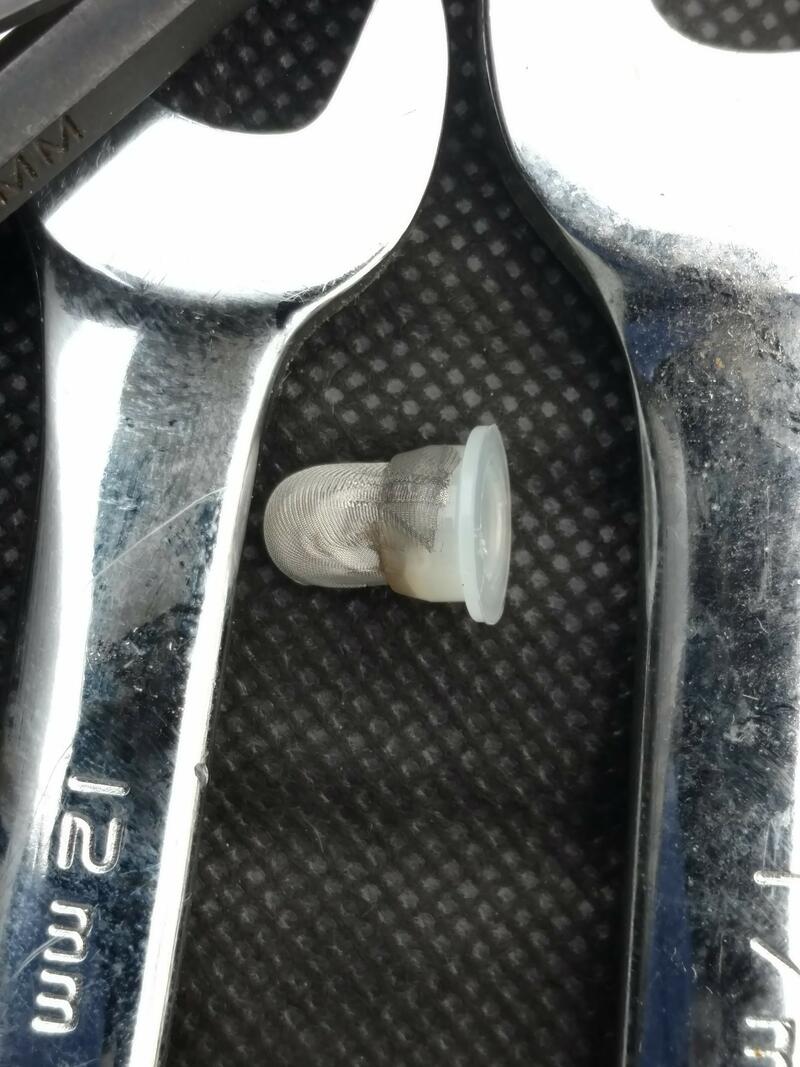
Ensure it is completely dry. Carefully using a compressed air gun to remove the moisture works as well.
Re-insert the undamaged fuel filter, hand screw on the metal tube, then snug the two nuts together with the wrenches.
Connect the hose for your Kerosene tank to the fuel pump, and tighten the circle clamp.
After performing this procedure, run Kerosene through Espar D2 instead of diesel, for about an hour to hopefully burn off any excess carbon deposits in the heater. Then turn off the heater, ensuring the fan is no longer running. Then disconnect the hose for the Kerosene and then reconnect the hose for the diesel. The heater may try to start a couple times, or provide an Error 52 “No Flame Detected” and a red light on the DigiMax D1000 controller. Simply turn off the heater as normal, then restart again. The fuel lines need to be primed and may take 3 or 5 tries. Once the igniter turns on and creates the flame, you should not see any white smoke at all.
Test it once again by turning off the heater, waiting overnight on a sub-zero day, then restart again the next morning. No smoke should appear.
Other procedures should be performed as per the aforementioned video to perform preventative maintenance and keep the heater in excellent functioning condition.
Maintenance Time - 938 hours - January 4, 2018 - 10 months after installation (Lifetime: 938 hours)
A couple of days after running Kerosene through the heater, an exhaust smell was apparent inside Discovery. Turned off the heater, then went to a local Espar dealer Cool-It to purchase some basic maintenance parts for the first time. Decided to attempt a complete disassembly of the Espar, saving several hundred doallars in service costs.
Maintenance Part costs
Purchased the following items from the local Espar dealer. Links to the equivalent parts on Amazon are provided below:
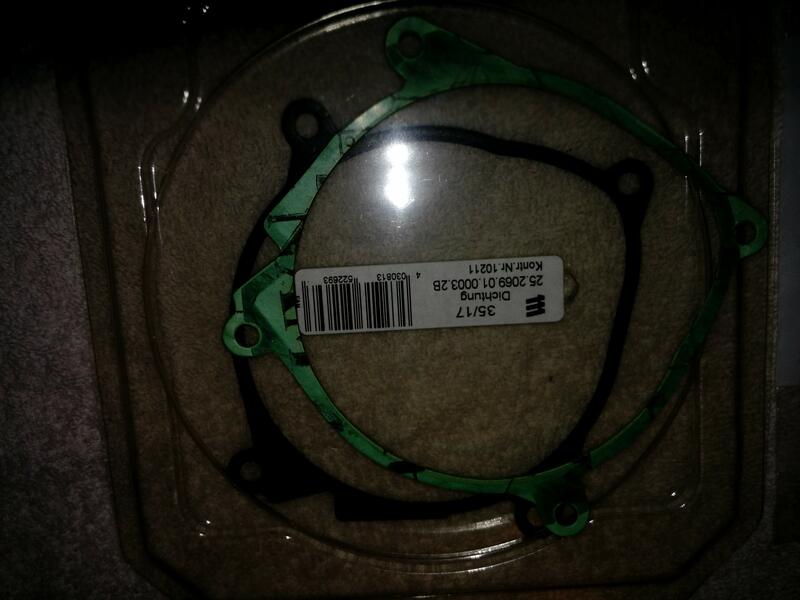
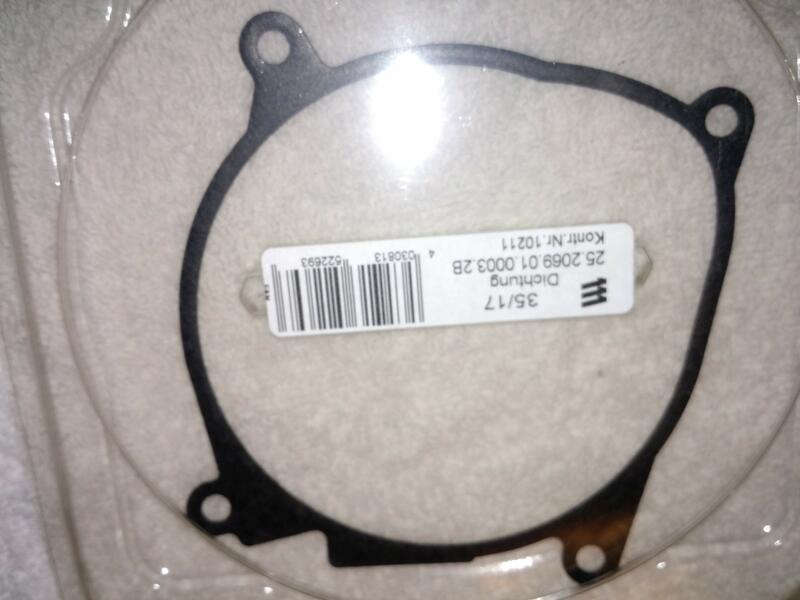
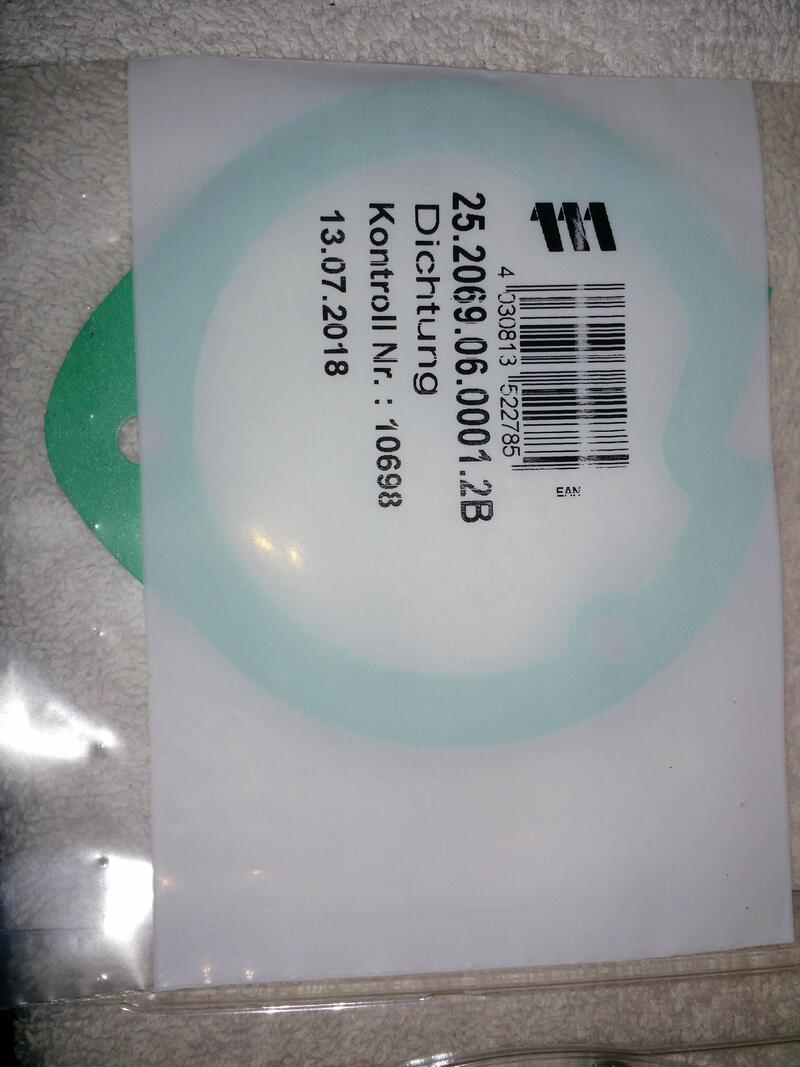
- Espar Airtronic D2 Blower gasket (View on Amazon)
- Gasket for Burner, Eberspacher, 2kW, Air
- Glow pin screen and insert, Eberspacher All Wattages, Air (View on Amazon)
- Socket for Glow Pin (View on Amazon)
- Metal fuel filter (free)
If you don’t have an authorized local Espar dealer close by, you can purchase this kit off Amazon: Eberspacher Espar D2 Airtronic heater service kit (View on Amazon)
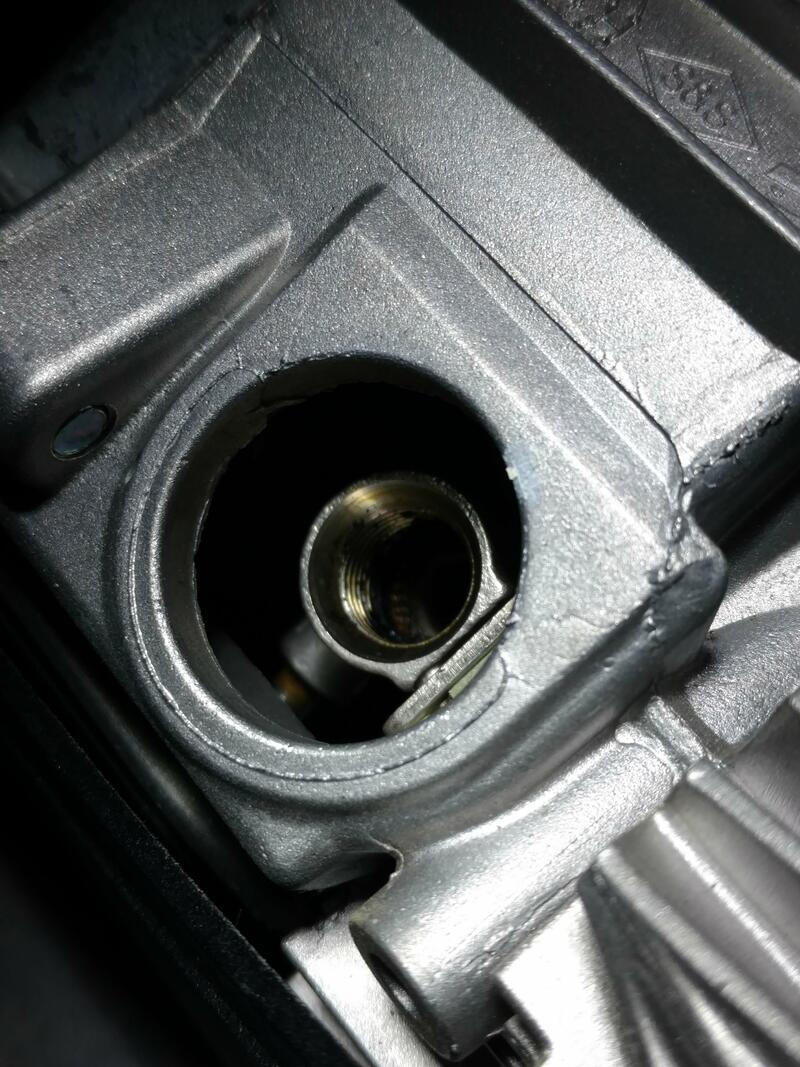
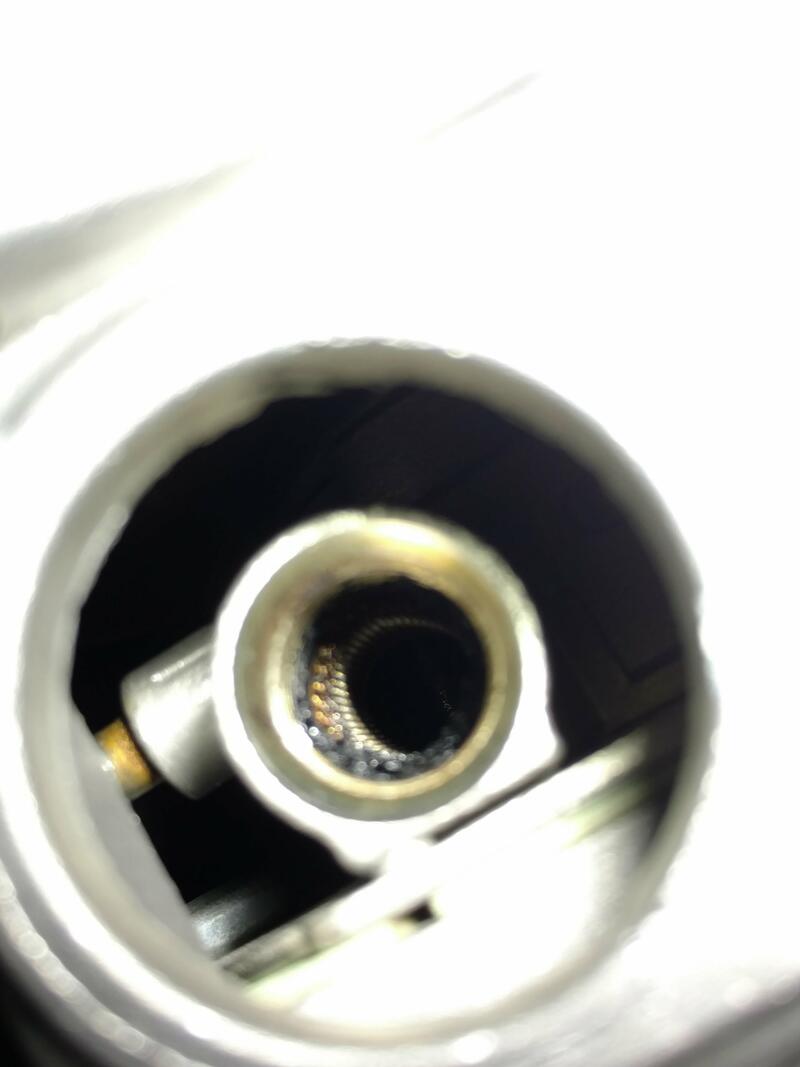
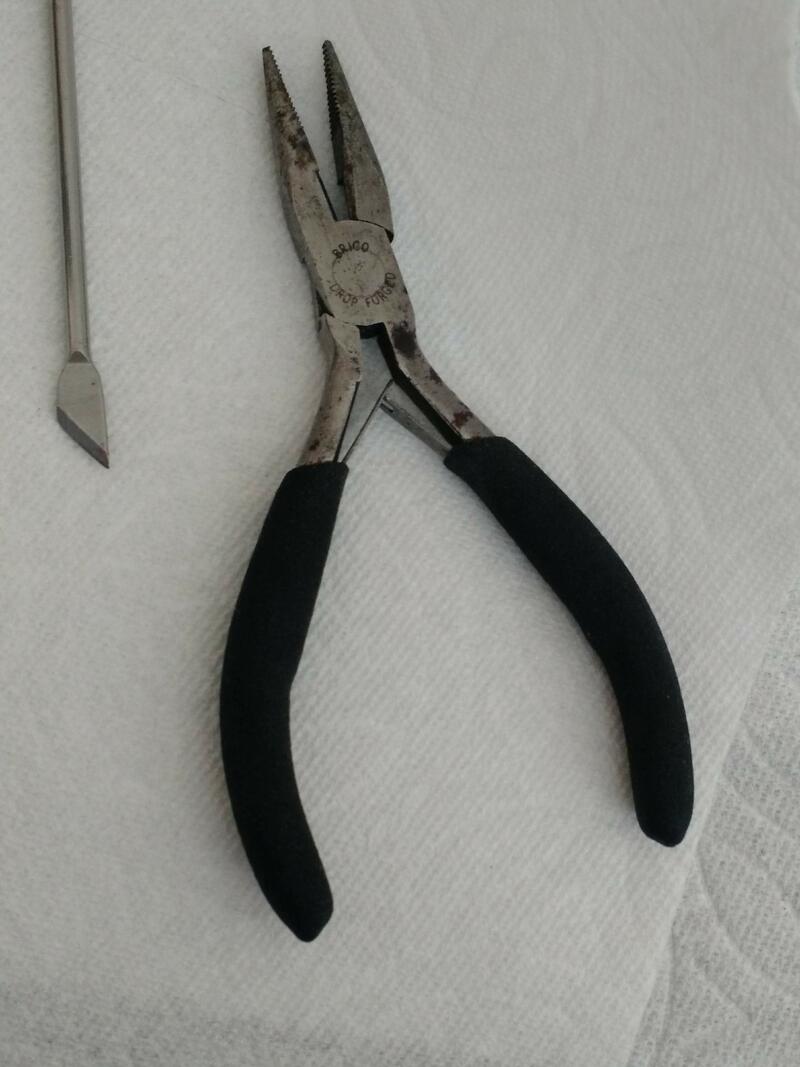
Intimidated at first, never having performed a complete removal and disassembly before. In the end it was actually quite easy, except for removing the atomizer screen. To remove the screen, a really thin pair of needle nose pliers is required to grab the old screen. Or use a very thin pick or flathead screwdriver to pull the screen away from the sides and then pull out the screen. If it’s really carboned up, it will be hard but not impossible to remove. I used a very old pair of Craftsman pliers, and used my bench grinder to grind the nose of the pliers much narrower. This worked VERY well. All I do is use a small screwdriver to bend the top edges of the atomizer screen away from the cylinder walls, then use my modified needle nose pliers and pull up on the screen. If you perform maintenance every 500 to 1000 hours, the screen will come out much easier.
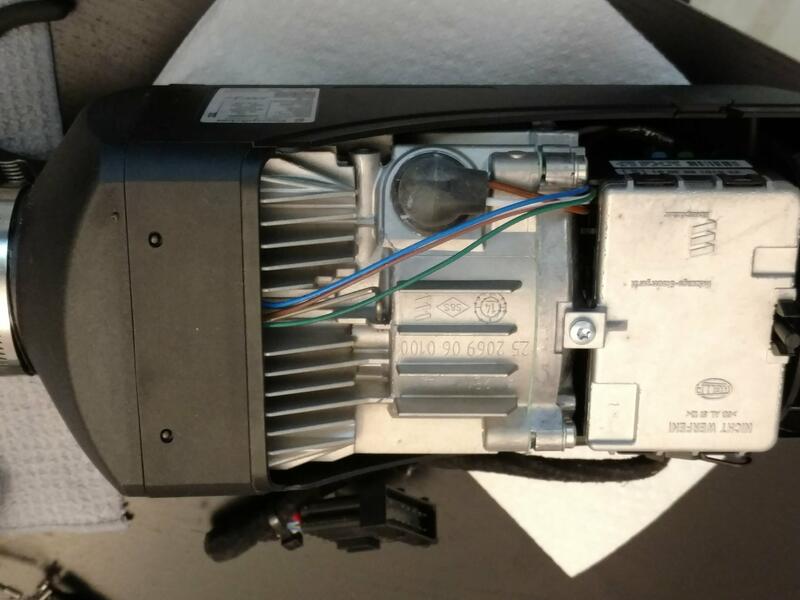
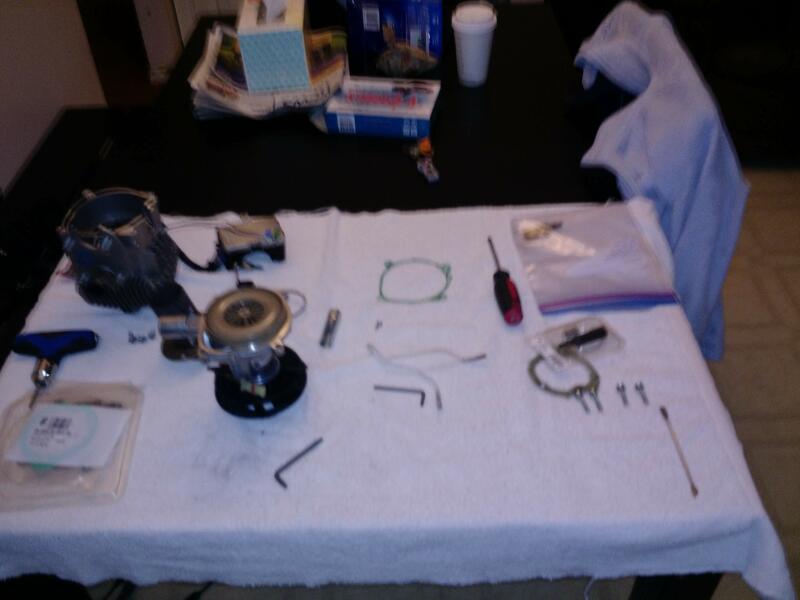
Once you get the heater out, disassembly is as easy as using a screwdriver.
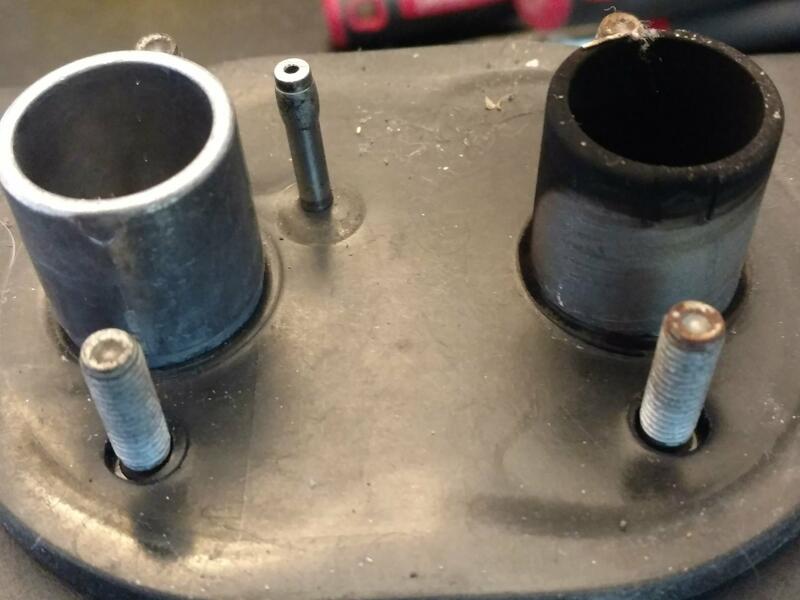
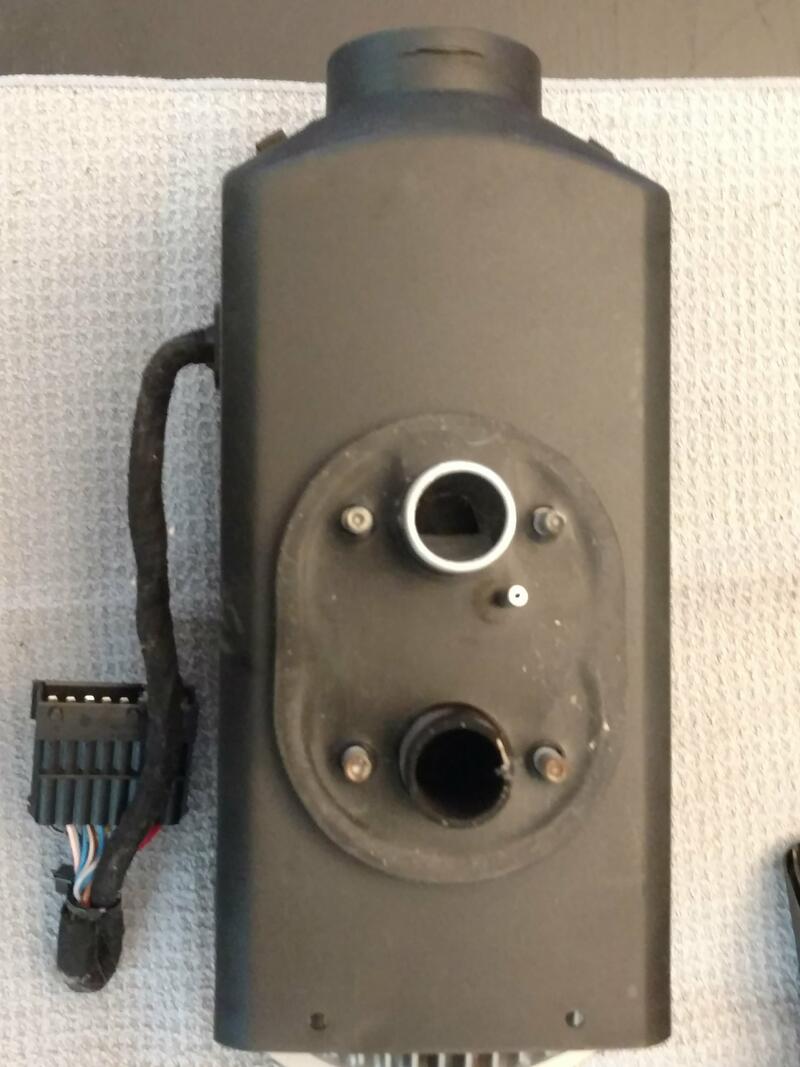
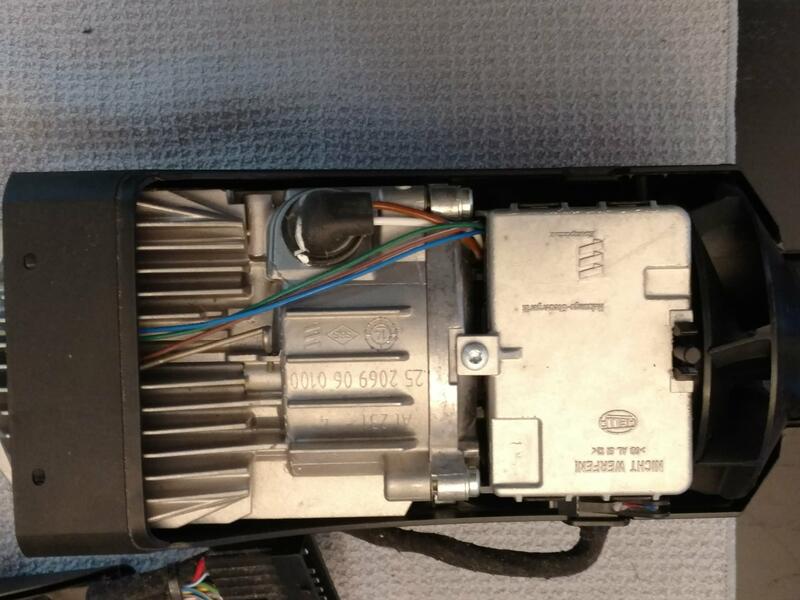
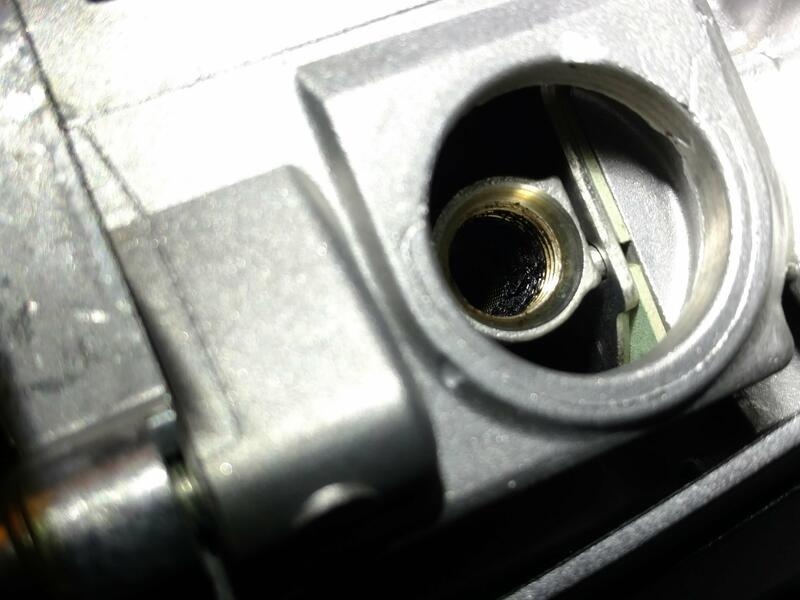
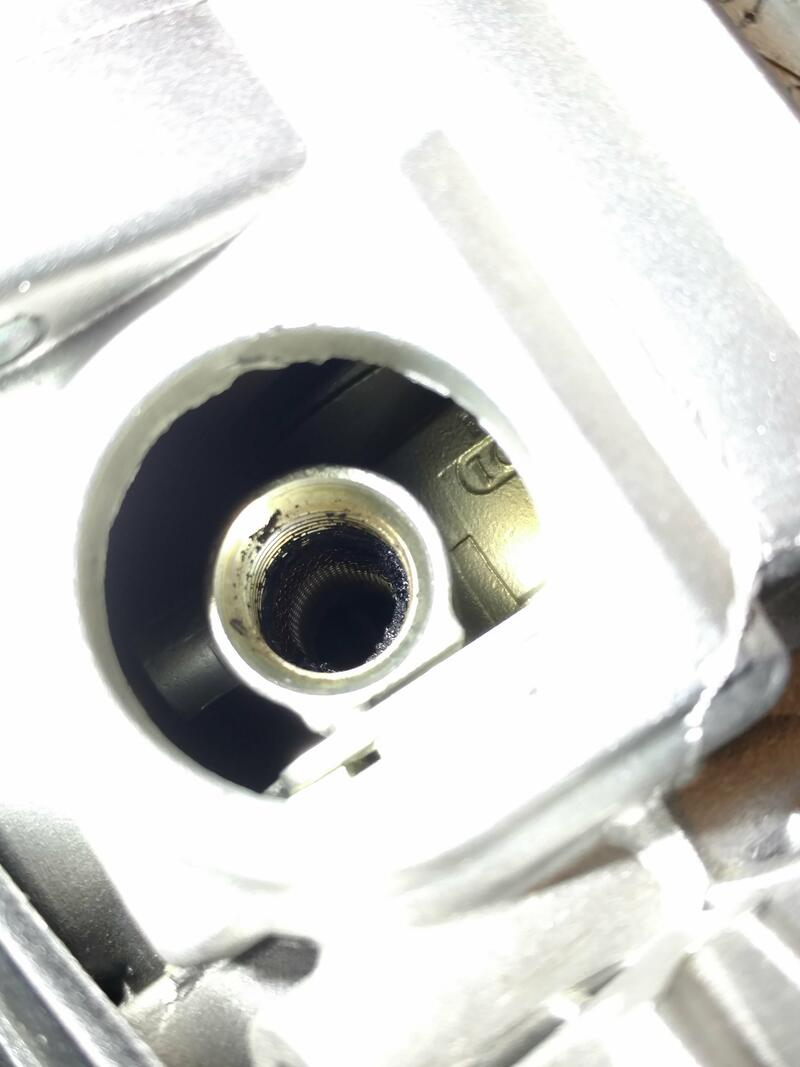
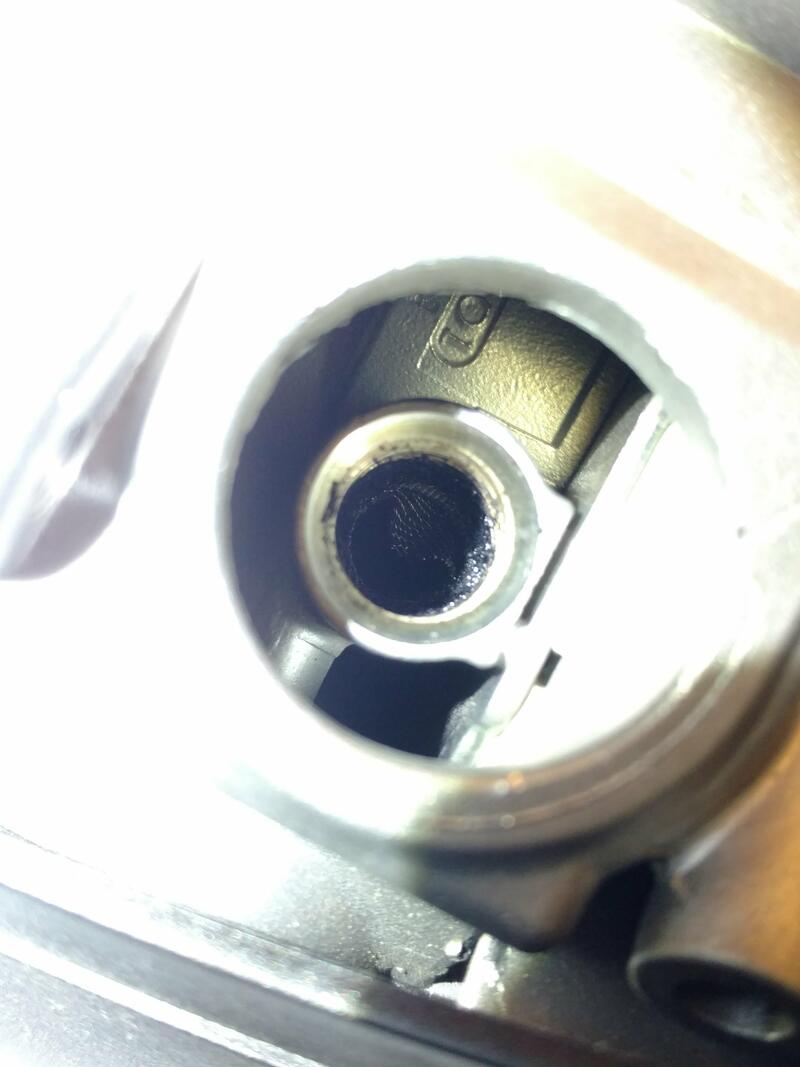
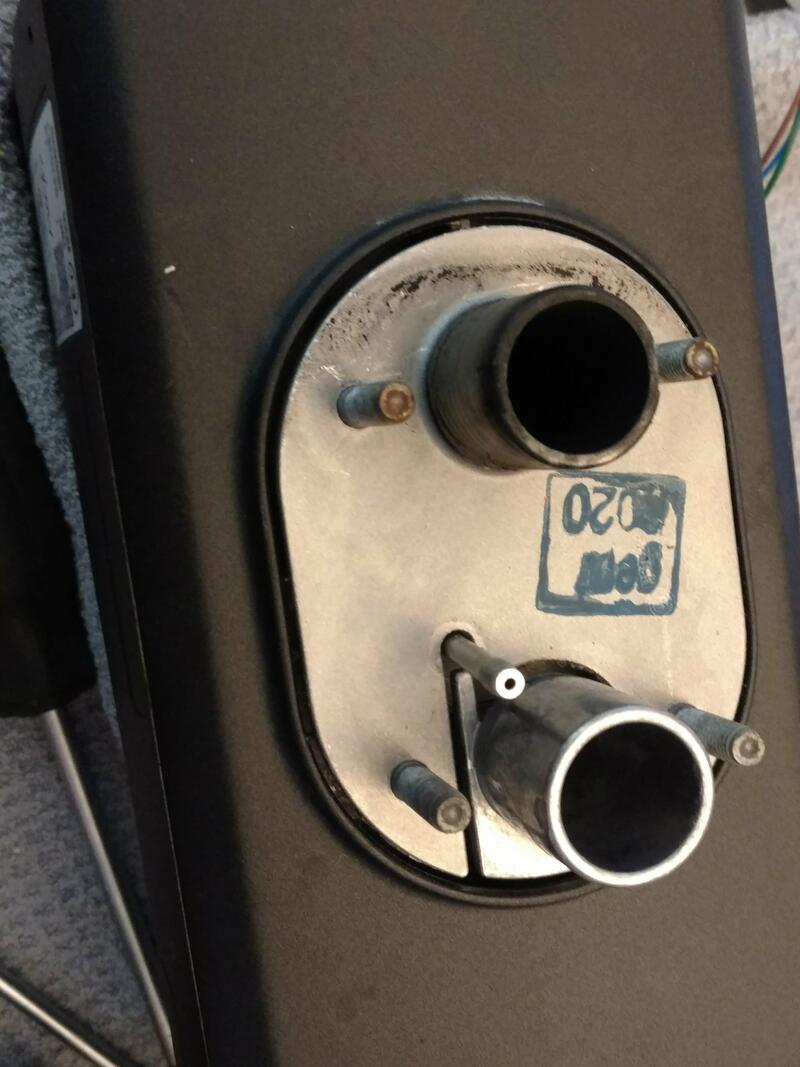
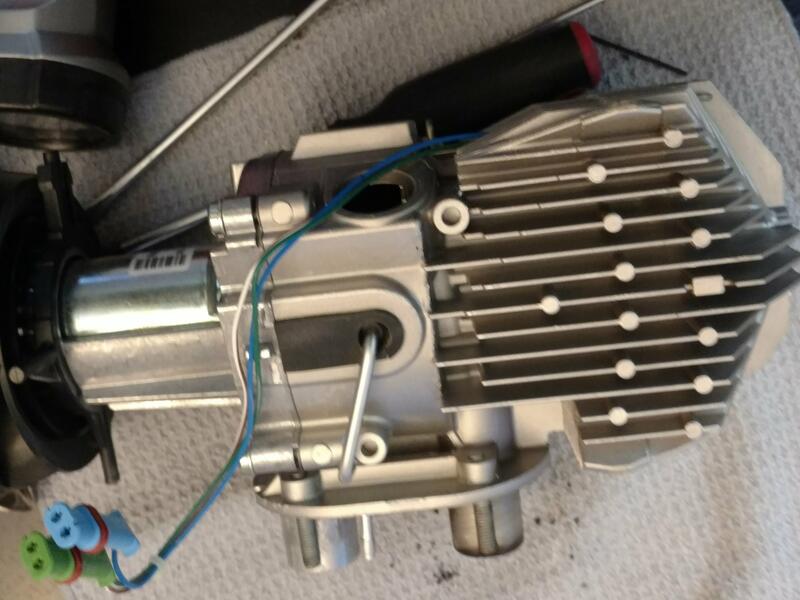
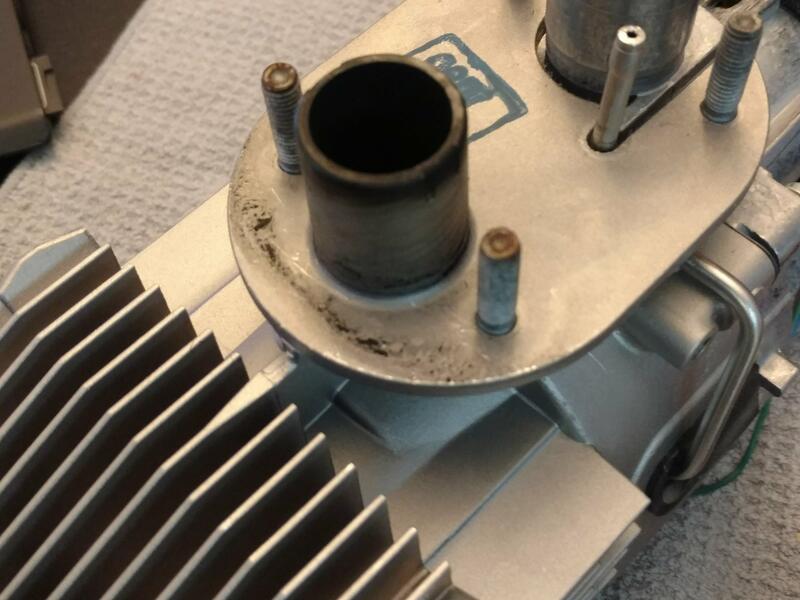
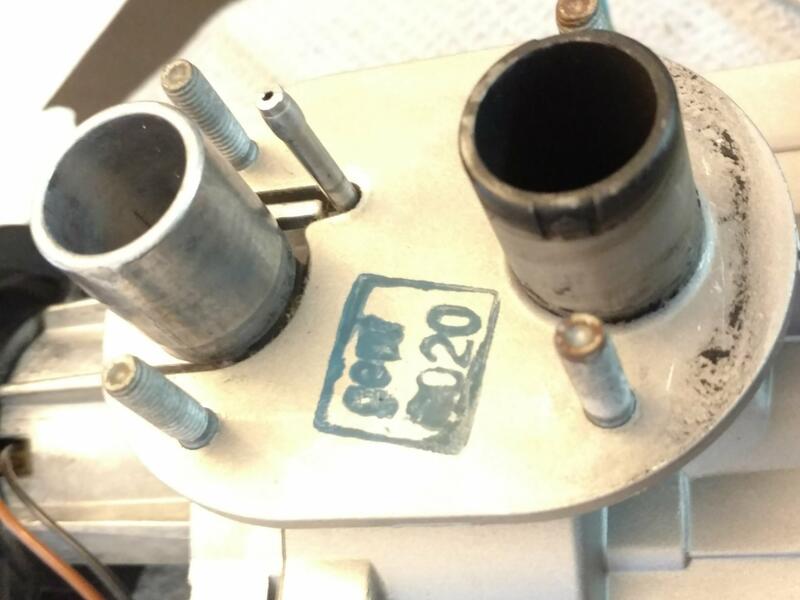
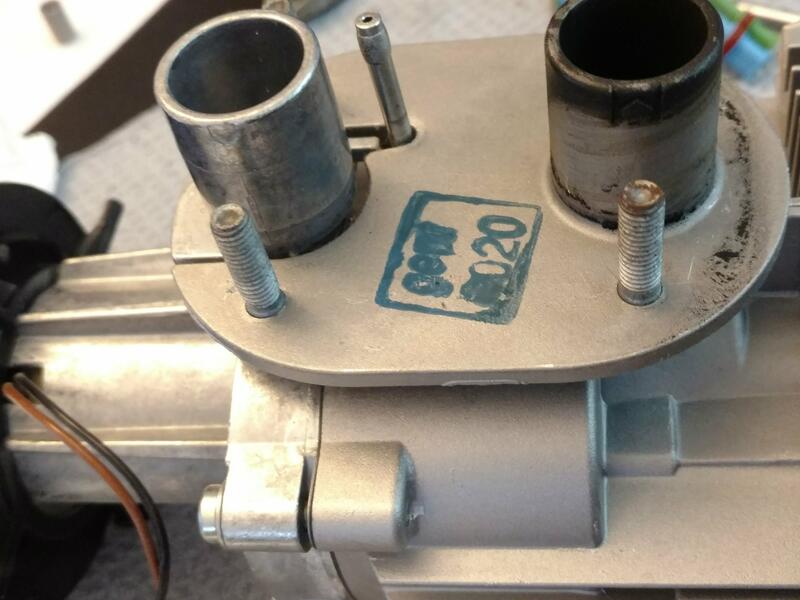
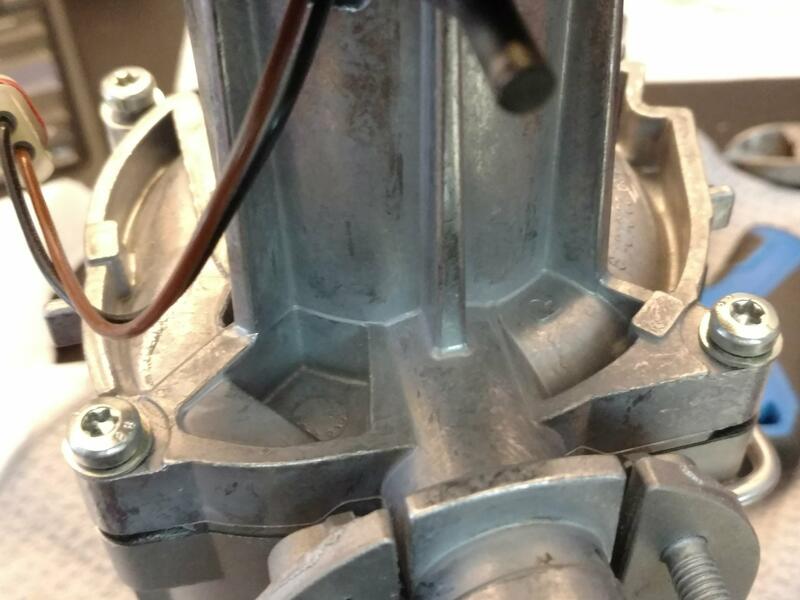
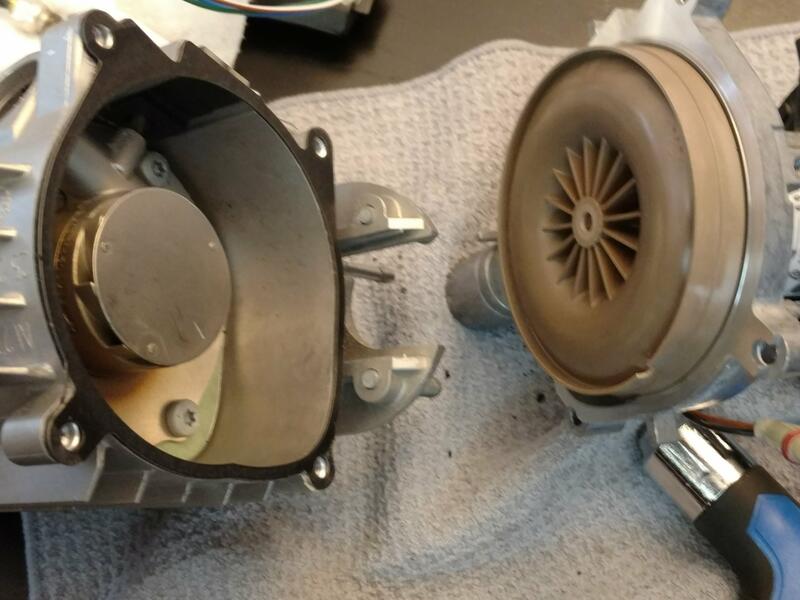
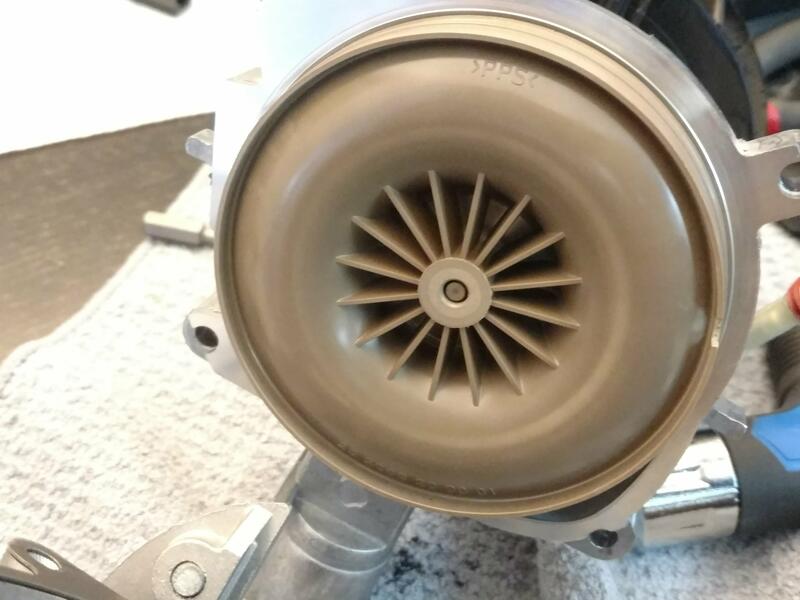
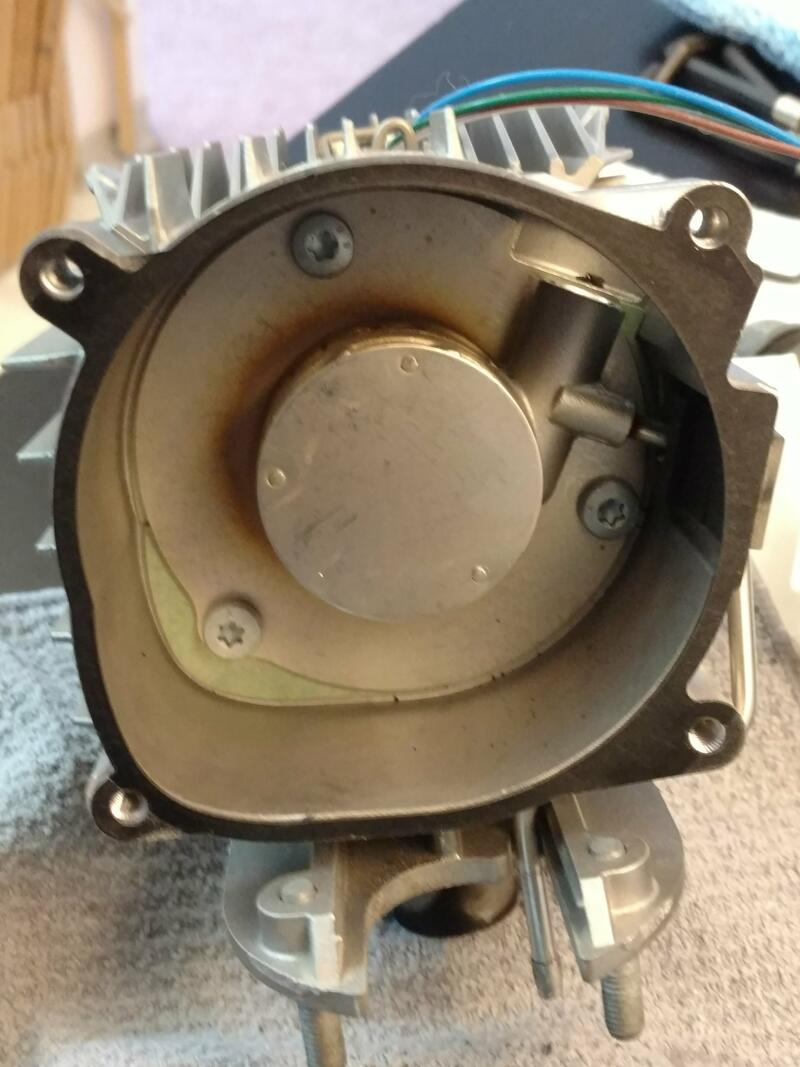
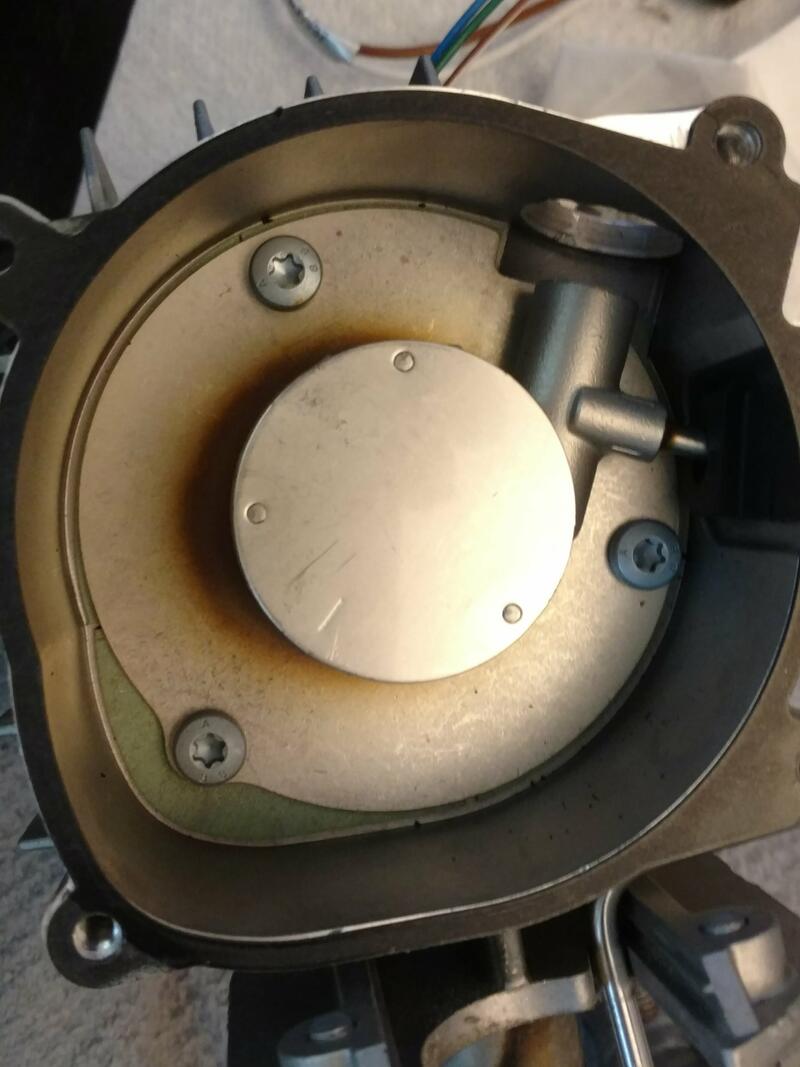
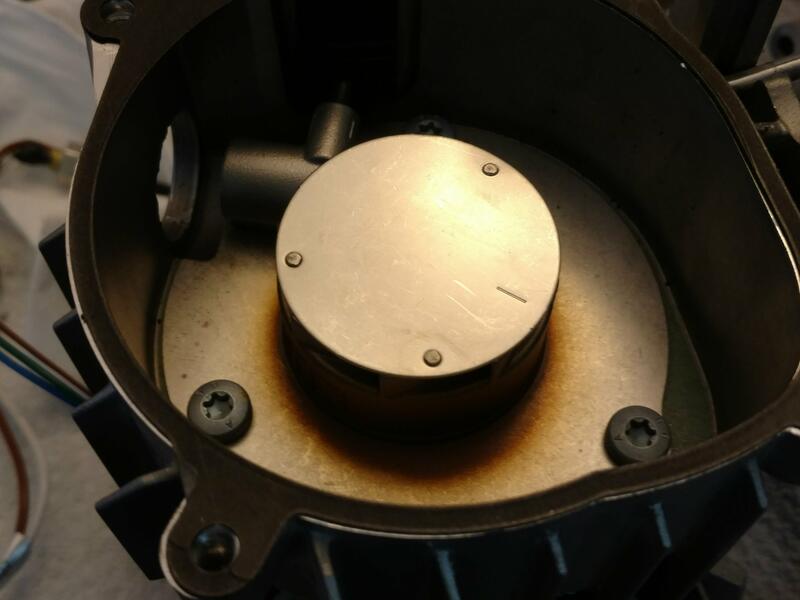
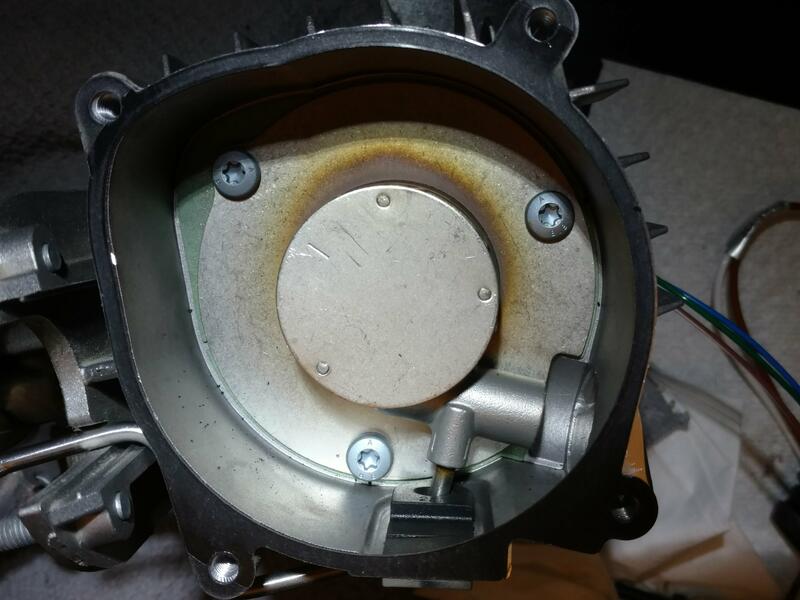
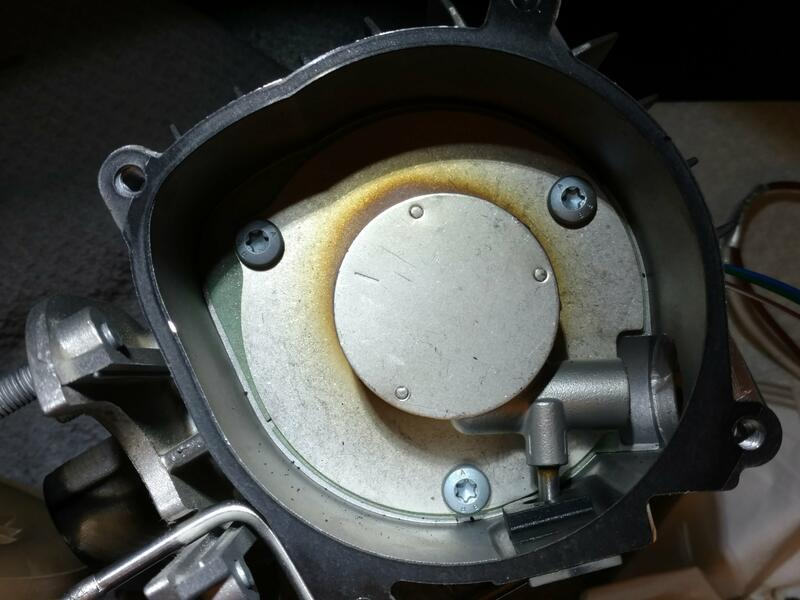
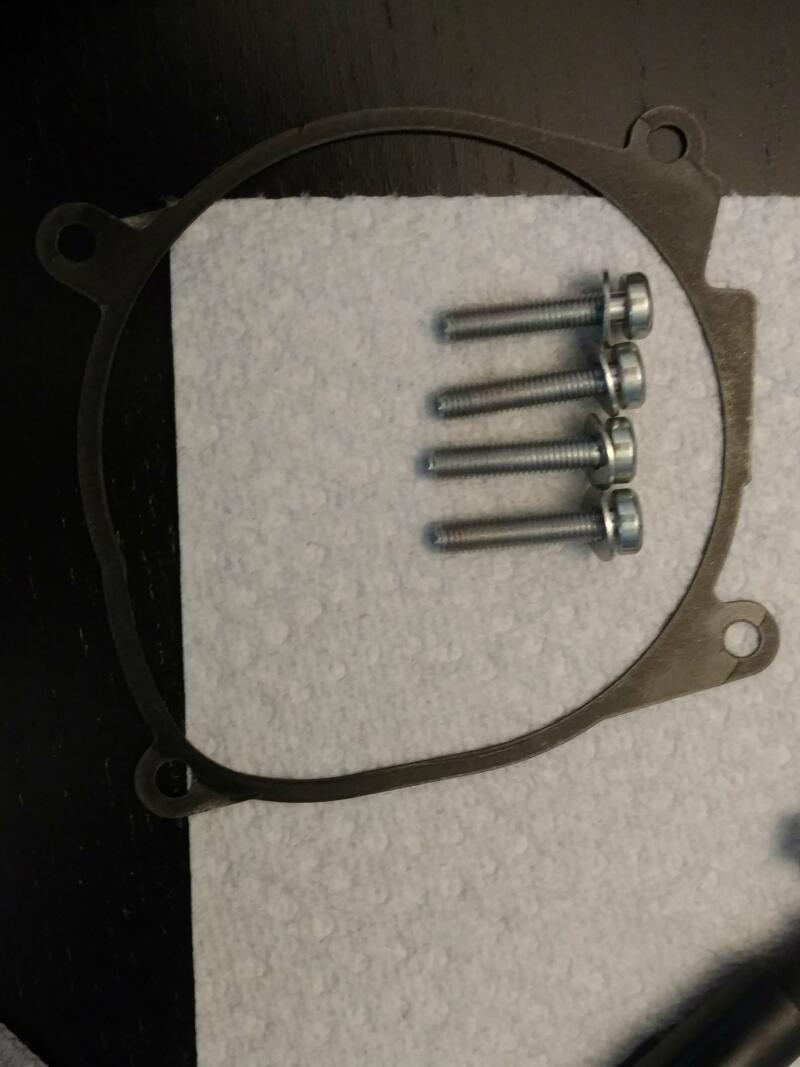
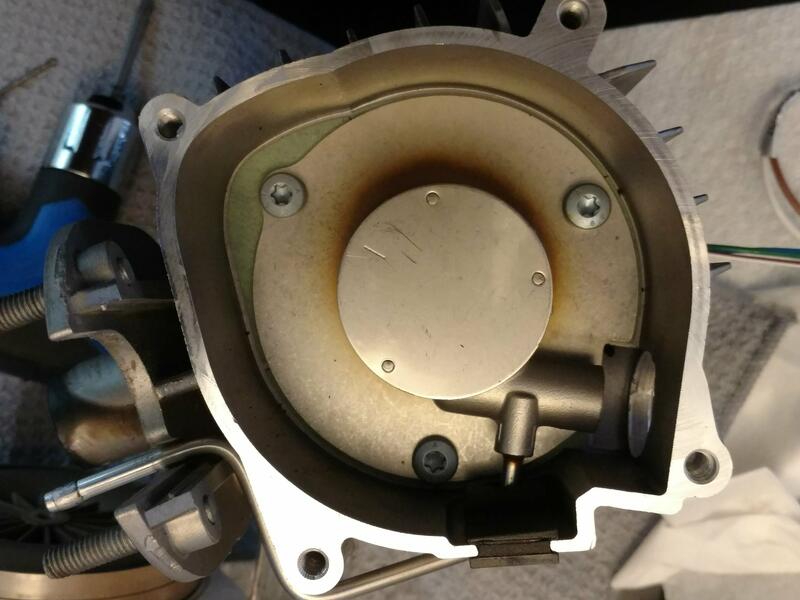
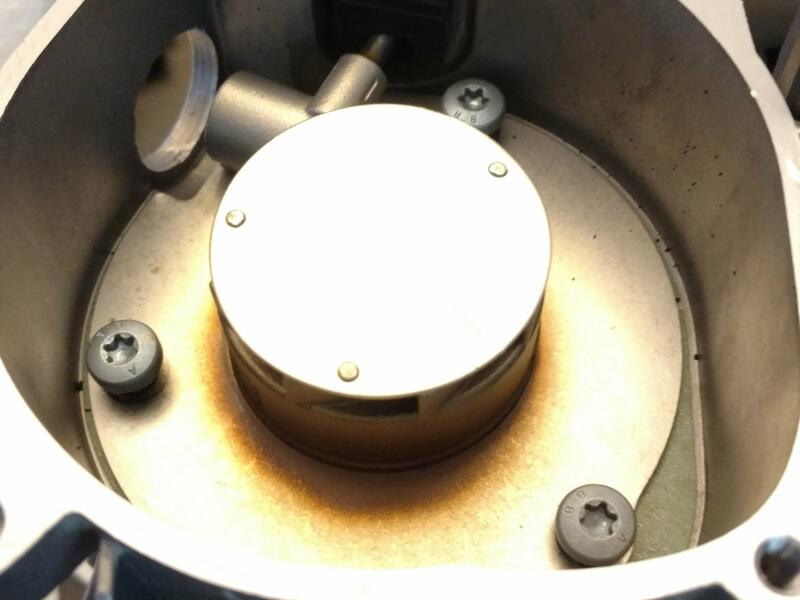
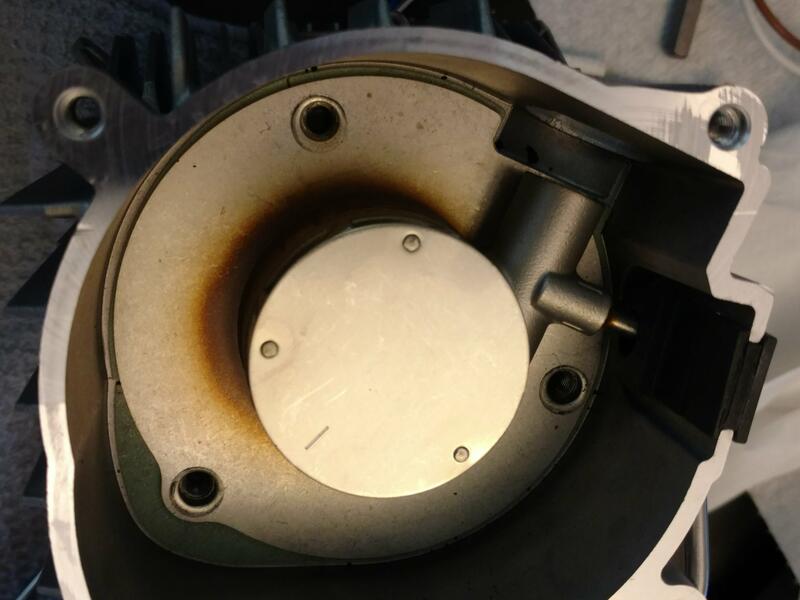
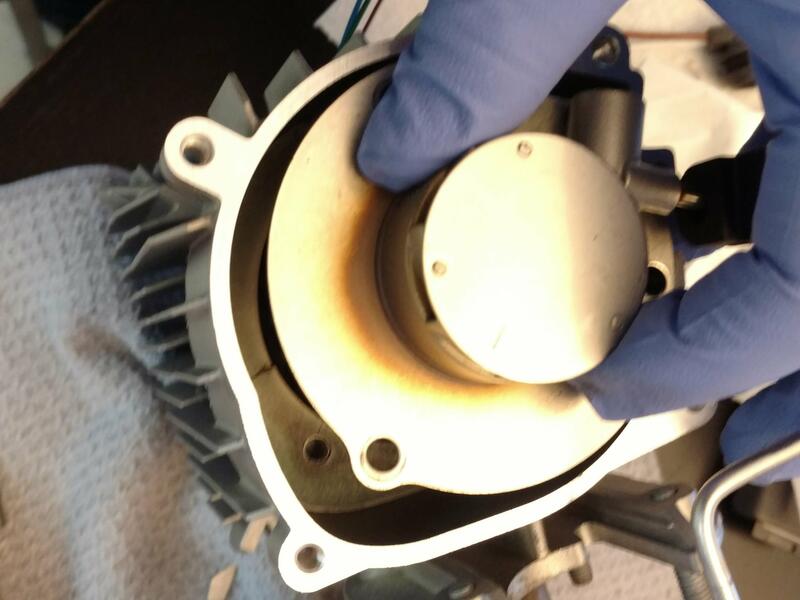
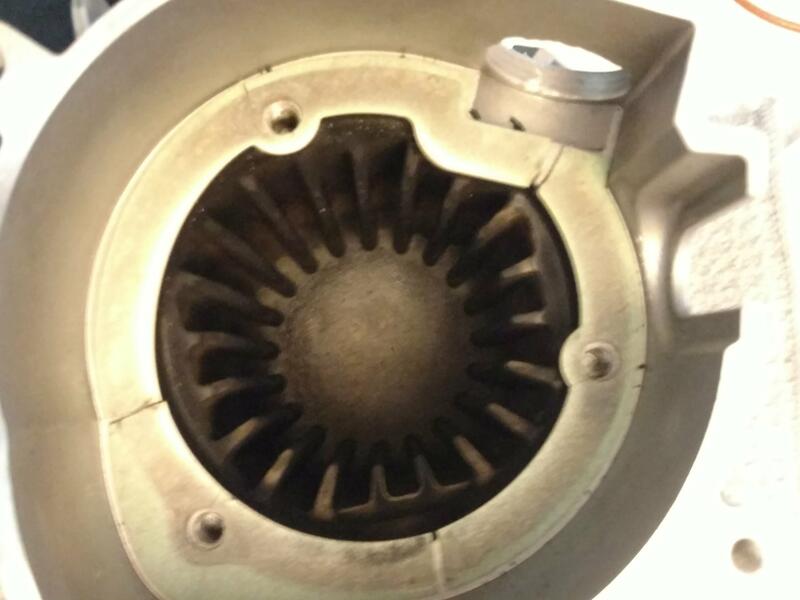
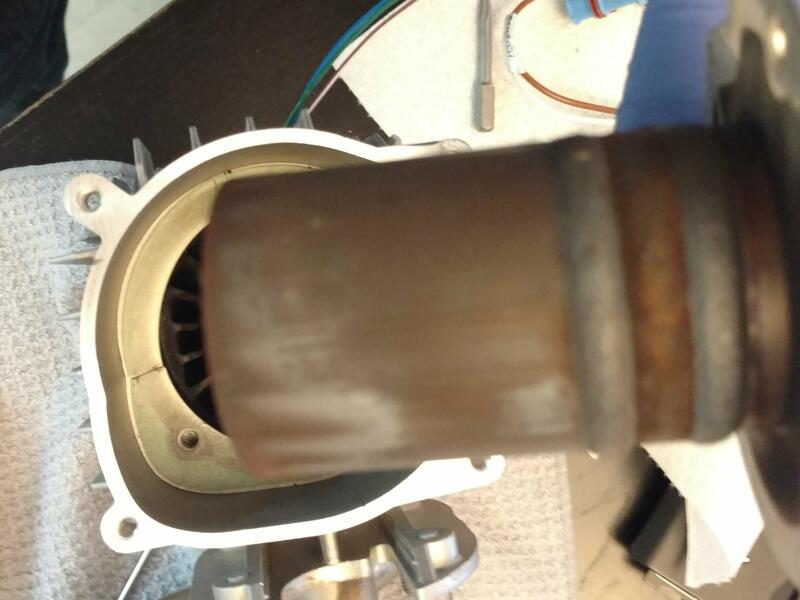
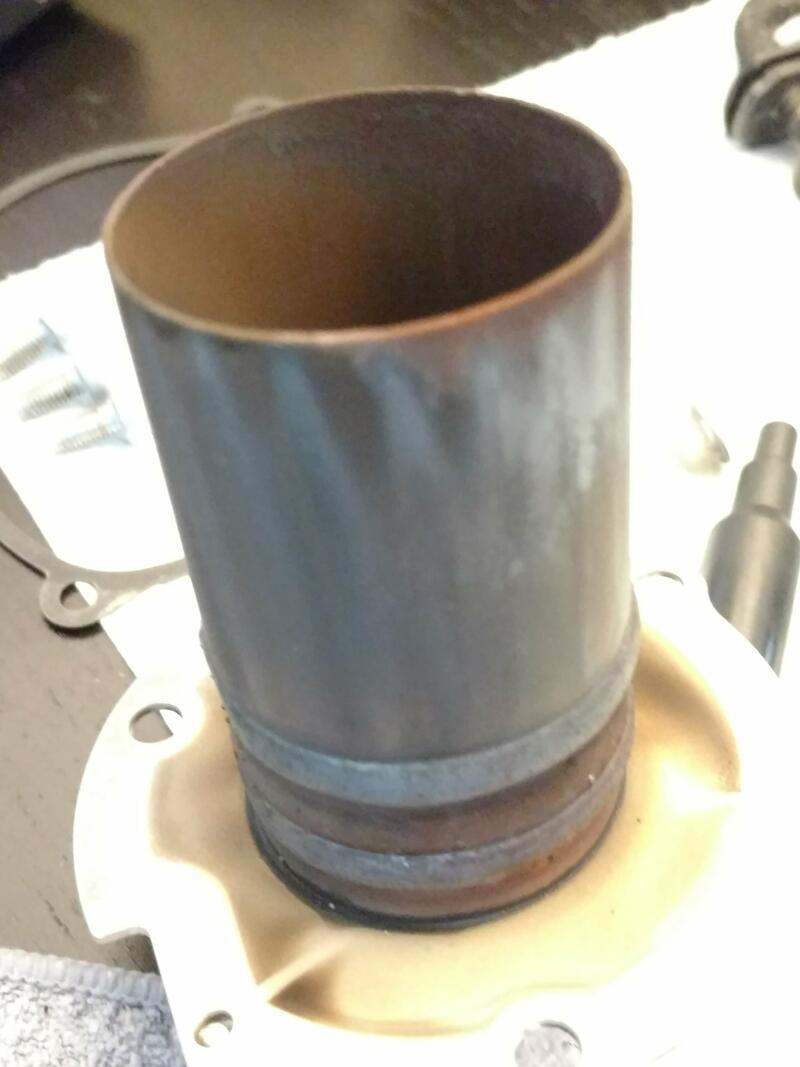
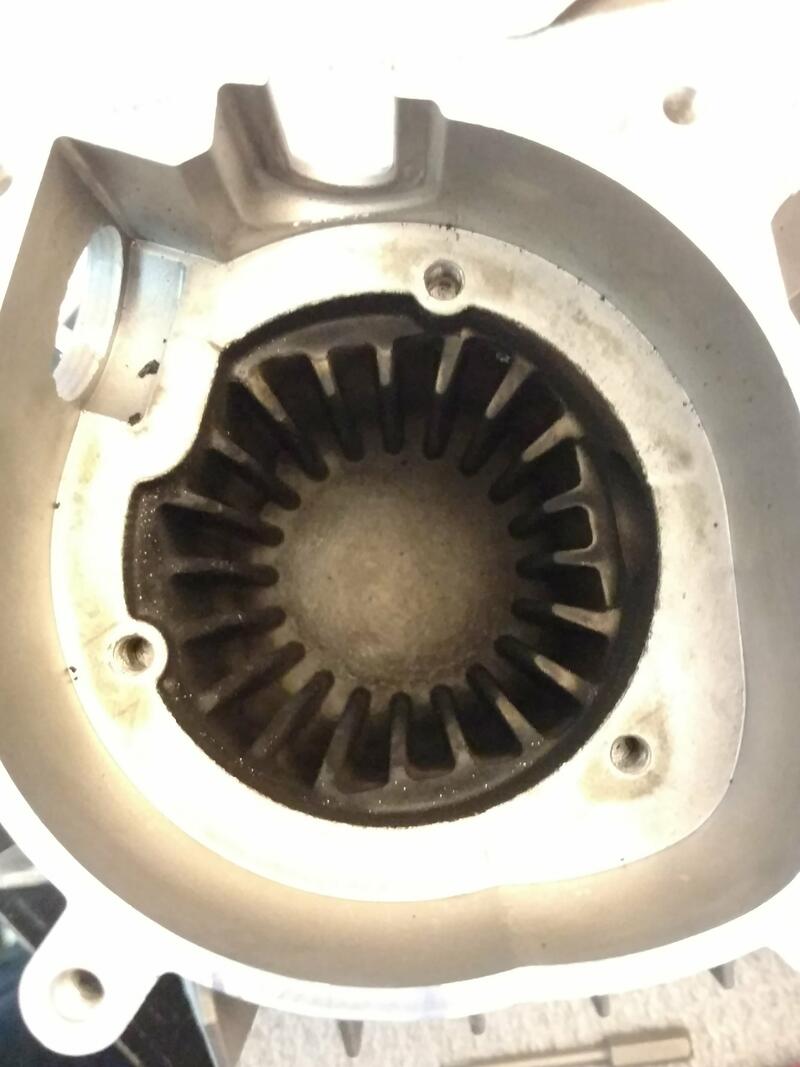
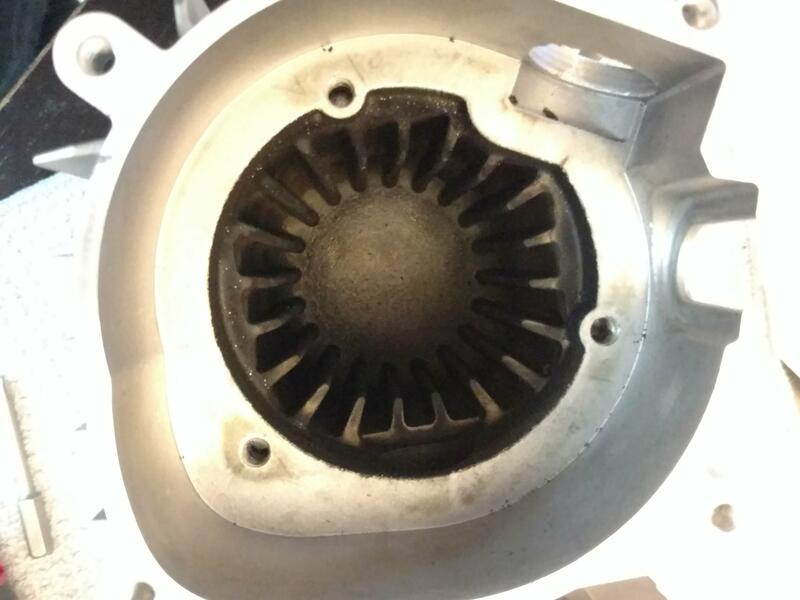
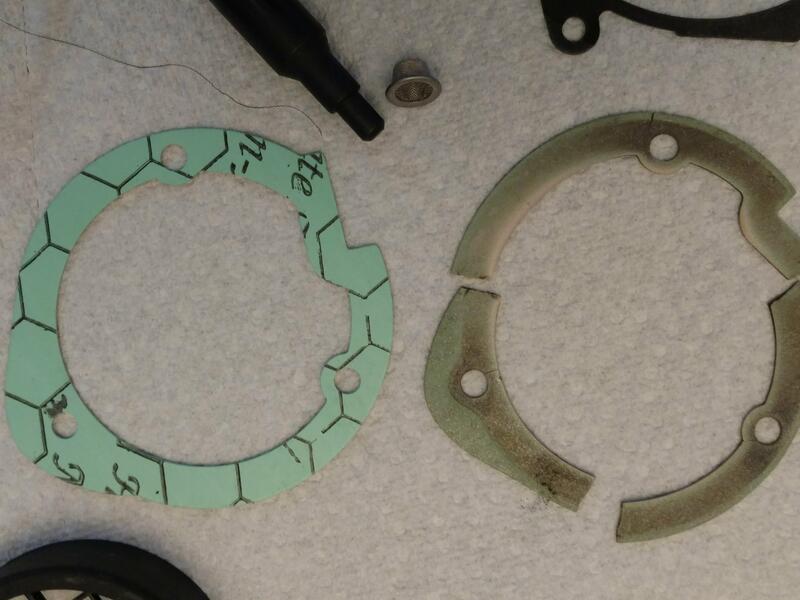
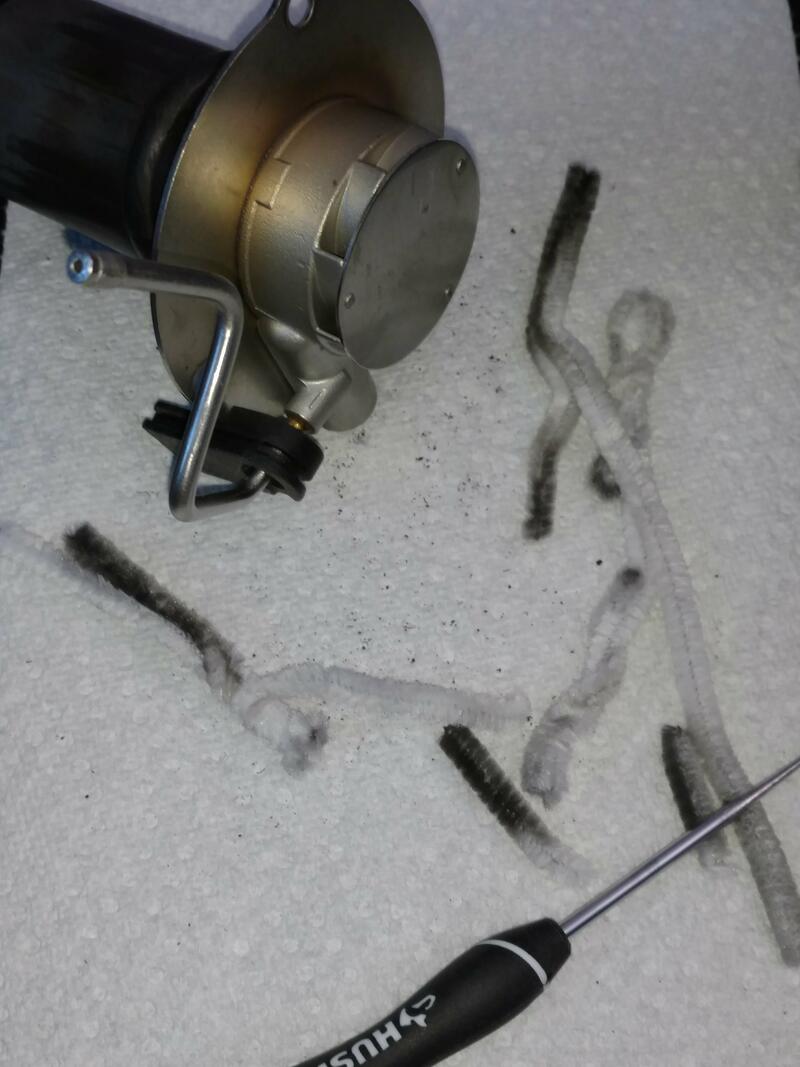
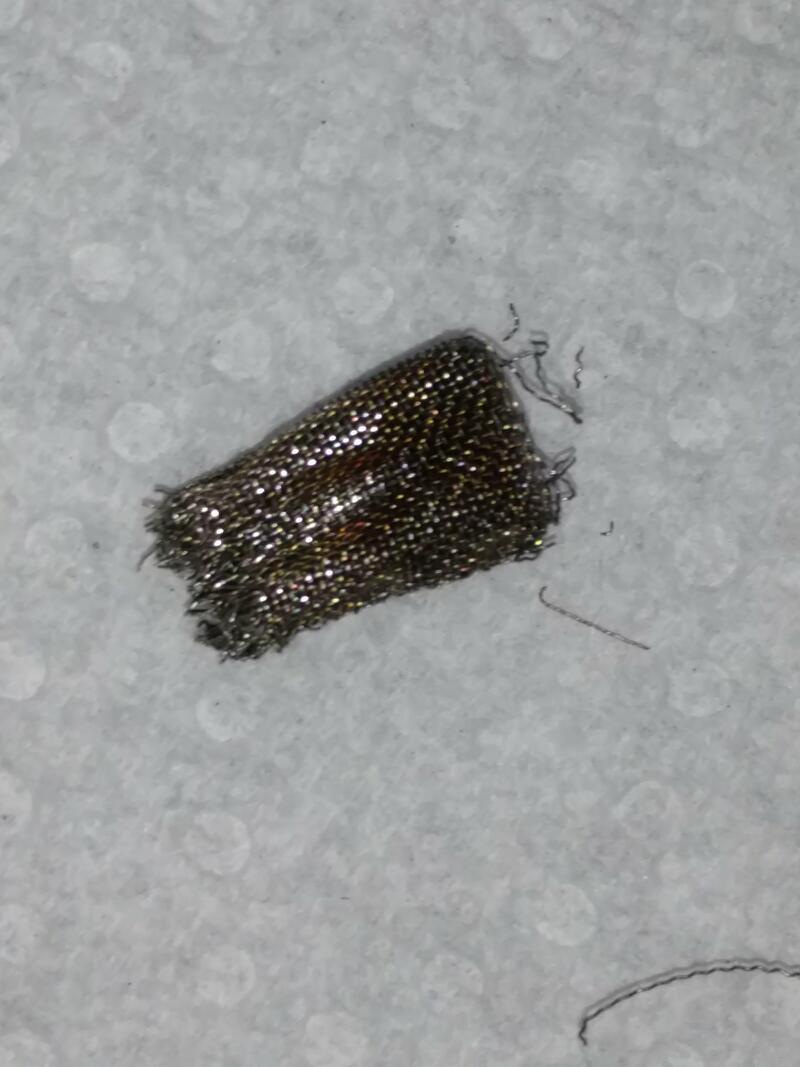
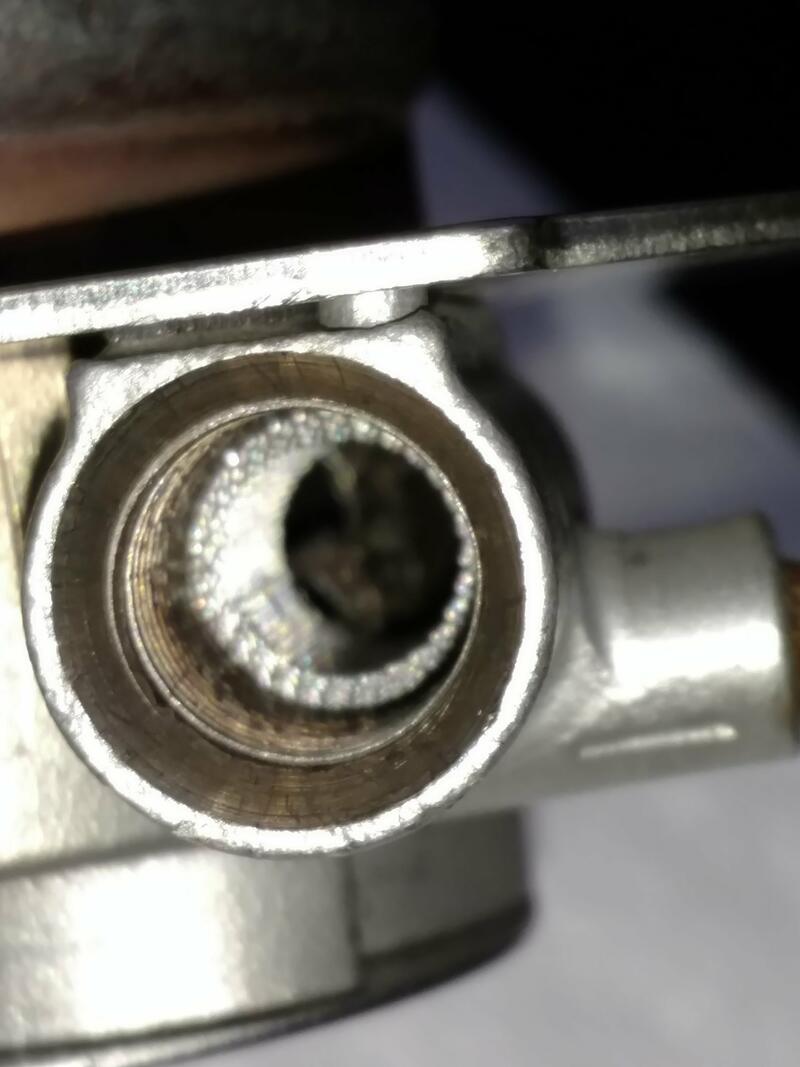
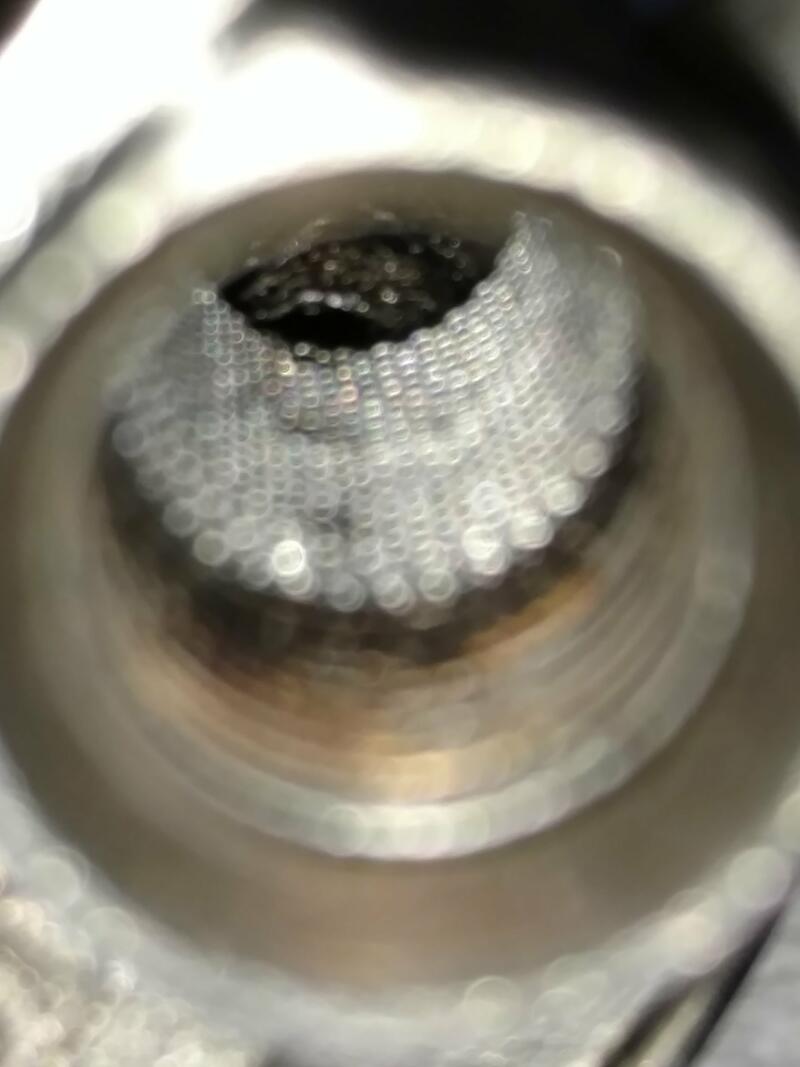
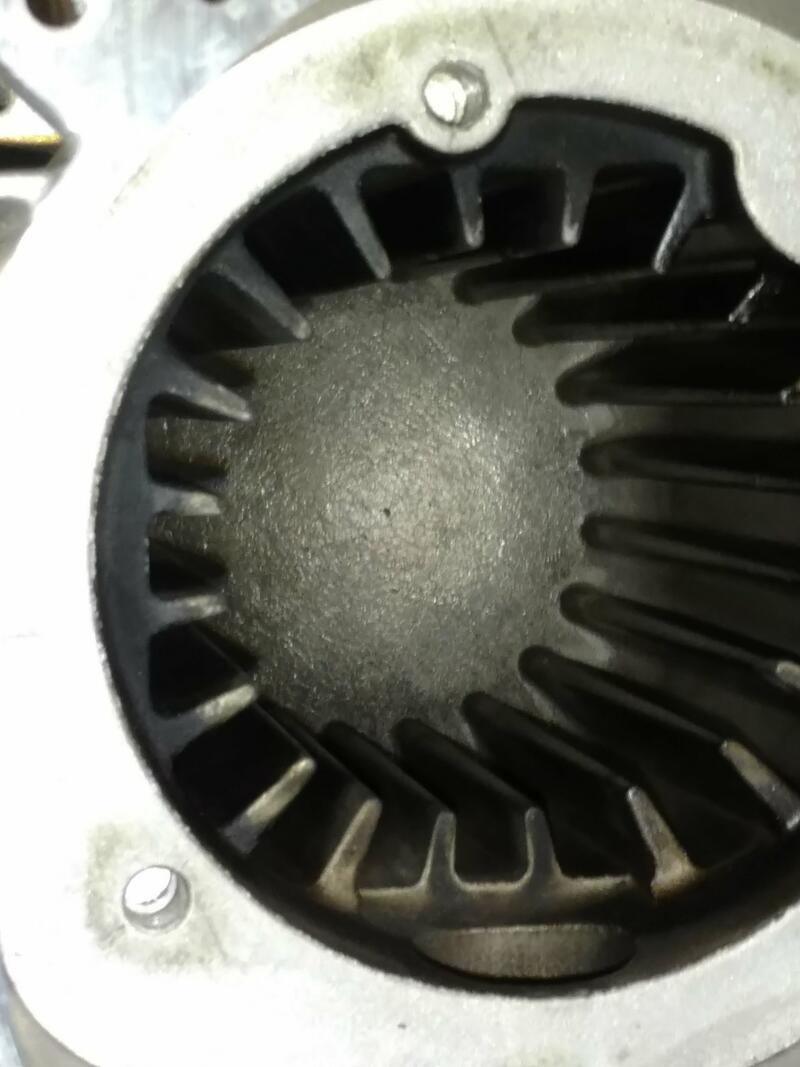
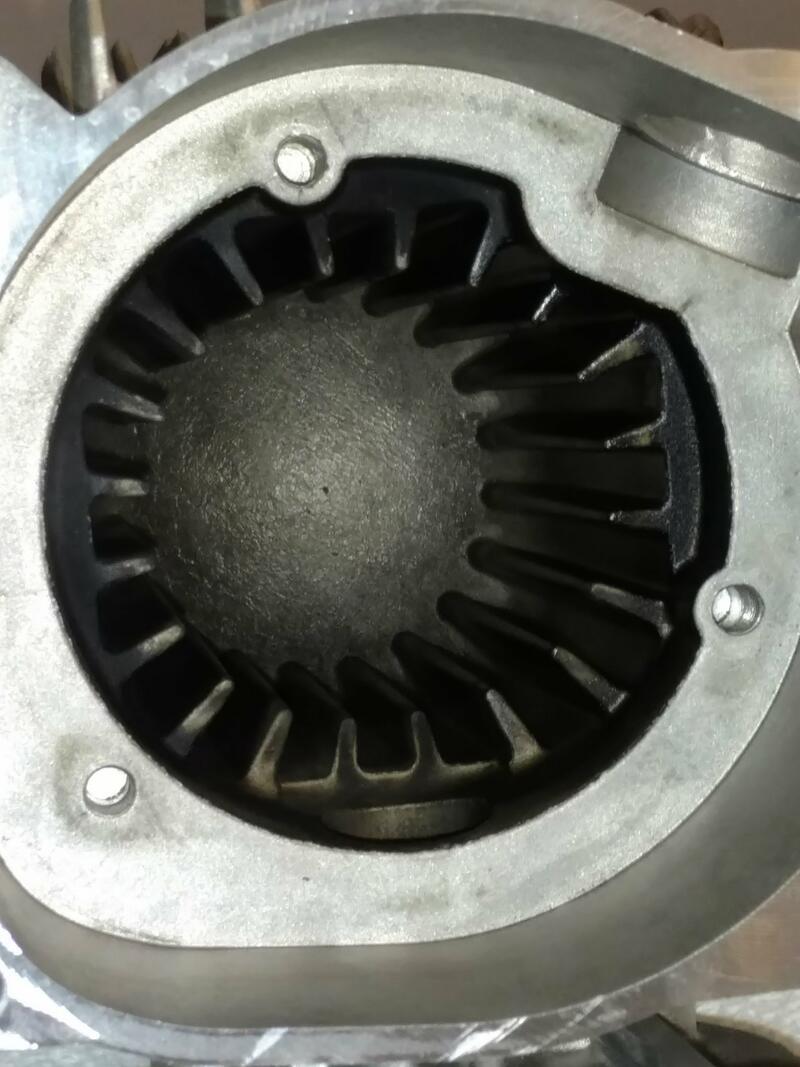
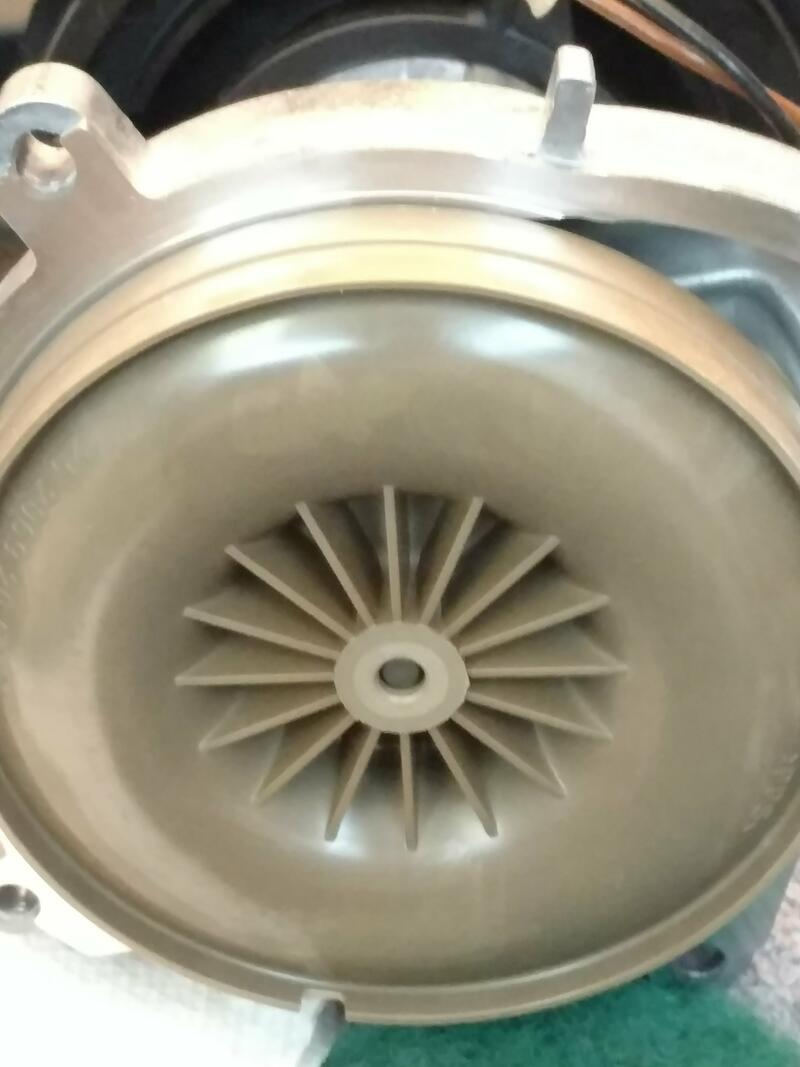
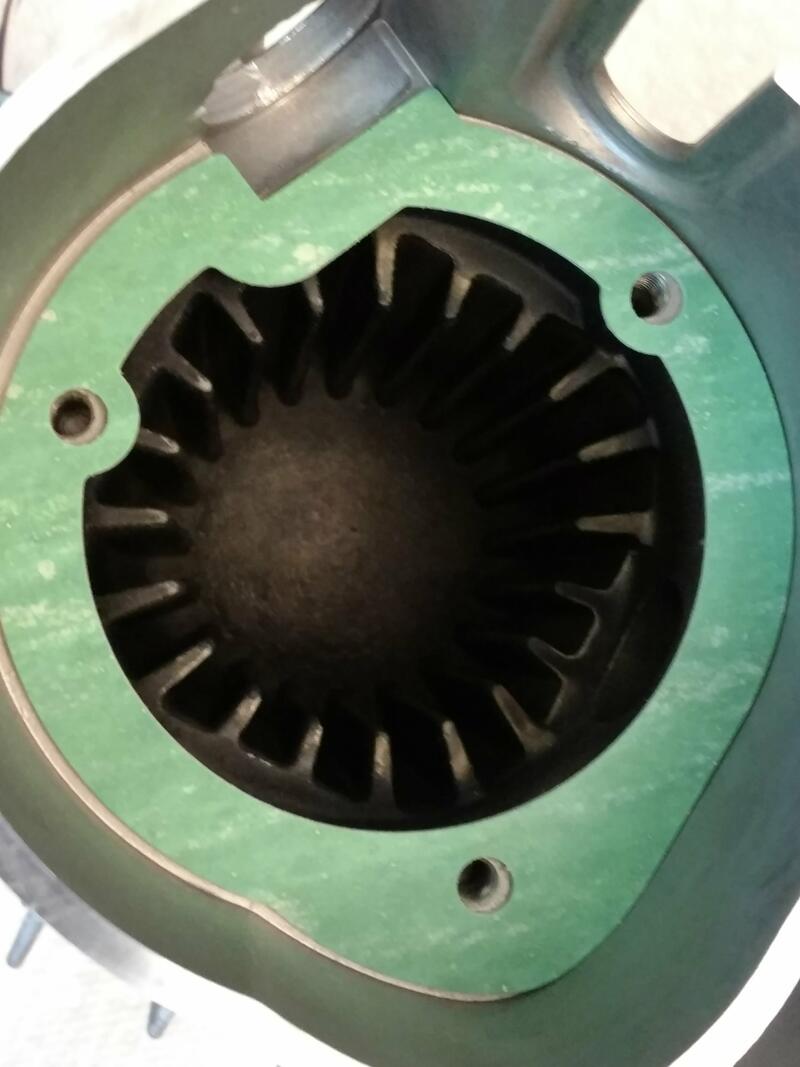
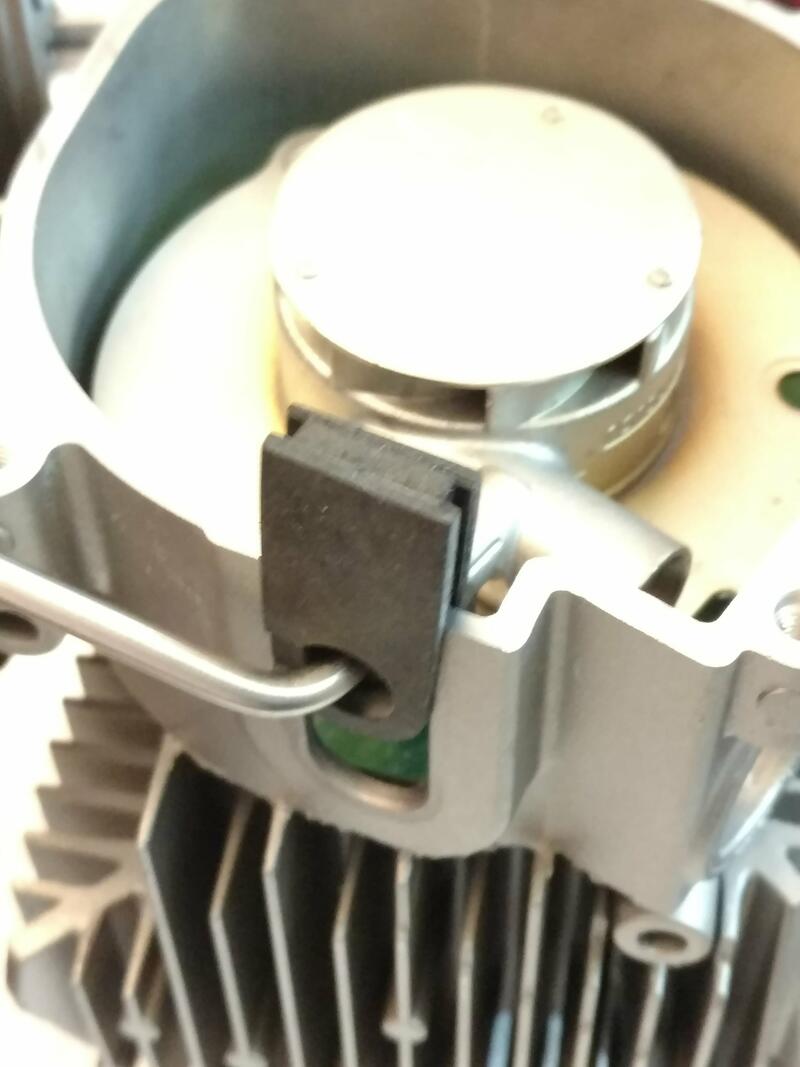
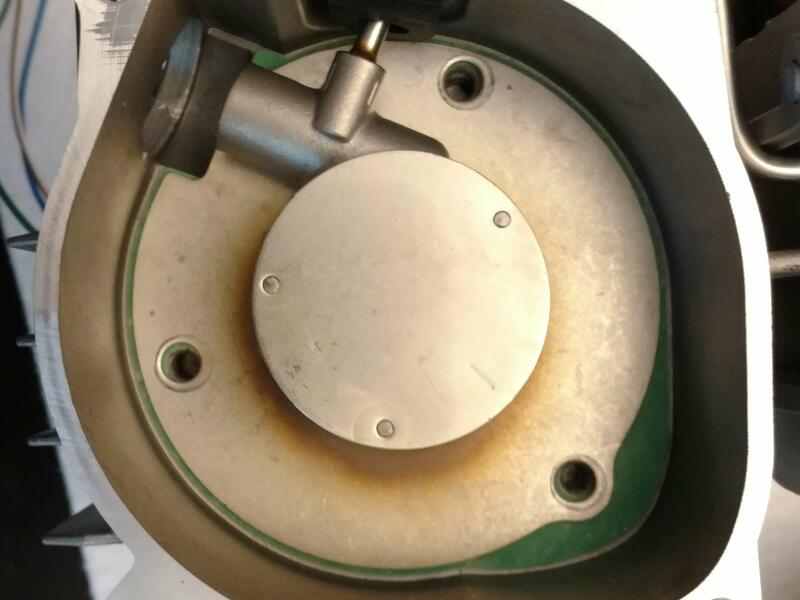
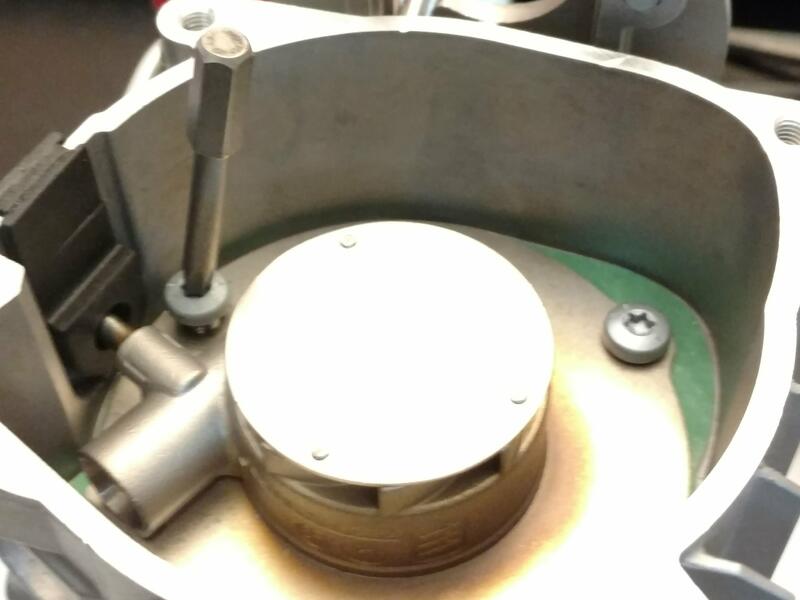
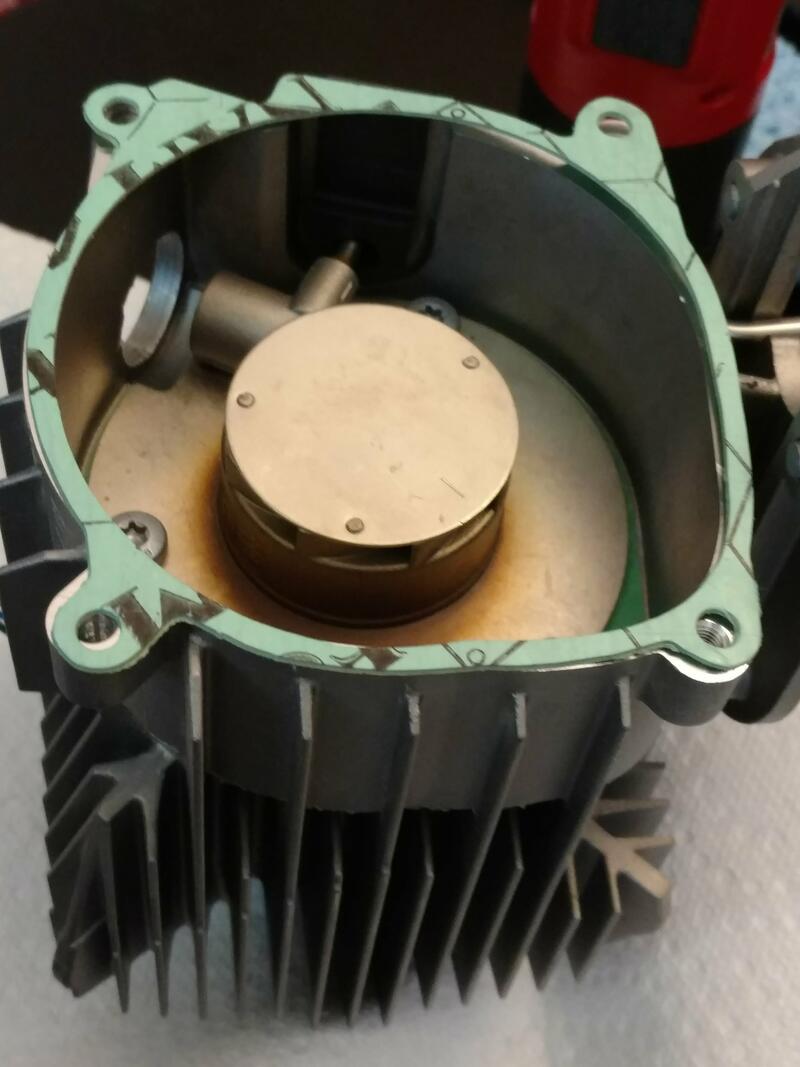
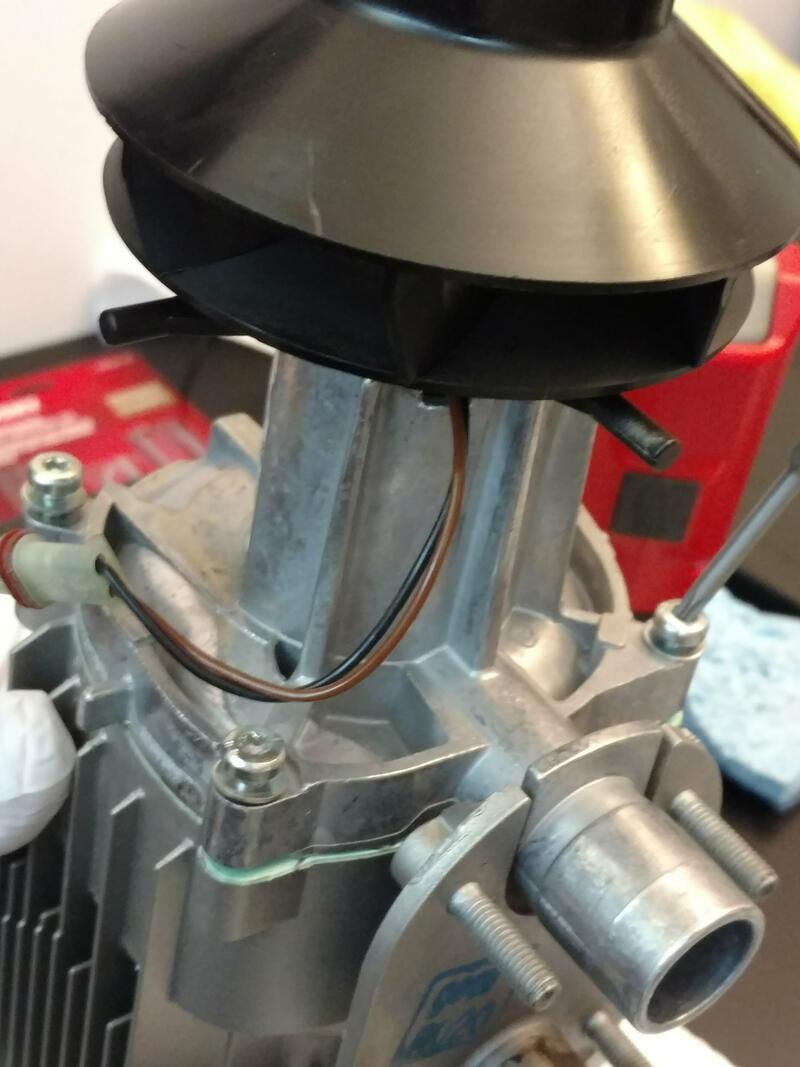
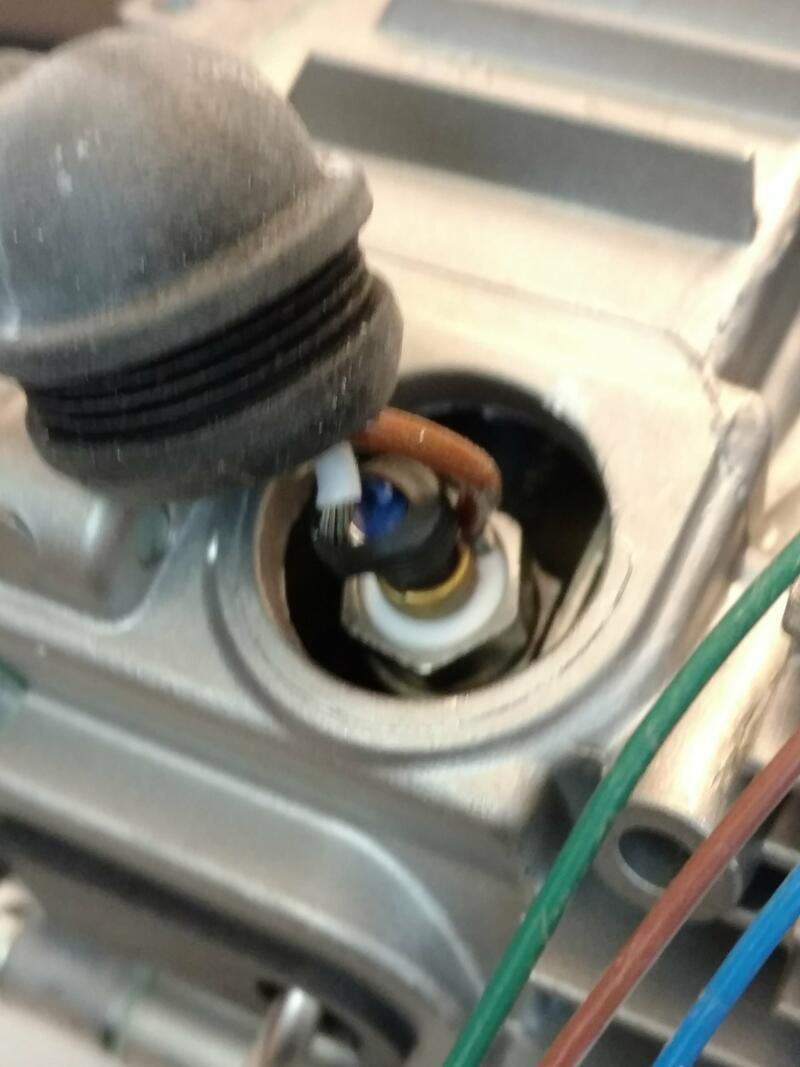
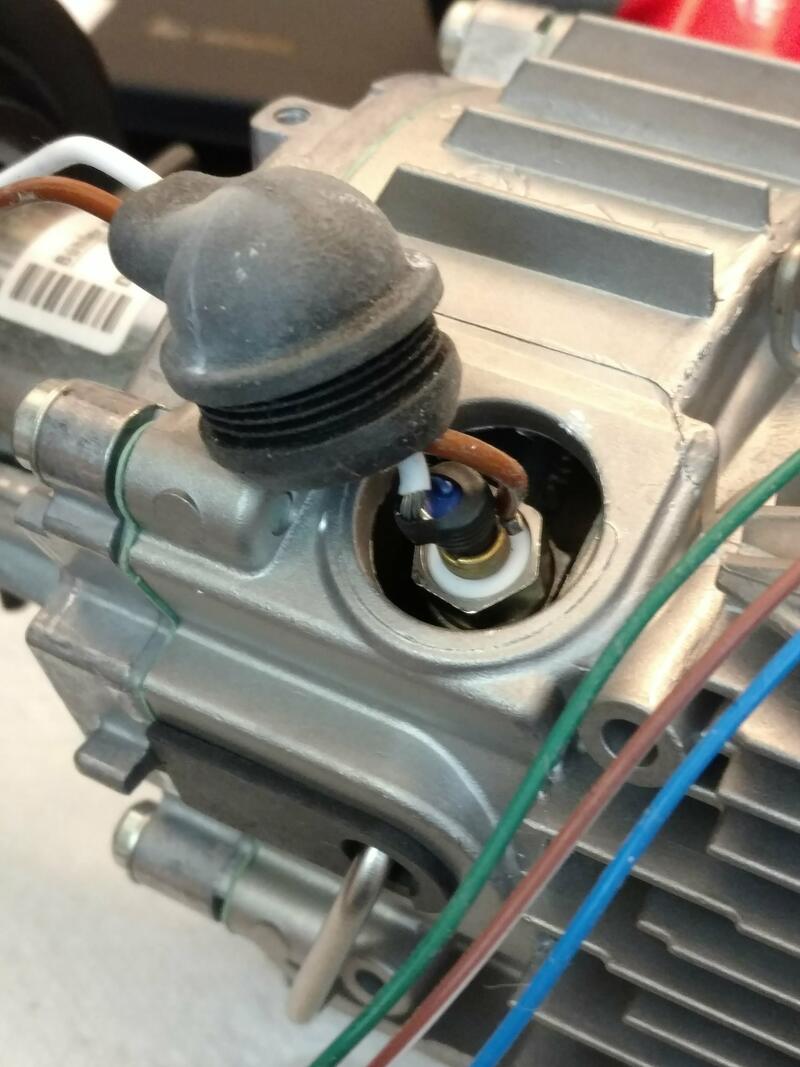
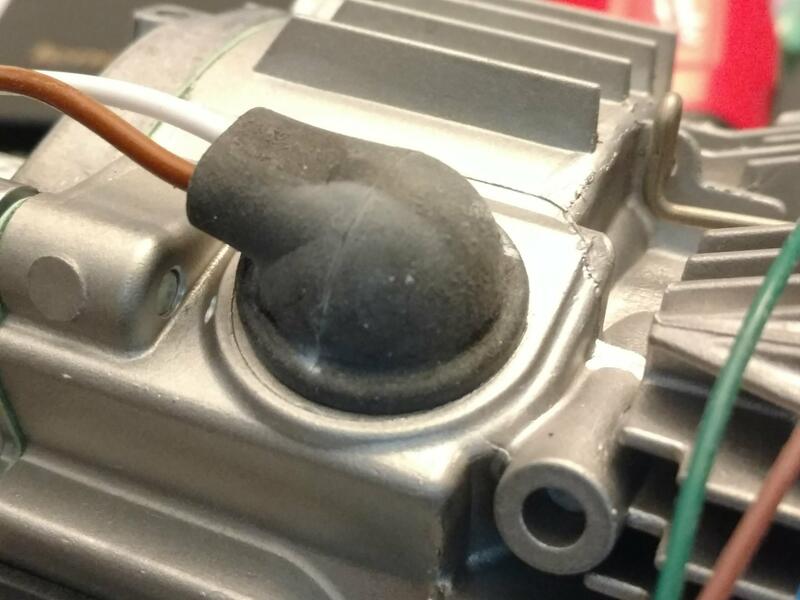
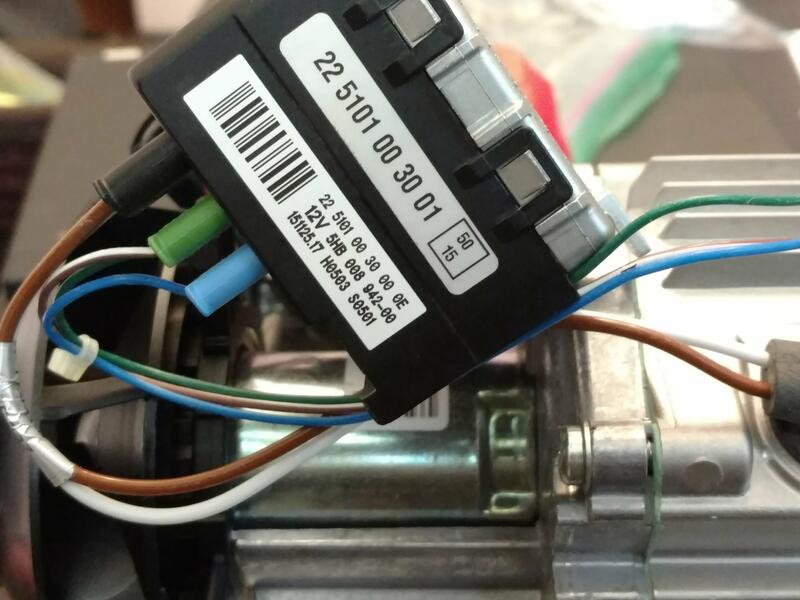
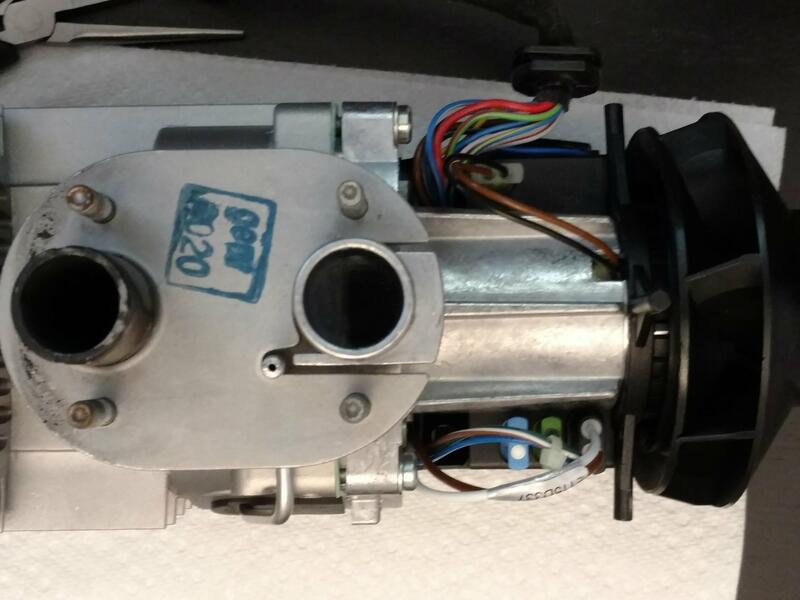
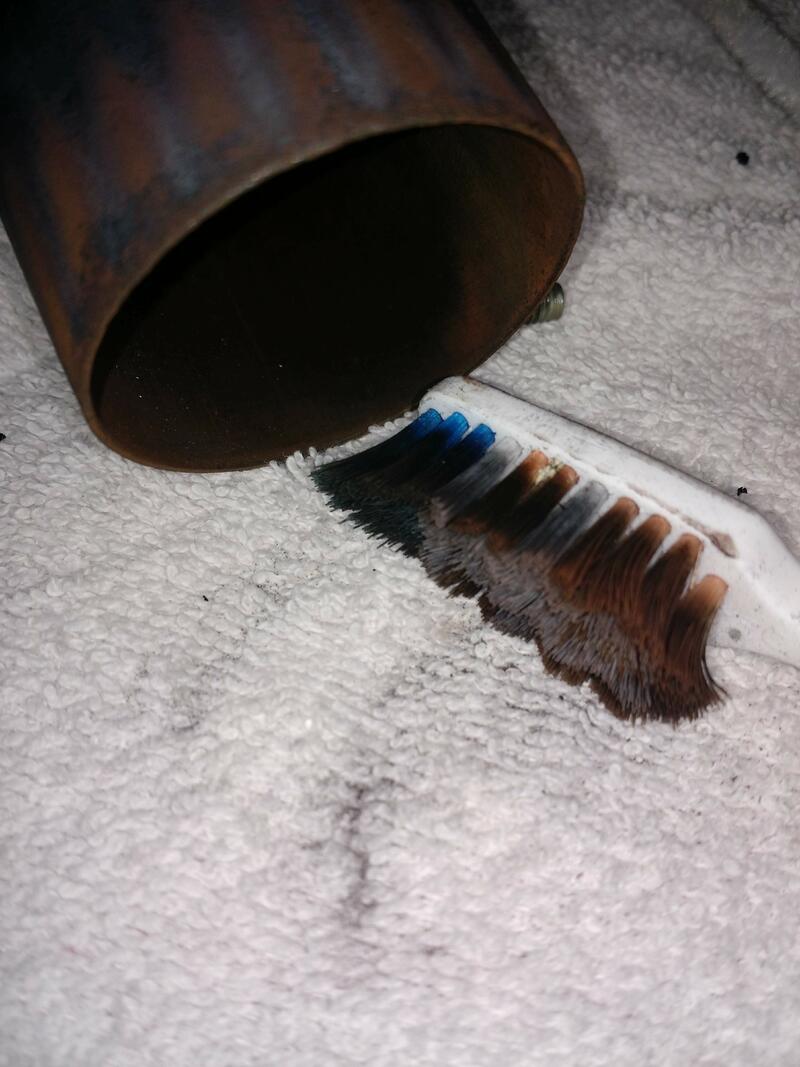
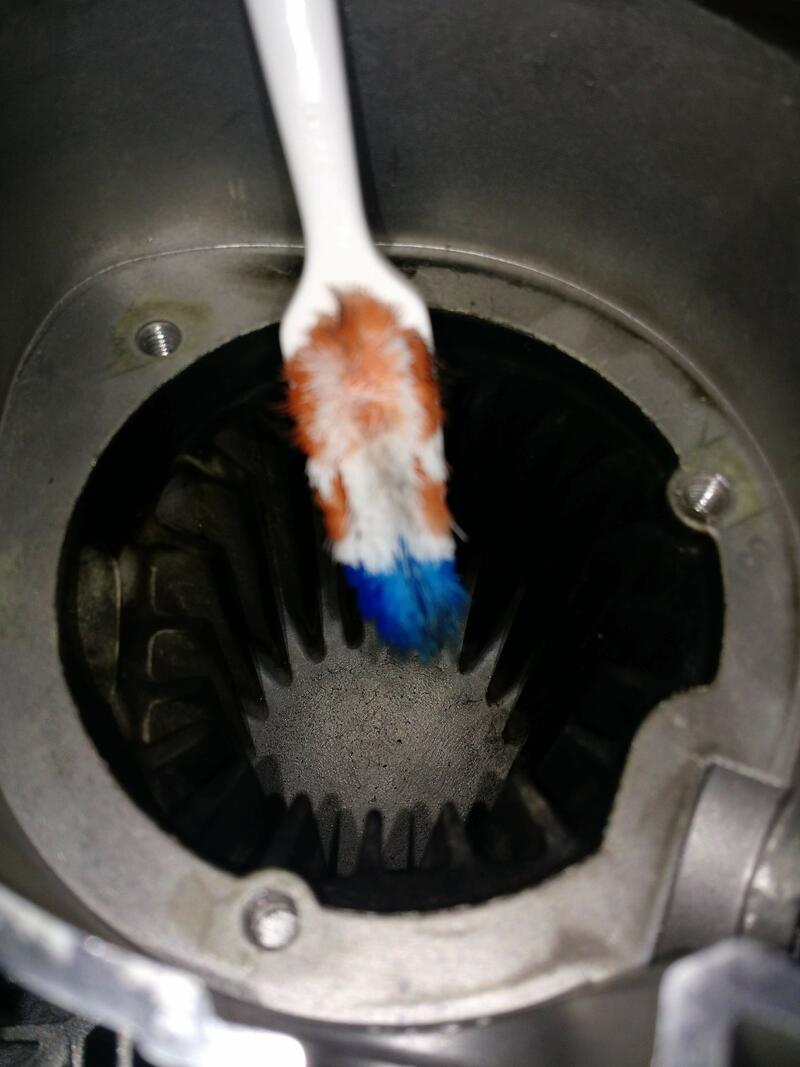
Won’t go into many details, but the photos shown below display the various stages of disassembly, the old cracked combustion chamber gasket, the very dirty atomizer screen, the carbon dust from the glow pin. Cleaning was performed with a toohbrush dipped in Kerosene, lots of paper towels, a kitchen scrub pad to scrub the outside of the glow pin, and pipe cleaners (from the craft section of the Dollar Store) to clean the burner. An air compressor used to clean out all residual dust from the intake pipe, housing, combustion chamber and burner.
A total of 78 photos follow:
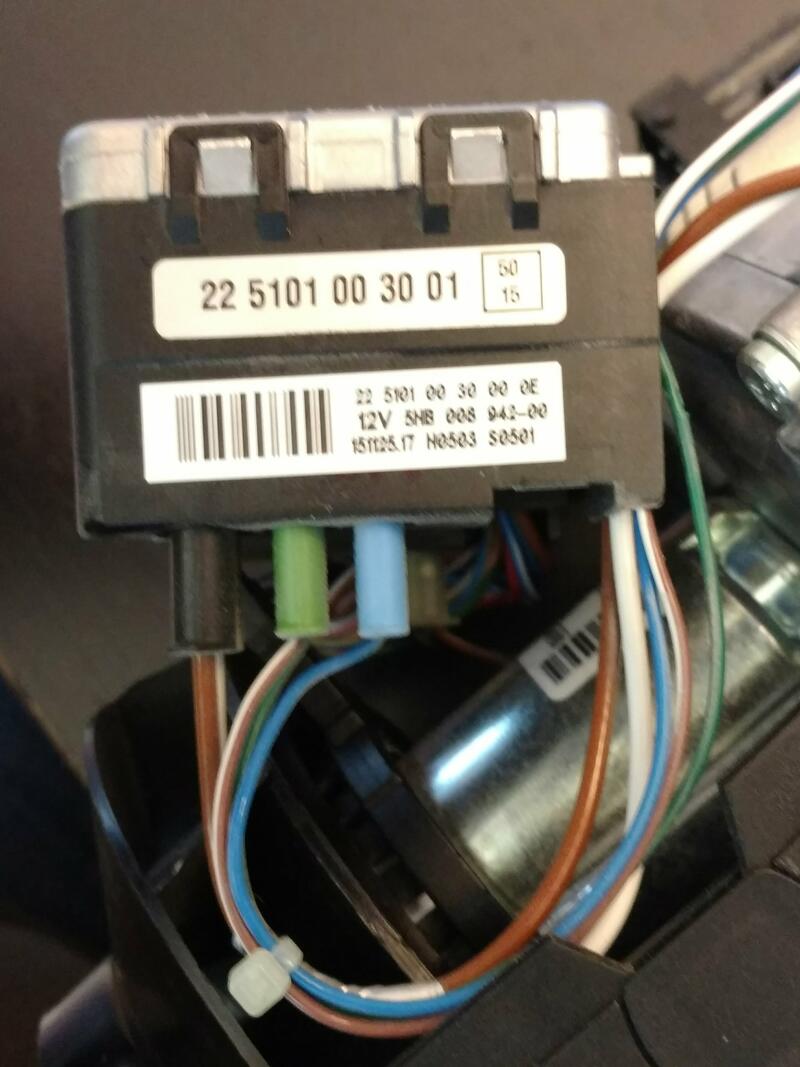
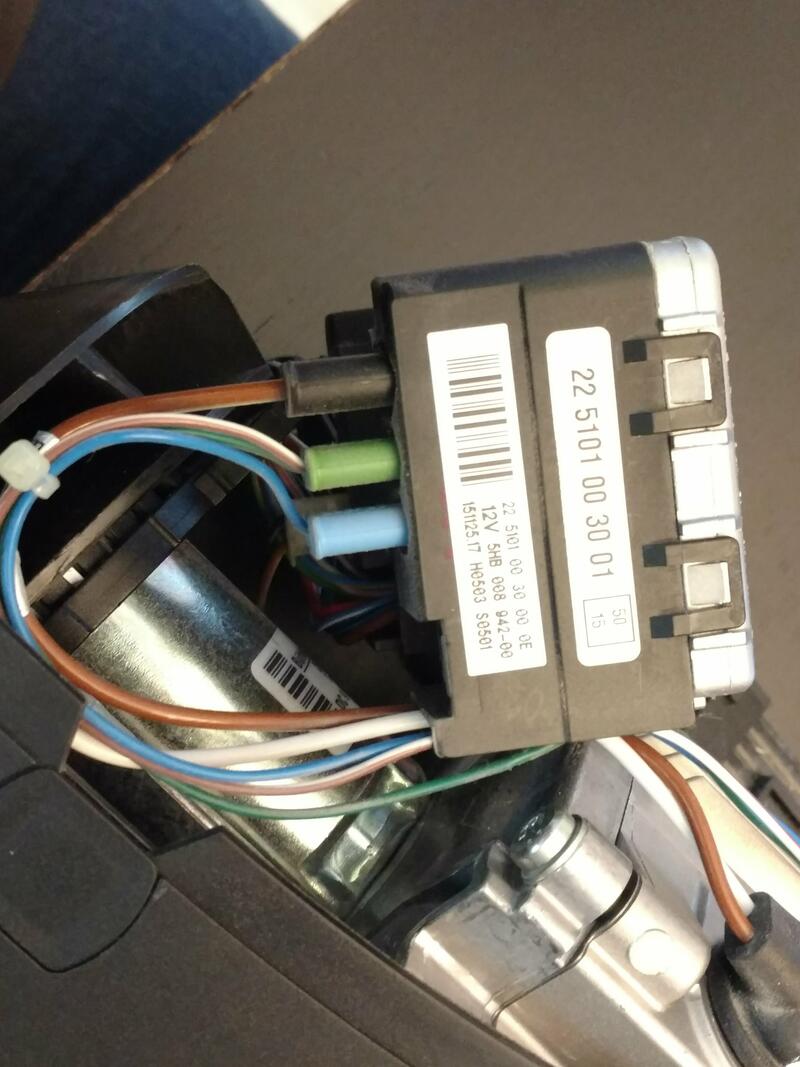
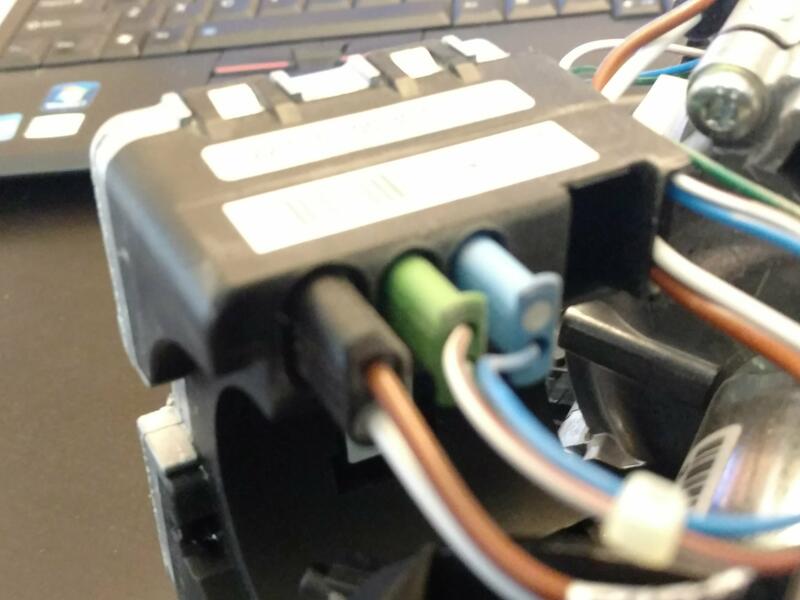
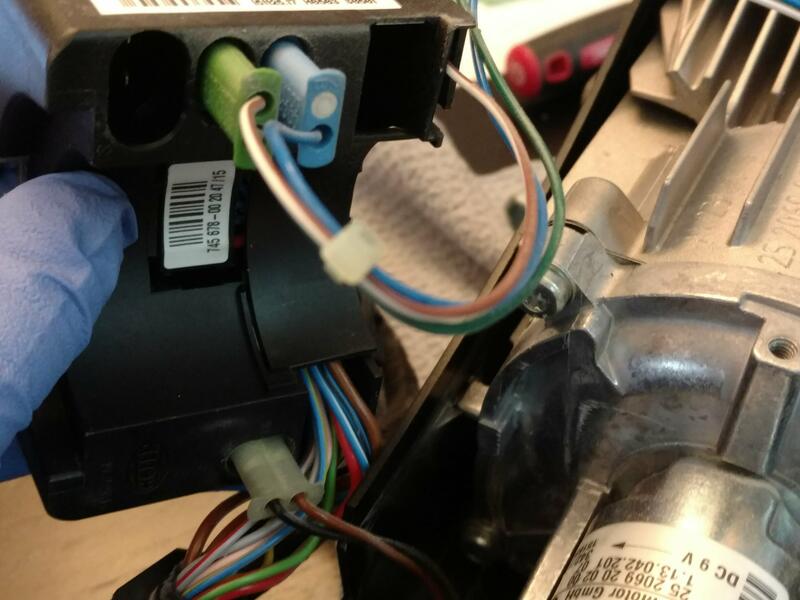
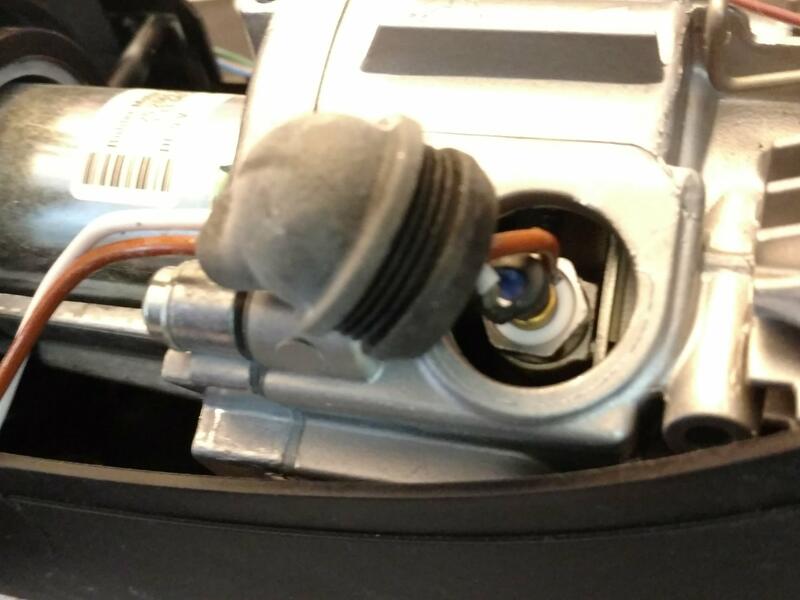
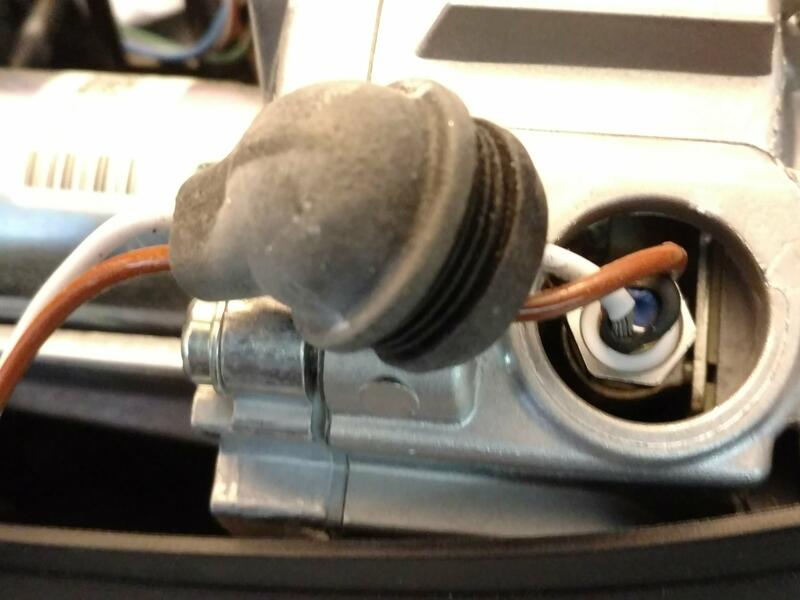
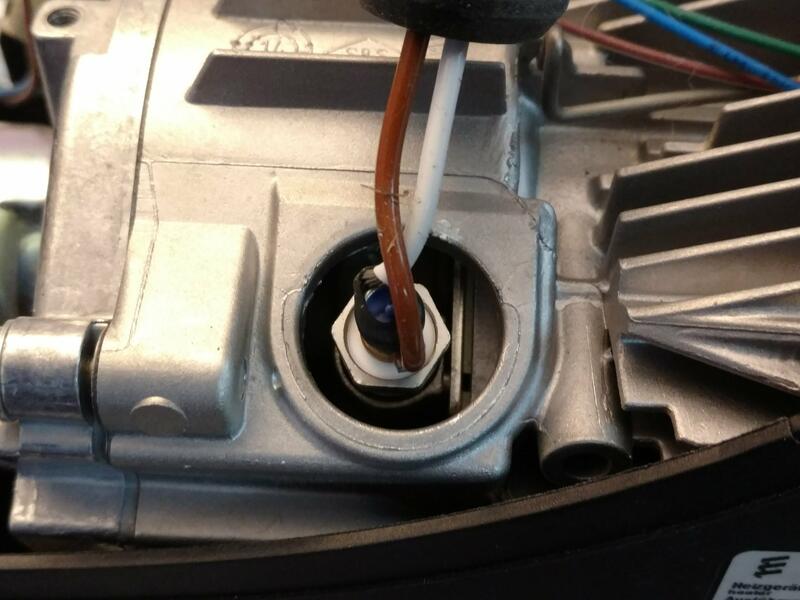
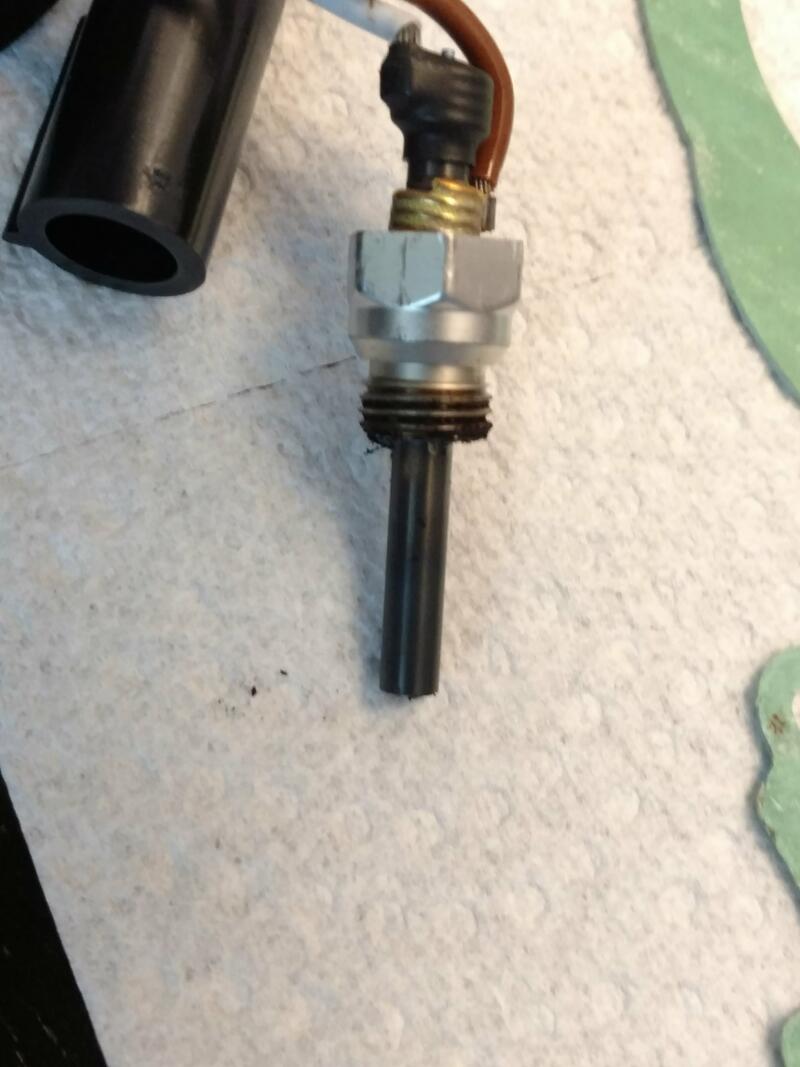
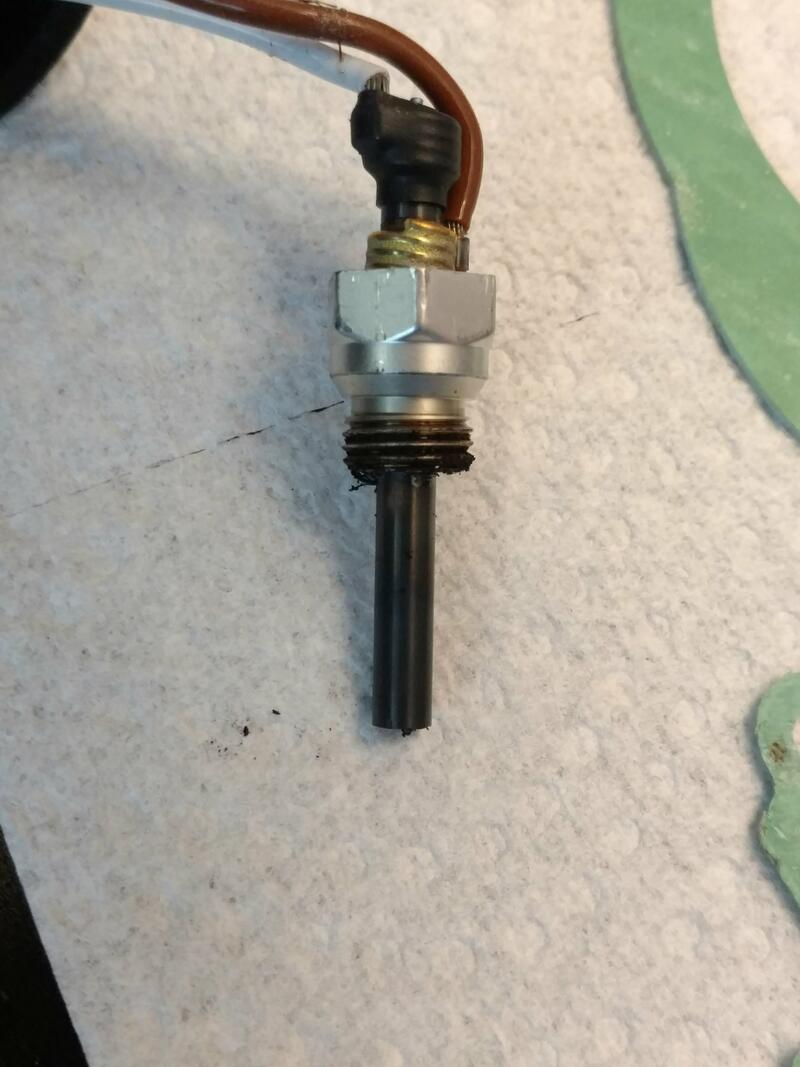
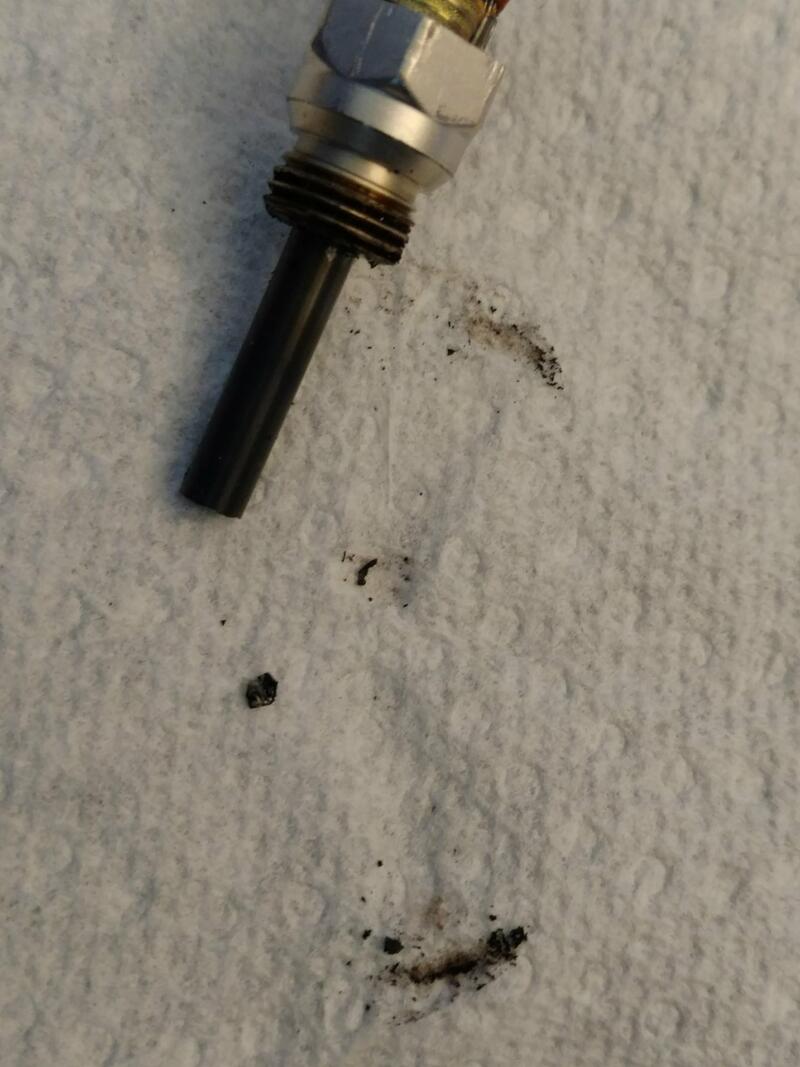
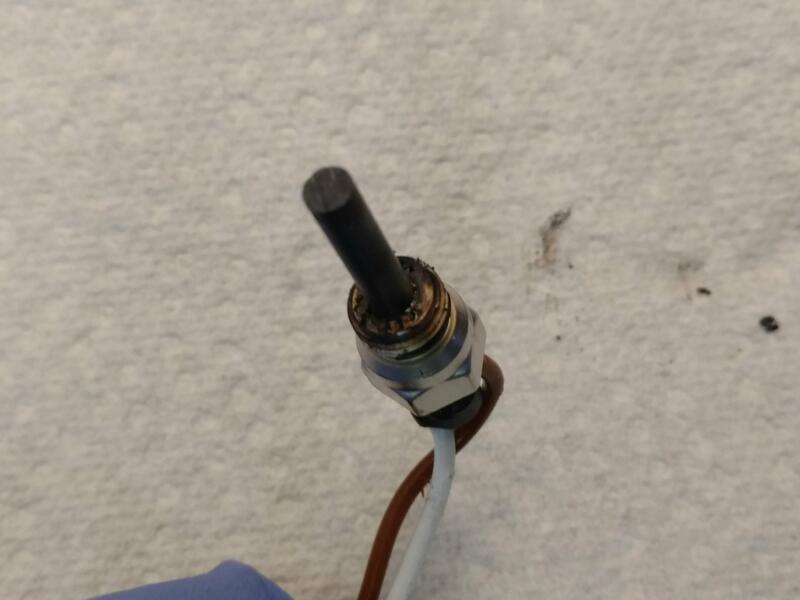
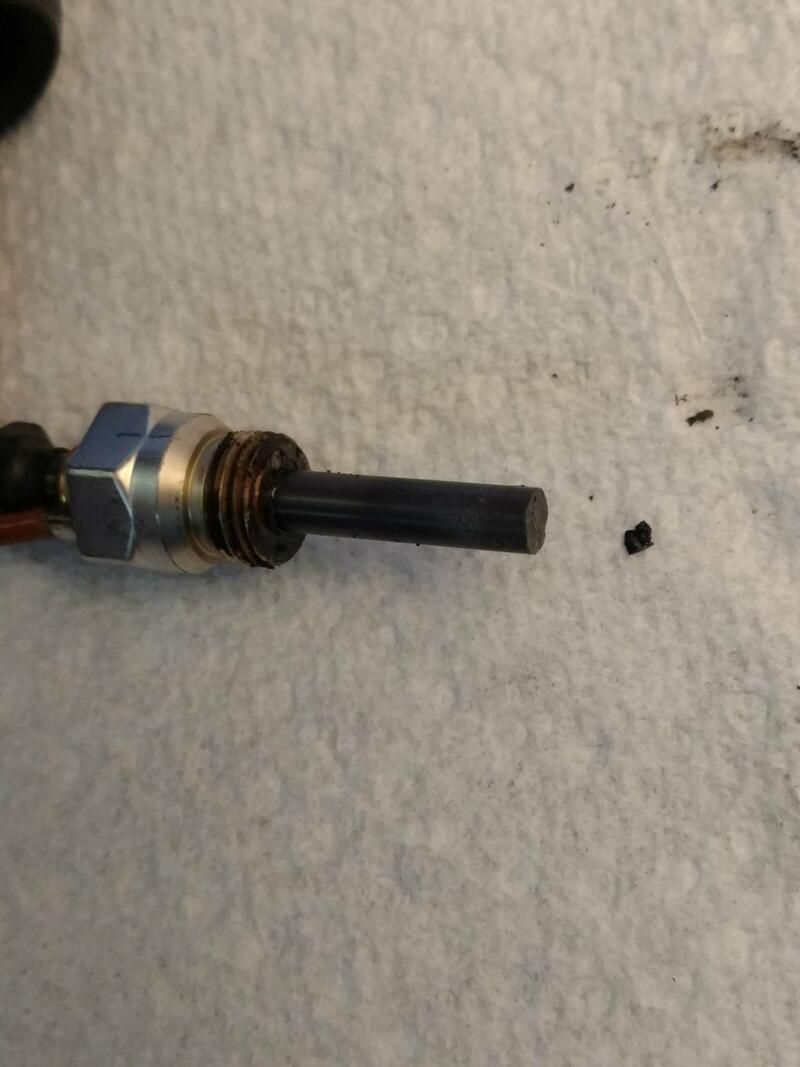
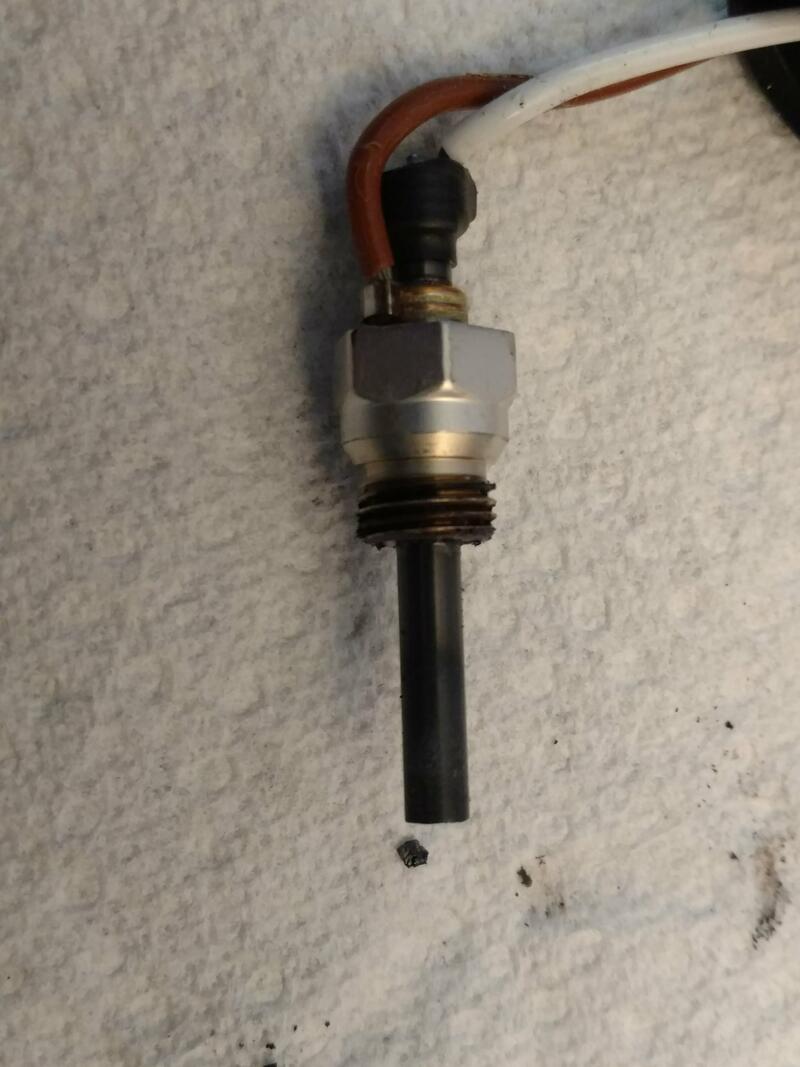
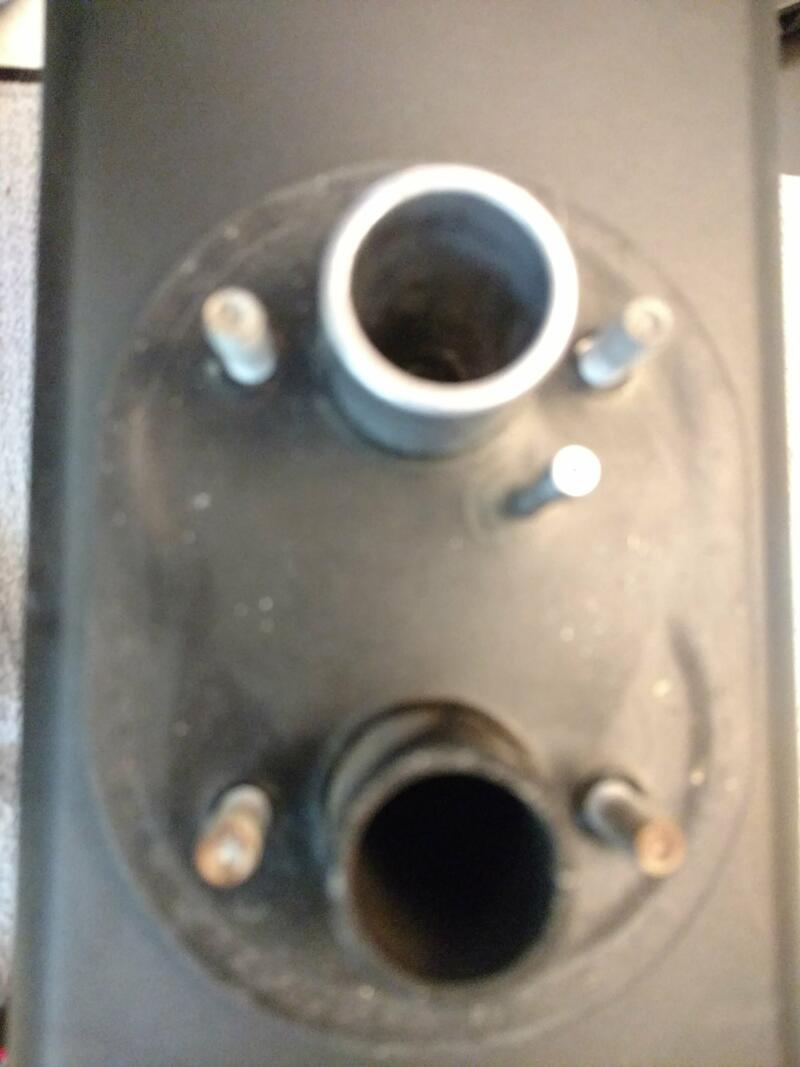
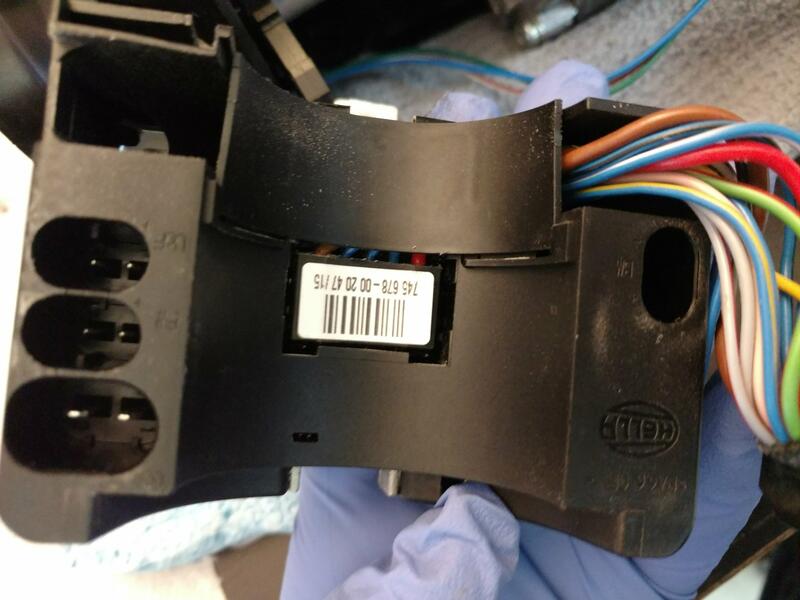
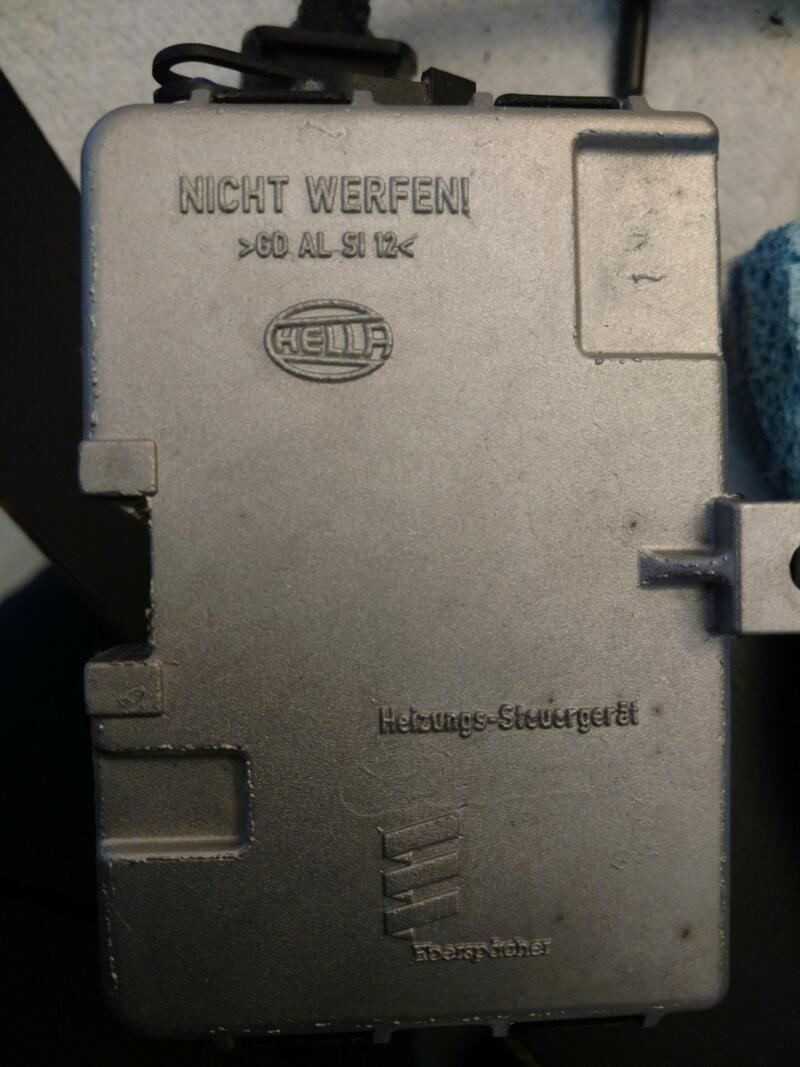
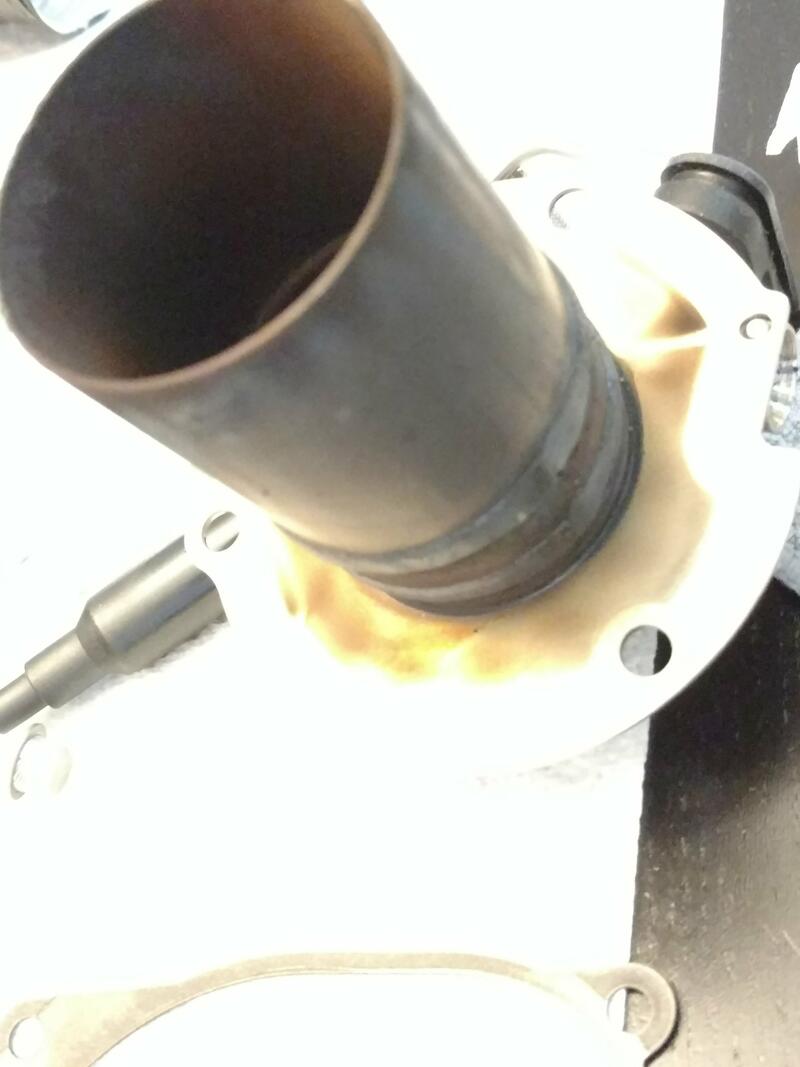
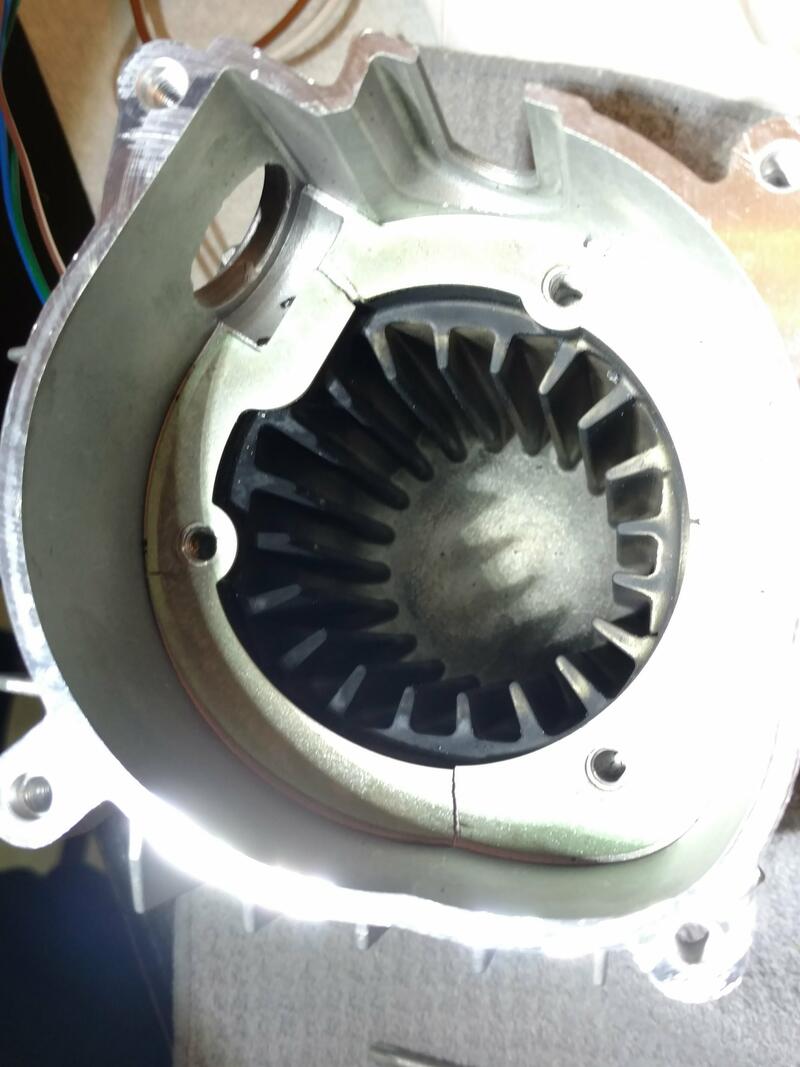
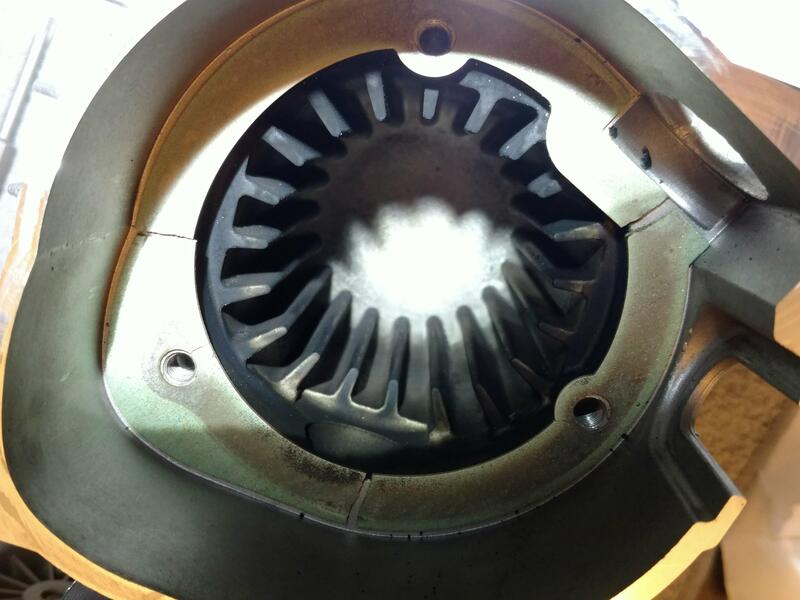
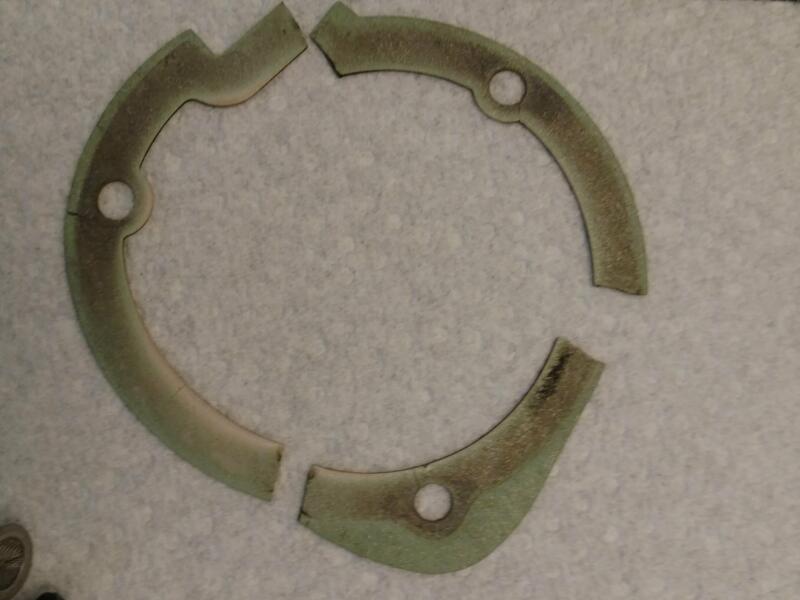
Success - Maintenance Time Reset to Zero - January 5, 2018 (Lifetime: 938 hours)
Heater started up immediately after re-installing the heater. A slight rubbery burning smell from the exhaust lasted about half an hour. Most likely from the new gaskets and/or the Kerosene used to clean out the old carbon.
Set the heater on high for an hour at 34c maximum temperature. Outside temperature was +5c,
Preventative Maintenance - 607 hours - October 10, 2018. Reset to 0 hours after service. (Lifetime: 1,545 hours)
See some photos below this post for the second time maintenance has been performed.
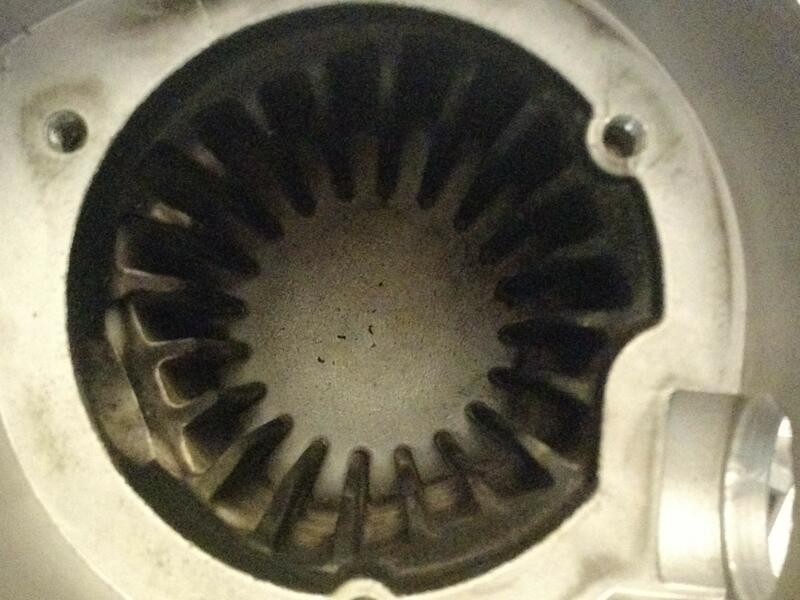
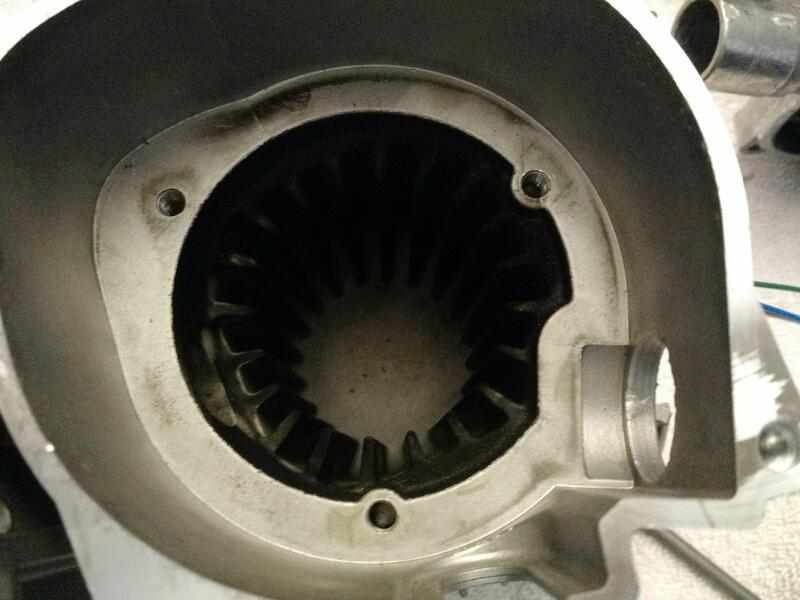
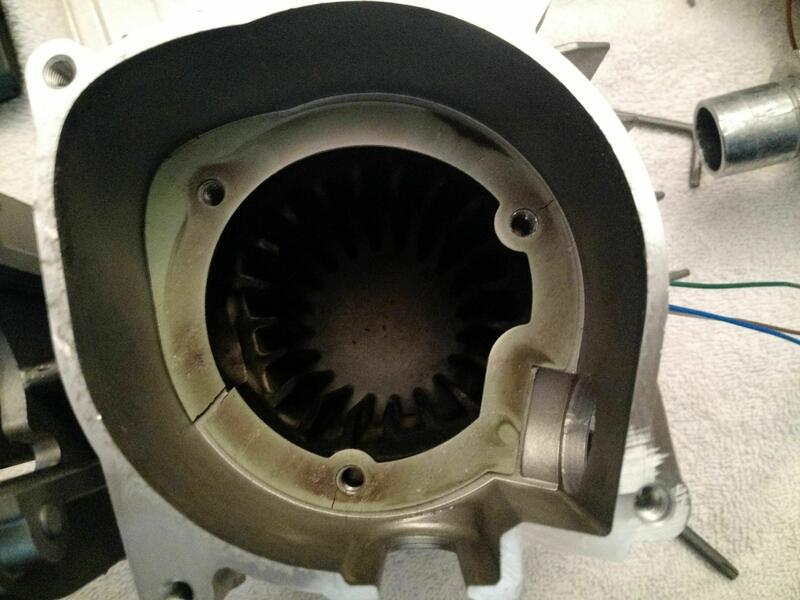
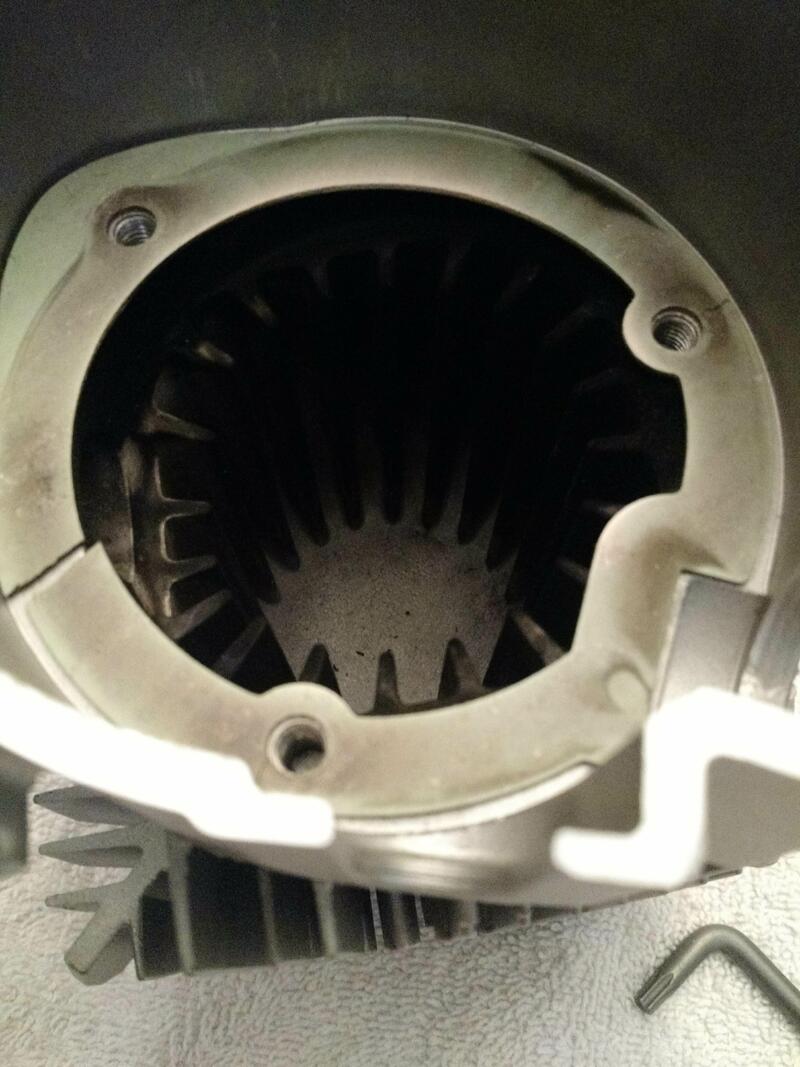
Today (October 10, 2018), after 607 hours of service I took my D2 apart once again as a preventative measure. With winter coming soon to the Pacific Northwest I wanted to make sure the D2 was clean and operating correctly.
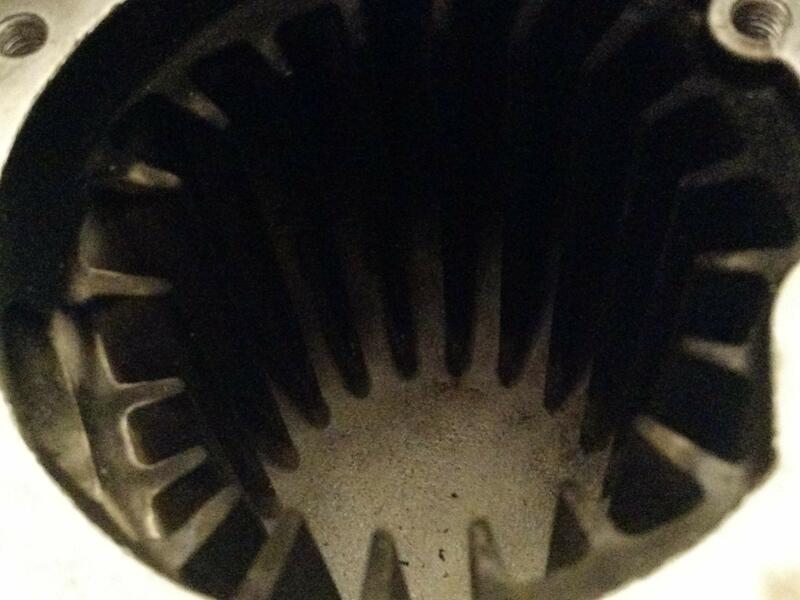
Bought new gaskets for the blower and burner, and the ignition screen. Took me exactly 1 hour to take the entire unit apart and clean it. I used white pipe cleaners to clean the tiny holes in the burner chamber. A toothbrush to clean the interior fins, along with a bit of kerosene. I used my air compressor to blow out the burner chamber, and a very fine mist of carbon came out.
The interesting part was that the D2 had very little carbon build up overall - almost like it was hardly used. But we do use it a lot (607 hours since January), and many times on low during the night.
I have run Kerosene through the heater several times this year since the last re-build. Also, using the regular diesel, I run it on high at least once a month on the driveway with the doors wide open. I do not use any diesel additives whatsoever. So, running Kerosene once in a while on high heat seems to have kept the unit quite clean overall. We live just above sea level but travel into many mountains on a regular basis with the highest being in Colorado and between Banff/Jasper - about 3,000-4,000 metres.
I have to purchase the 7mm tap tomorrow to remove the screen, and also clean out the existing fuel filter with some warm water and soap, and re-install. Maybe another hour of work to put everything back together again and test it. So, from start to finish it will only be 2 hours worth of work.
Now that I know how clean the unit is after 607 hours, I’ll maybe perform preventative maintenance again after 2,000 hours.
UPDATE: October 11, 2018 - noon
Expecting a struggle with the atomizer screen, I tried to find the 7mm tap at the local Home Depot. Nothing of the sort, and the imperial taps by Ryobi only come in sets and don’t include the 7mm tap required. You may have some luck sourcing on Amazon.
You can get the 7mm tap (View on Amazon)
This wrench might be handy too - Ratchet Tap Holder
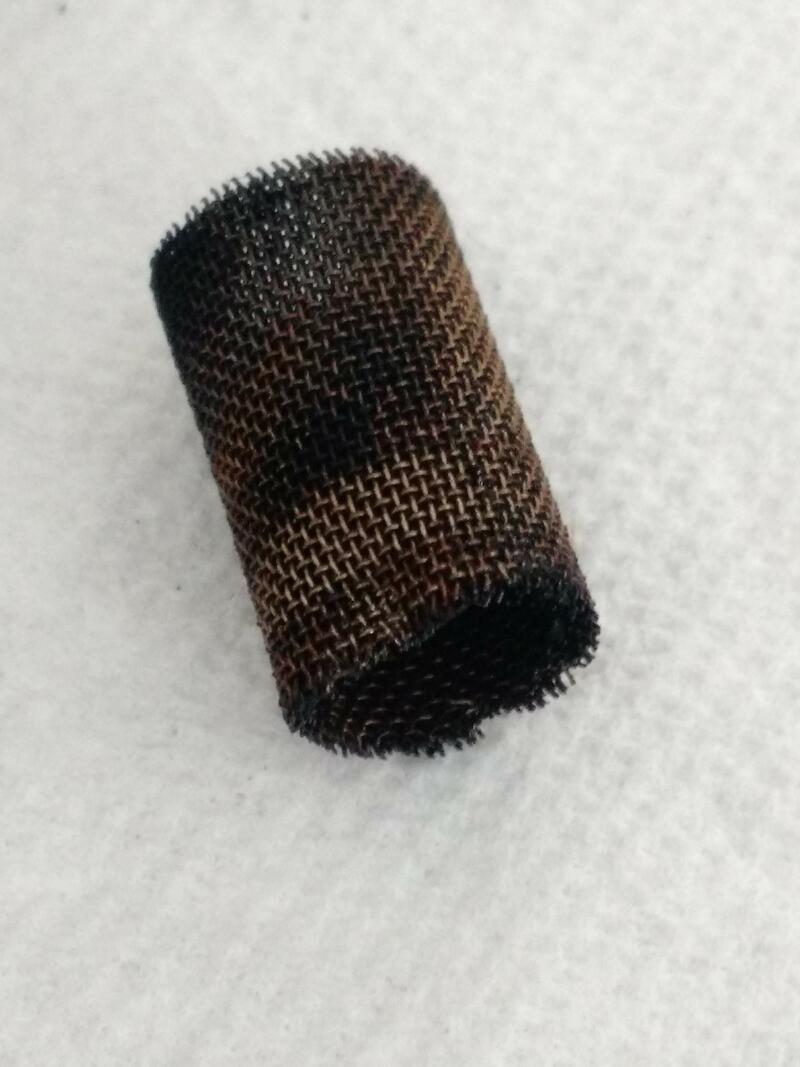
Was ready for the hour long struggle with the screen (like I had earlier in Jan 2018), I took a cuticle scraper and purposely bent the top of the atomizer screen a bit so that my small pliers can take hold of something. Used the pliers, pulled up once, and the atomizer screen came out very easily. Wow! Used dollar store pipe cleaners, and tiny bits of carbon came out. I cleaned as much as possible, used compressed air to ensure all loose carbon was removed, and re-installed a brand new screen. Reinstalled all the gaskets and other components, and all was quickly completed.
My guess is that since the unit was relatively little carbon build-up, the screen was not “welded” to the orifice. The screen was dirty, but not clogged like my previous one. I suppose one of the reasons why Espar recommends removing the screen on an annual basis is to help with the removal of the screen.
Still need to install the heater into the van, and clean out the existing fuel filter, connect and test everything later this afternoon or tomorrow.
UPDATE: October 11, 2018 - 5pm
Mission accomplished!
Installed the heater in the van, connecting the fresh air hose to the intake port, and the exhaust pipe to the exhaust port, connected the fuel pipe, tighted everything up, and lowered the heater into place. It’s located just in front of the driver side rear wheel well. Access is easy, its mid-ship so it heats the van as evenly as possible. Using 13mm and 17mm wrenches, I undid the connection at the fuel pump - I needed to loosen the black rubber hose connected to the 17mm nut size. Disconnected the fuel line, grabbed the smallest right-angled allen key and used that to pull out the original fuel filter. Very tiny - took that to the kitchen sink, poured Dawn dish detergent and hot water over it and rubbed it gently in my fingers to clean the very fine screen. Dried it with paper towel and carefully blew it with the air compressor to eliminate all water. Reconnected everything after reinstalling the fuel filter.
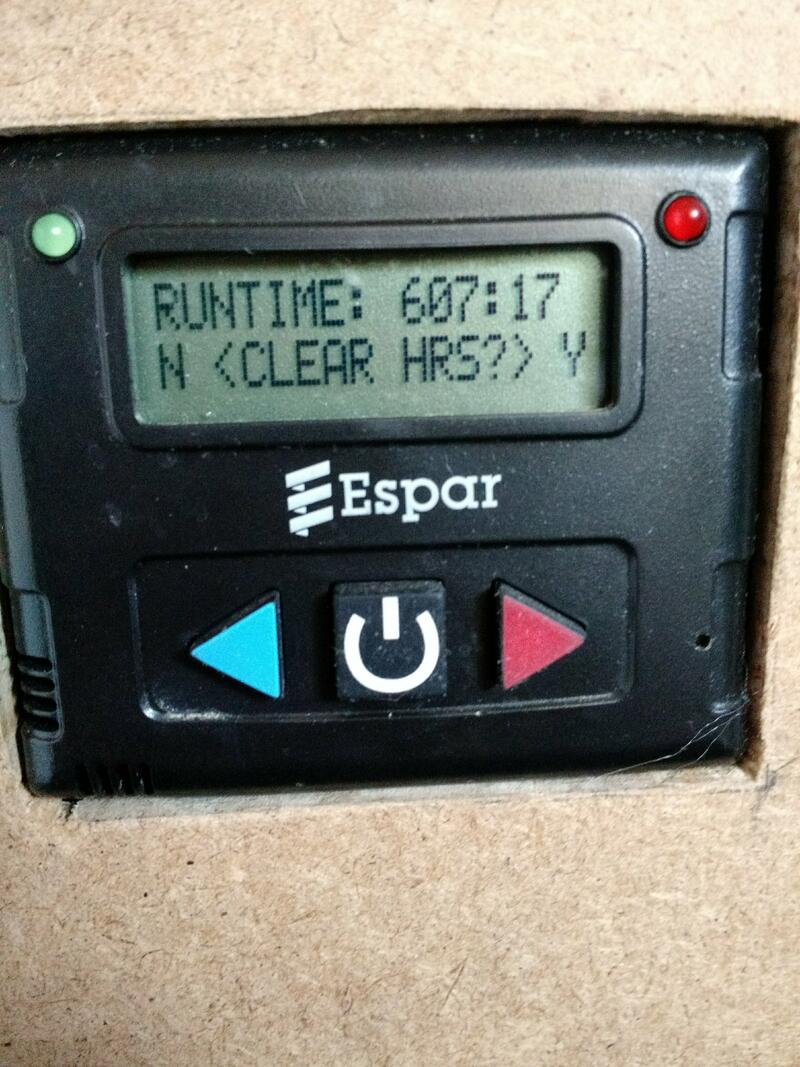
Then, I checked the number of hours on the Espar DigiMax-1000 panel, and it showed 607 hours. Again, the reason I performed this service is before winter hits - I didn’t want to be stuck in freezing temperatures without a heater. I started the heater, at max temp of 34c, and let it run for about half an hour. It started up right away, slowed down a bit, the pump stopped ticking, then after a couple minutes started again by itself and ran full speed. The smell of burning rubber was in the air - same as early January due to the new gaskets (most likely). I ensured it wasn’t actually something burning!
After a few hours of heater runtime, there is no more smell, and the heater works like new again.
Fuel Filter Replacement - 1027 hours - April 19. 2019 - Maintenance hours not reset. (Lifetime: 2,572 hours)
The past couple weeks, the heater would only start on the 3rd attempt. Very thick white smoke would come out of the exhaust pipe. This is a common symptom of a dirty fuel filter. See the details earlier in this post of how to remove the fuel filter from the pump.
A metal fuel filter, obtained from Cool-it and meant for a Webasto heater pump fits perfectly in the Espar pump. That was installed, the fuel pipes re-tightened, and the heater tested. No white smoke, and after the heater was primed with fuel (it took two attemps to prime), the heater worked flawlessly.
It has been 1027 hours since the last service was not reset, this way we know how long the heater itself can operate between actual maintenance service. The maintenance interval was changed from 1000 hours to 2000 hours today.
Last week Kerosene was used for about 45 minutes to help burn off any extra carbon within the heater.
Atomizer Screen Replacement - 1099 hours - June 22, 2019 - Maintenance hours not reset (Lifetime: 2,644 hours)
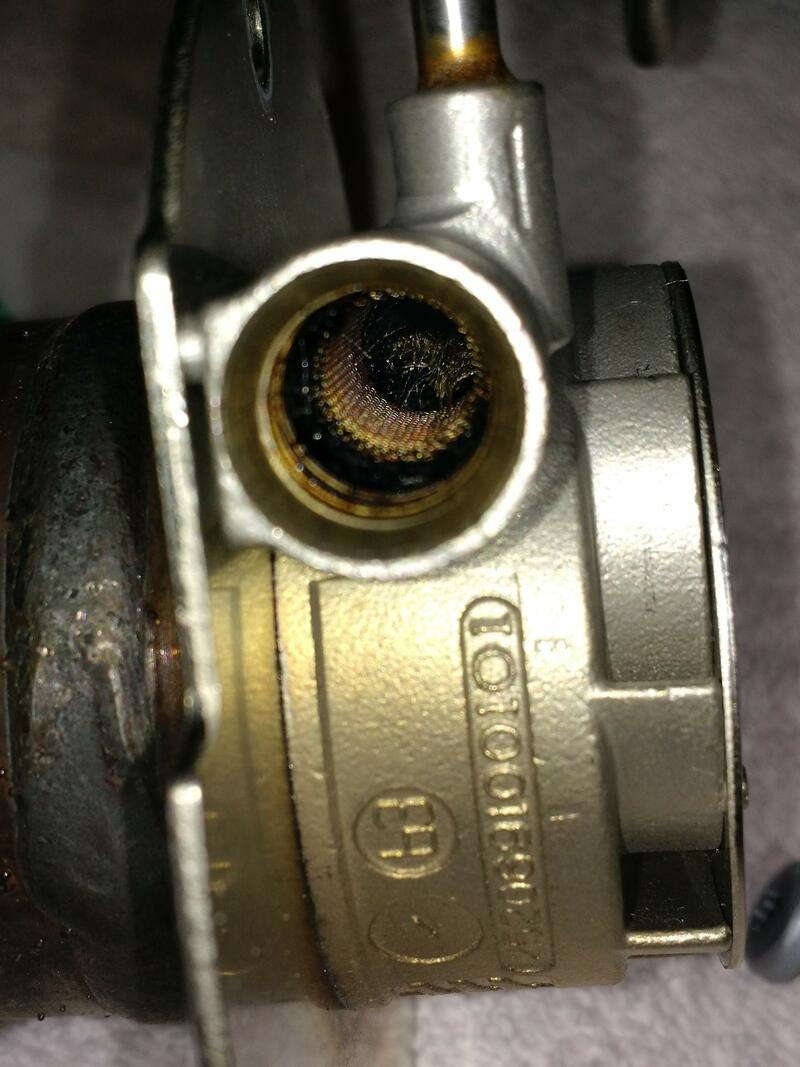
Thick clouds of white smoke still continued well after the fuel filter replacement, and was also harder to start. At the 1099 hour mark, I replaced the atomizer screen. The one inside the heater was full of carbon. This time the heater was not removed from the van, but instead the top portion opened and the screen was removed. The orifices were all cleaned with a pick, and then blown out with a compressor.
Make sure the screen is inserted with the welds OPPOSITE of the fuel intake port.
Once this procedure was complete and everything put together again, the heater works as expected. The maintenance hours were not reset.
Each screen costs about $15 to replace. This gets very expensive over time, so a pack of 10 were purchased on eBay from China for under $10 total. We’ll update our experience. The link to the eBay purchase is here: 10pc Glow Plug Burner Strainer Screen For Eberspacher Airtronic D2 D4 Car Heater
The heater is also run at its highest temperature every month for about 30 minutes to keep it in good service.
Atomizer Screen Replacement - 1,540 hours - December 16, 2019 - Maintenance hours not reset (Lifetime: 3,085 hours)
Similar to 6 months ago, thick white smoke came out of the exhaust pipe. This was after running the heater non-stop the past 4 days on a long trip through BC, Washington and Idaho. Most likely due to the heater running on low to medium heat the entire time. Same procedure was used to remove and replace the screen. This time the eBay screen was inserted, with the seam opposite from the fuel intake port. The maintenance hours were not reset.
Based on experience and patterns of usage, it seems that a screen replacement every 5 or 6 months is a good preventative maintenance timeframe.
Full Maintenance - 1,664 hours - December 23, 2019 - Maintenance hours reset to zero (Lifetime: 3,209 hours)
Even after the screen replacement a week ago, the thick white smoke reappeared after a few days of operation. I took the entire heater apart, and found that the burner gasket had cracked.
Blower Replacement - 342 hours - January 14, 2020 - Maintenance hours reset to zero (Lifetime: 3,551 hours)
The original Espar D2 blower was replaced today due to motor brush failure after a total runtime of 3,551 hours since new, in just 33 months of operation.
Even before the previous full service, the fan sounded a bit different than normal. It seemed to run at normal speed, then slow down for a brief second, then resume the normal speed.
This past week it has been -10c, and the heater has been running almost non-stop to keep everything warm inside. Yesterday was the first day that the heater actually stopped, red light on, with a fault code of 31, which means there is a blower motor interruption. One of the diagnostic hints is that worn motor brushes can give intermittent connections that do not show up when checking resistance of the motor of roughly 0.5 ohms. Brushes are most likely the reason for this problem.
Overnight I ran the heater once again, but sometime in the middle of the night it just stopped, leaving many things inside the van very cold. I removed things like the toilet, water containers, and the Goal Zero battery.
I tried turning on the heater once again in the morning, and it worked for about 90 minutes before there was a strange smell inside the van and the heater stopped once again, but with a code of 33 meaning the blower is not rotating or rotating at the wrong speed. Again, this error points to blower brushes being worn out. The heater refused to start after that.
I called up Cool-It in Abbotsford, and they had an aftermarket Espar D2 blower available for CAD$279.00. I picked that up, along with a spare set of blower and burner gaskets and an ignition screen for the next service.
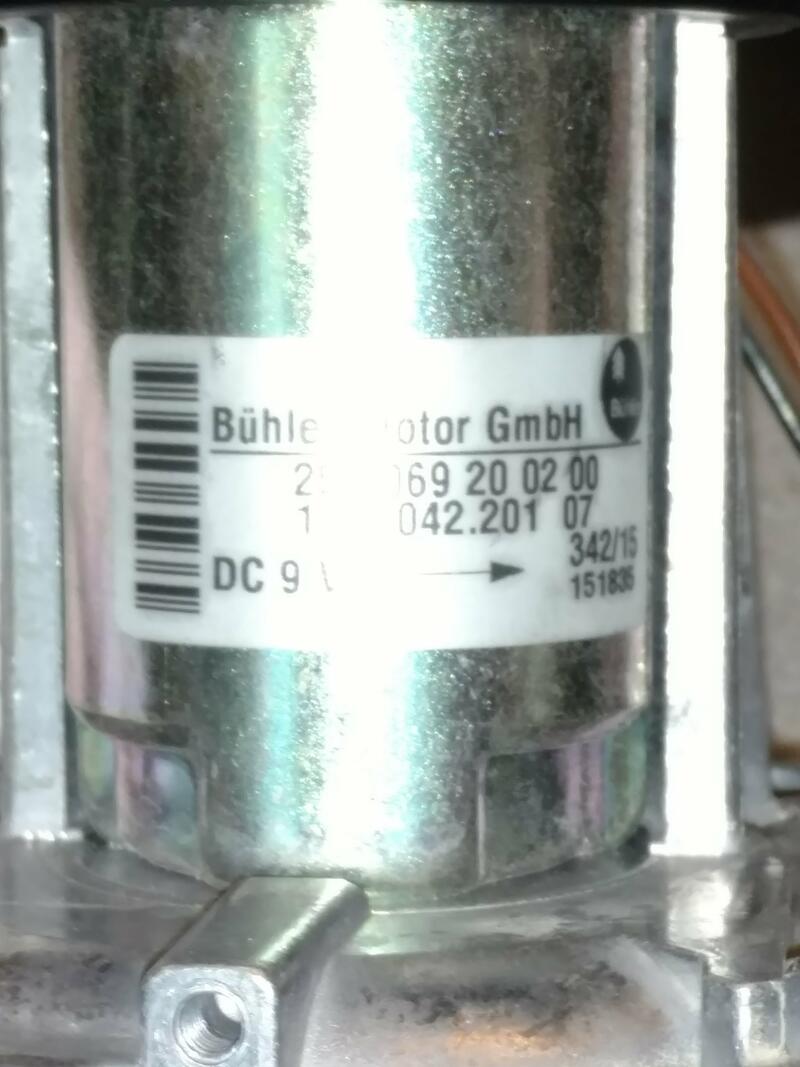
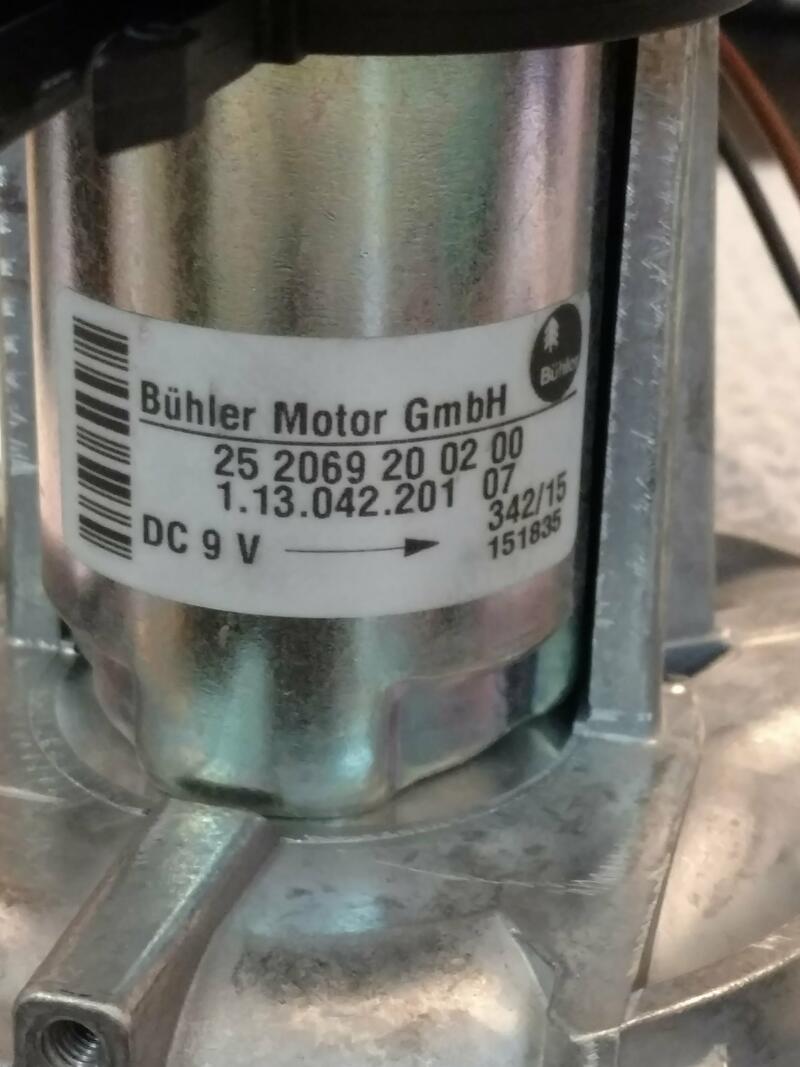
You can get the original Espar D2 replacement motor from Amazon for a bit more money, which may actually be worth it since it’s made by Espar themselves and not aftermarket. I had no choice at the time since I really needed the heater to work in the cold weather. The part available is here at Amazon Eberspacher Airtronic D2 Heater 12v combustion air blower motor 252069200200 (View on Amazon)
From leaving the house to picking up the parts, driving home, removing the heater, replacing the blower, reinstalling it took a total of only 5 hours. Actual remove and replace was about 2.5 hours.
Since the replacement blower is not an original Espar, rather an aftermarket, the fit is not exact - I had to take a dremel and remove about 1mm from both sides of the ECU plastic protrusions. The mounting hole then lined up properly and the plastic clip engaged as well. I used the same blower gasket from the previous service.
Tested the heater, and it now blows strong and is consistent in its sound as well.
A few days later the heater started to smoke again, with a runtime of 37 hours since the blower replacement.
I removed the screen easily which was quite carbonized. This time I used a tube cleaning brush which I bought from the local Dollar Store with nylon bristles. I used that to clean the orifice where the atomizer screen goes in. I used a butane torch to burn off the carbon from the screen, and replaced everything again. This is the way to do it in the future. Cleaning with the tube brush is the proper way, and there is no sign of smoke anymore.
I replaced the Sprinter chassis battery at 113,000km on January 28, 2020 at Mercedes Bellingham, WA. Though they tested the original battery and the result was GOOD, the battery was 4 years old. The battery was also run down to zero a few times. The new battery solved other problems with the heater in that the heater would stop when the voltage got too low after using the heater for an hour or so. During the cold snap, the heater was running and the chassis battery died. Same time as when the Espar motor died as well.
I reset the maintenance interval to every 500 hours, at which time I’ll remove the screen, burn off the carbon as much as possible, and use a proper brass bristled tube brush to clean the tube like the one on Amazon:
Brass Bristles Wire Tube Cleaning Brush (View on Amazon)
I bought the Victron Energy Blue Smart IP65 Charger 12/15(1) 120V NEMA 1-15P Retail (View on Amazon), connected it directly to the chassis battery with a 2m Victron extension cable.
I now regularly top up the battery every few days when parked in the driveway. I can also use the Goal Zero Yeti 1000 to power the battery charger when we are parked and away from shore power. This can also be used to charge a house battery if we ever get one. Still no need for solar power at this point (Update: January 2022 - still no need for solar!)
Atomizer Screen Replacement - 541 hours - September 29, 2020 - Maintenance hours reset to zero (Lifetime: 4,092 hours)
The 500 hour maintenance alert came up the other day, and I decided to replace the atomizer sceen at the 541 hour mark. Though still a little tricky to remove, it was not stuck to the cylinder walls this time, and very little carbon buildup on the screen itself. Instead of burning off the carbon from the screen and reusing it, I decided to use a brand new one.
I used the small flexible brass wire brushes I purchased a while back to clean out the hole - [Brass Bristles Wire Tube Cleaning Brush (View on Amazon)
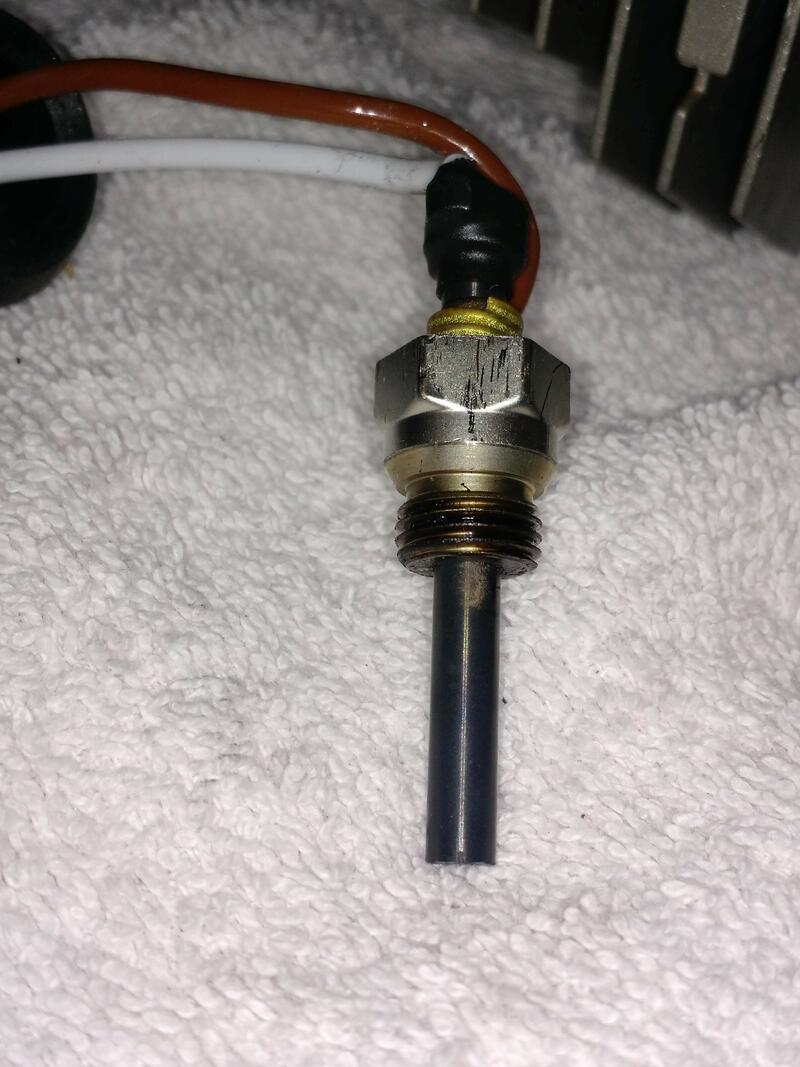
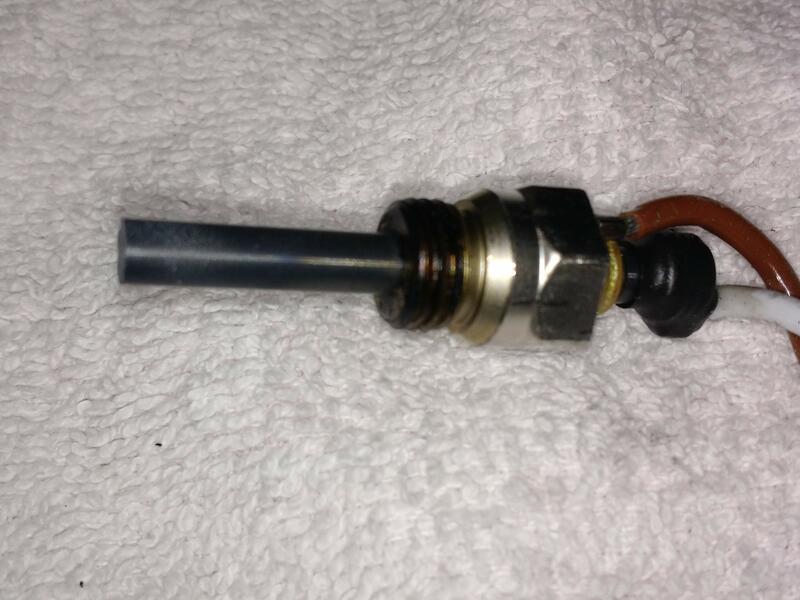
I also removed a bit of the carbon on the glow pin - there wasn’t much to begin with. You can use these brass brushes to clean the actual glow pin too - I suggest you do it on every service. Over time very thin layers of carbon will build up on the glow pin, making it look black. Then with age, the pin does not create much heat, causing a lot of smoke. Just take the brass brush and carefully brush it over the pin, turning the pin each time. I put in one of the cheap eBay-purchased atomizer screens, and then re-installed the glow-pin, connected everything back together, then tested the heater with success.
I reset the maintenance hours back to zero.
The heater has been running smoke free ever since I have been maintaining/charging the starter battery on a daily basis basically since earlier in the year in January 2020. This keeps the battery in excellent condition, providing enough high voltage for the glow-pin to heat up high enough to fully burn the diesel without much carbon residue.
Atomizer Screen Replacement - 530 hours - January 3, 2021 - Maintenance hours reset to zero (Lifetime: 4,622 hours)
The 500 hour maintenance alert came up the other day, and I decided to replace the atomizer sceen at the 530 hour mark.
This time I filmed the entire process for not only my own records, but as a way to help others. You can take a look at the following video entitled Espar D2 Atomizer Screen Replacement Maintenance.
Though still a little tricky to remove, it was not stuck to the cylinder walls again this time, and very little carbon buildup on the screen itself. Instead of burning off the carbon from the screen and reusing it, I decided to use a brand new one. Same as last time. It’s only been 3 months since the last service, and we already racked up 530 hours. We haven’t done much vanlife recently due to the pandemic and restrictions in place.
Again as in my previous post, the heater has been running smoke-free the entire time. Not much carbon deposits on the glow pin nor on the screen.
Atomizer Screen Replacement - 158 hours - February 26, 2021 - Maintenance hours not reset (Lifetime: 4,780 hours)
The past week the winter temperatures were near -10C, and we ran the heater on low for a few days in a row to keep everything inside from freezing.
Once the temperature outside was above zero, we started the heater and it was smoking a lot. It could not start after a few attempts today, so we took the glow pin out and replaced the screen. The screen was not too dirty, but the glow pin has more white carbon deposits on it than normal.
Using a brass wire brush I carefully brushed the carbon off the glow pin, so all the white and black deposits were removed. I also cleaned out the air hole which had some carbon in it, and cleaned out the hole into the heater combustion chamber. There was quite a bit of carbon inside the hole. I also used pipe cleaners (found at the local dollar store) to clean it out as best I can without having to take the entire heater out of the van.
Note that it is VERY IMPORTANT to clear out that tiny air hole of any carbon deposits. If not fully cleaned, you will experience white smoke more often.
It was another night of sub-zero temperatures late Friday Feburary 26, 2021 and I turned the heater on overnight. No smoke from the exhaust and everything was working properly as it should. To prevent the starter battery from draining, I plugged in my Victron IP65 BlueSmart 12V-15A battery charger (View on Amazon) into my Goal Zero Yeti 1000 inside the van and charged the starter battery as the heater was running. This prevents the cold starter battery from draining too quickly. This setup works awesome!
I highy recommend getting the Victron battery charger - it’s a great device! You can also connect the battery charger to shore power by running an extension cord to the house or campsite. You can also connect it to your portable power station like a Goal Zero or Bluetti or Jackery.
We also purchased this heavy duty outdoor 12AWG extension cord
Update on January 25, 2022: Since this last service in February 2021, we have not had any white smoke coming from the exhaust, and the heater has performed flawlessly. Regularly charging the Sprinter van battery has made a big difference, and also another huge difference is that we start the engine BEFORE running the heater if we are away from the house. This allows the alternator to provide enough power to the battery and hence the Espar heater to start up with the high amperages. Once the heater has been running for a while, we can either continue driving or park without any issues.
Before turning off the heater, we run it on high for about 20 minutes, which burns the carbon from the burn chamber. This works really well, and extends our maintenance of the heater.
Exhaust Pipe Replacement - February 7, 2022
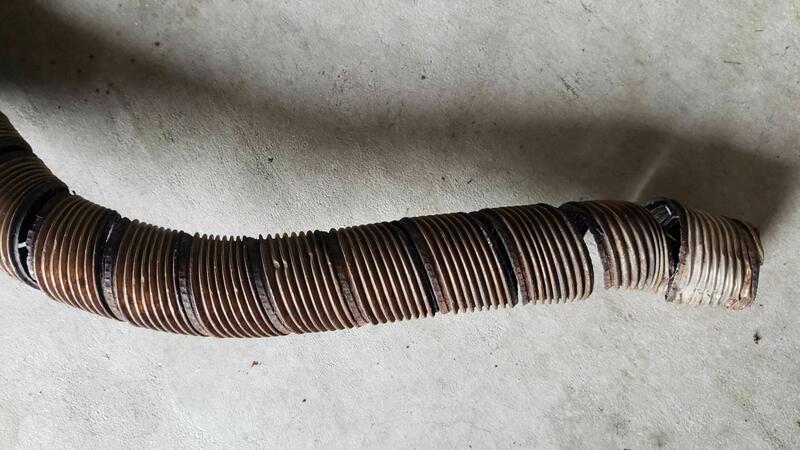
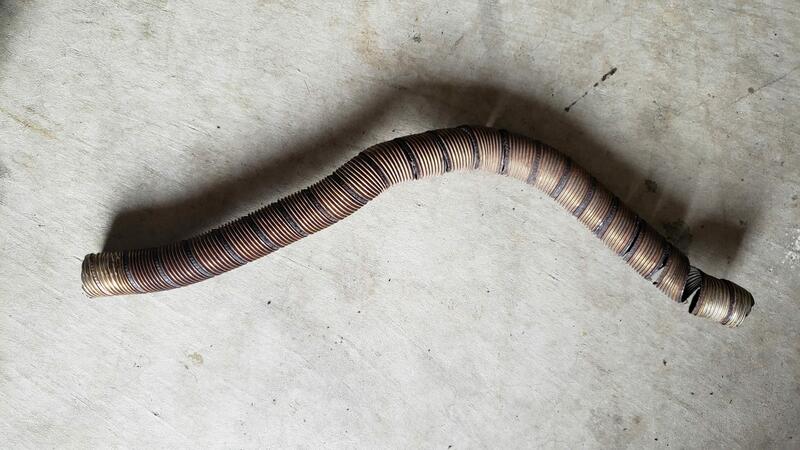
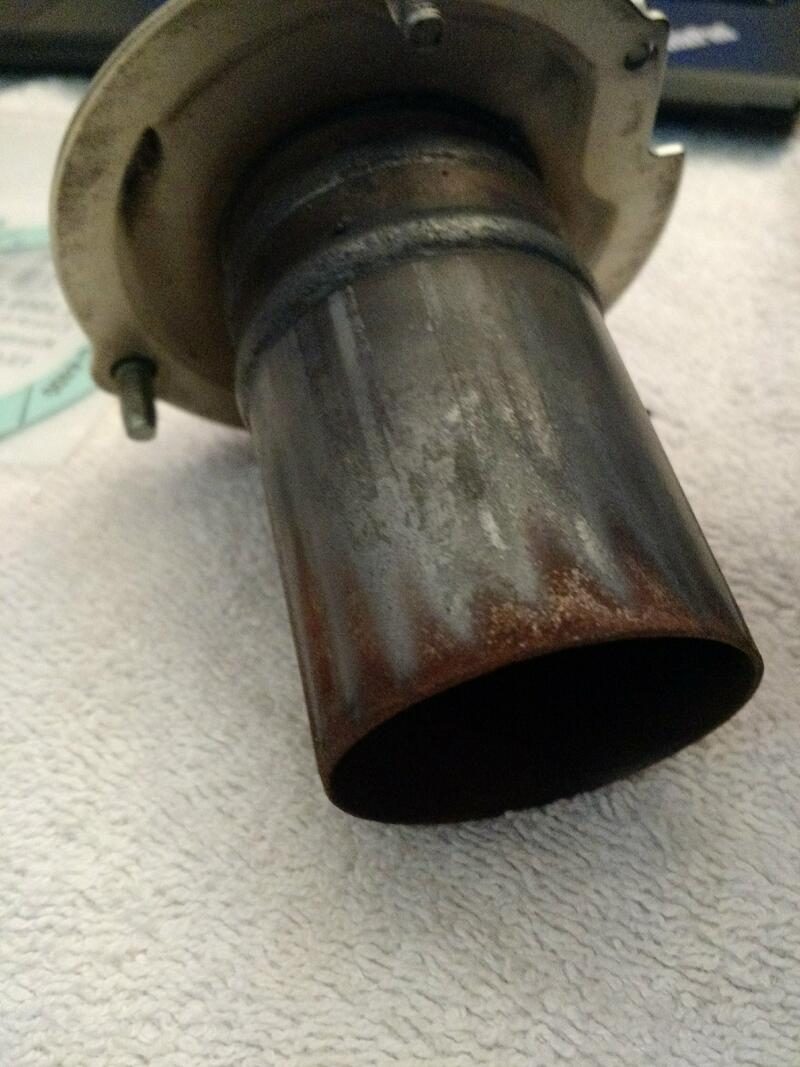
The past while I noticed that the heater makes more noise than normal, so I had a look under the van and saw that the main exhaust pipe was torn and rusted. Perhaps it was torn when we drove through deep snow back in December 2021, but I’m not entirely sure. The exhaust pipe is exactly five years old now, so it’s time to replace.
I had some spare pipe with me from the original install, so I didn’t have to purchase anything new. I unbolted the exhaust pipe from the heater, and unbolted it from the muffler. I cut the new pipe to the proper length, and then attached to the heater and muffler.
This is what it looked like:
